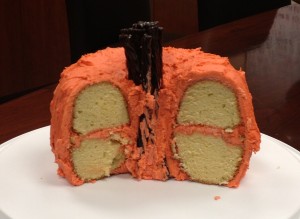
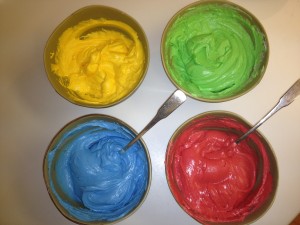
Category Archives: Desserts

Grinch Cookies

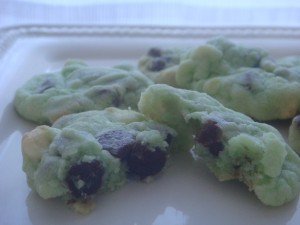
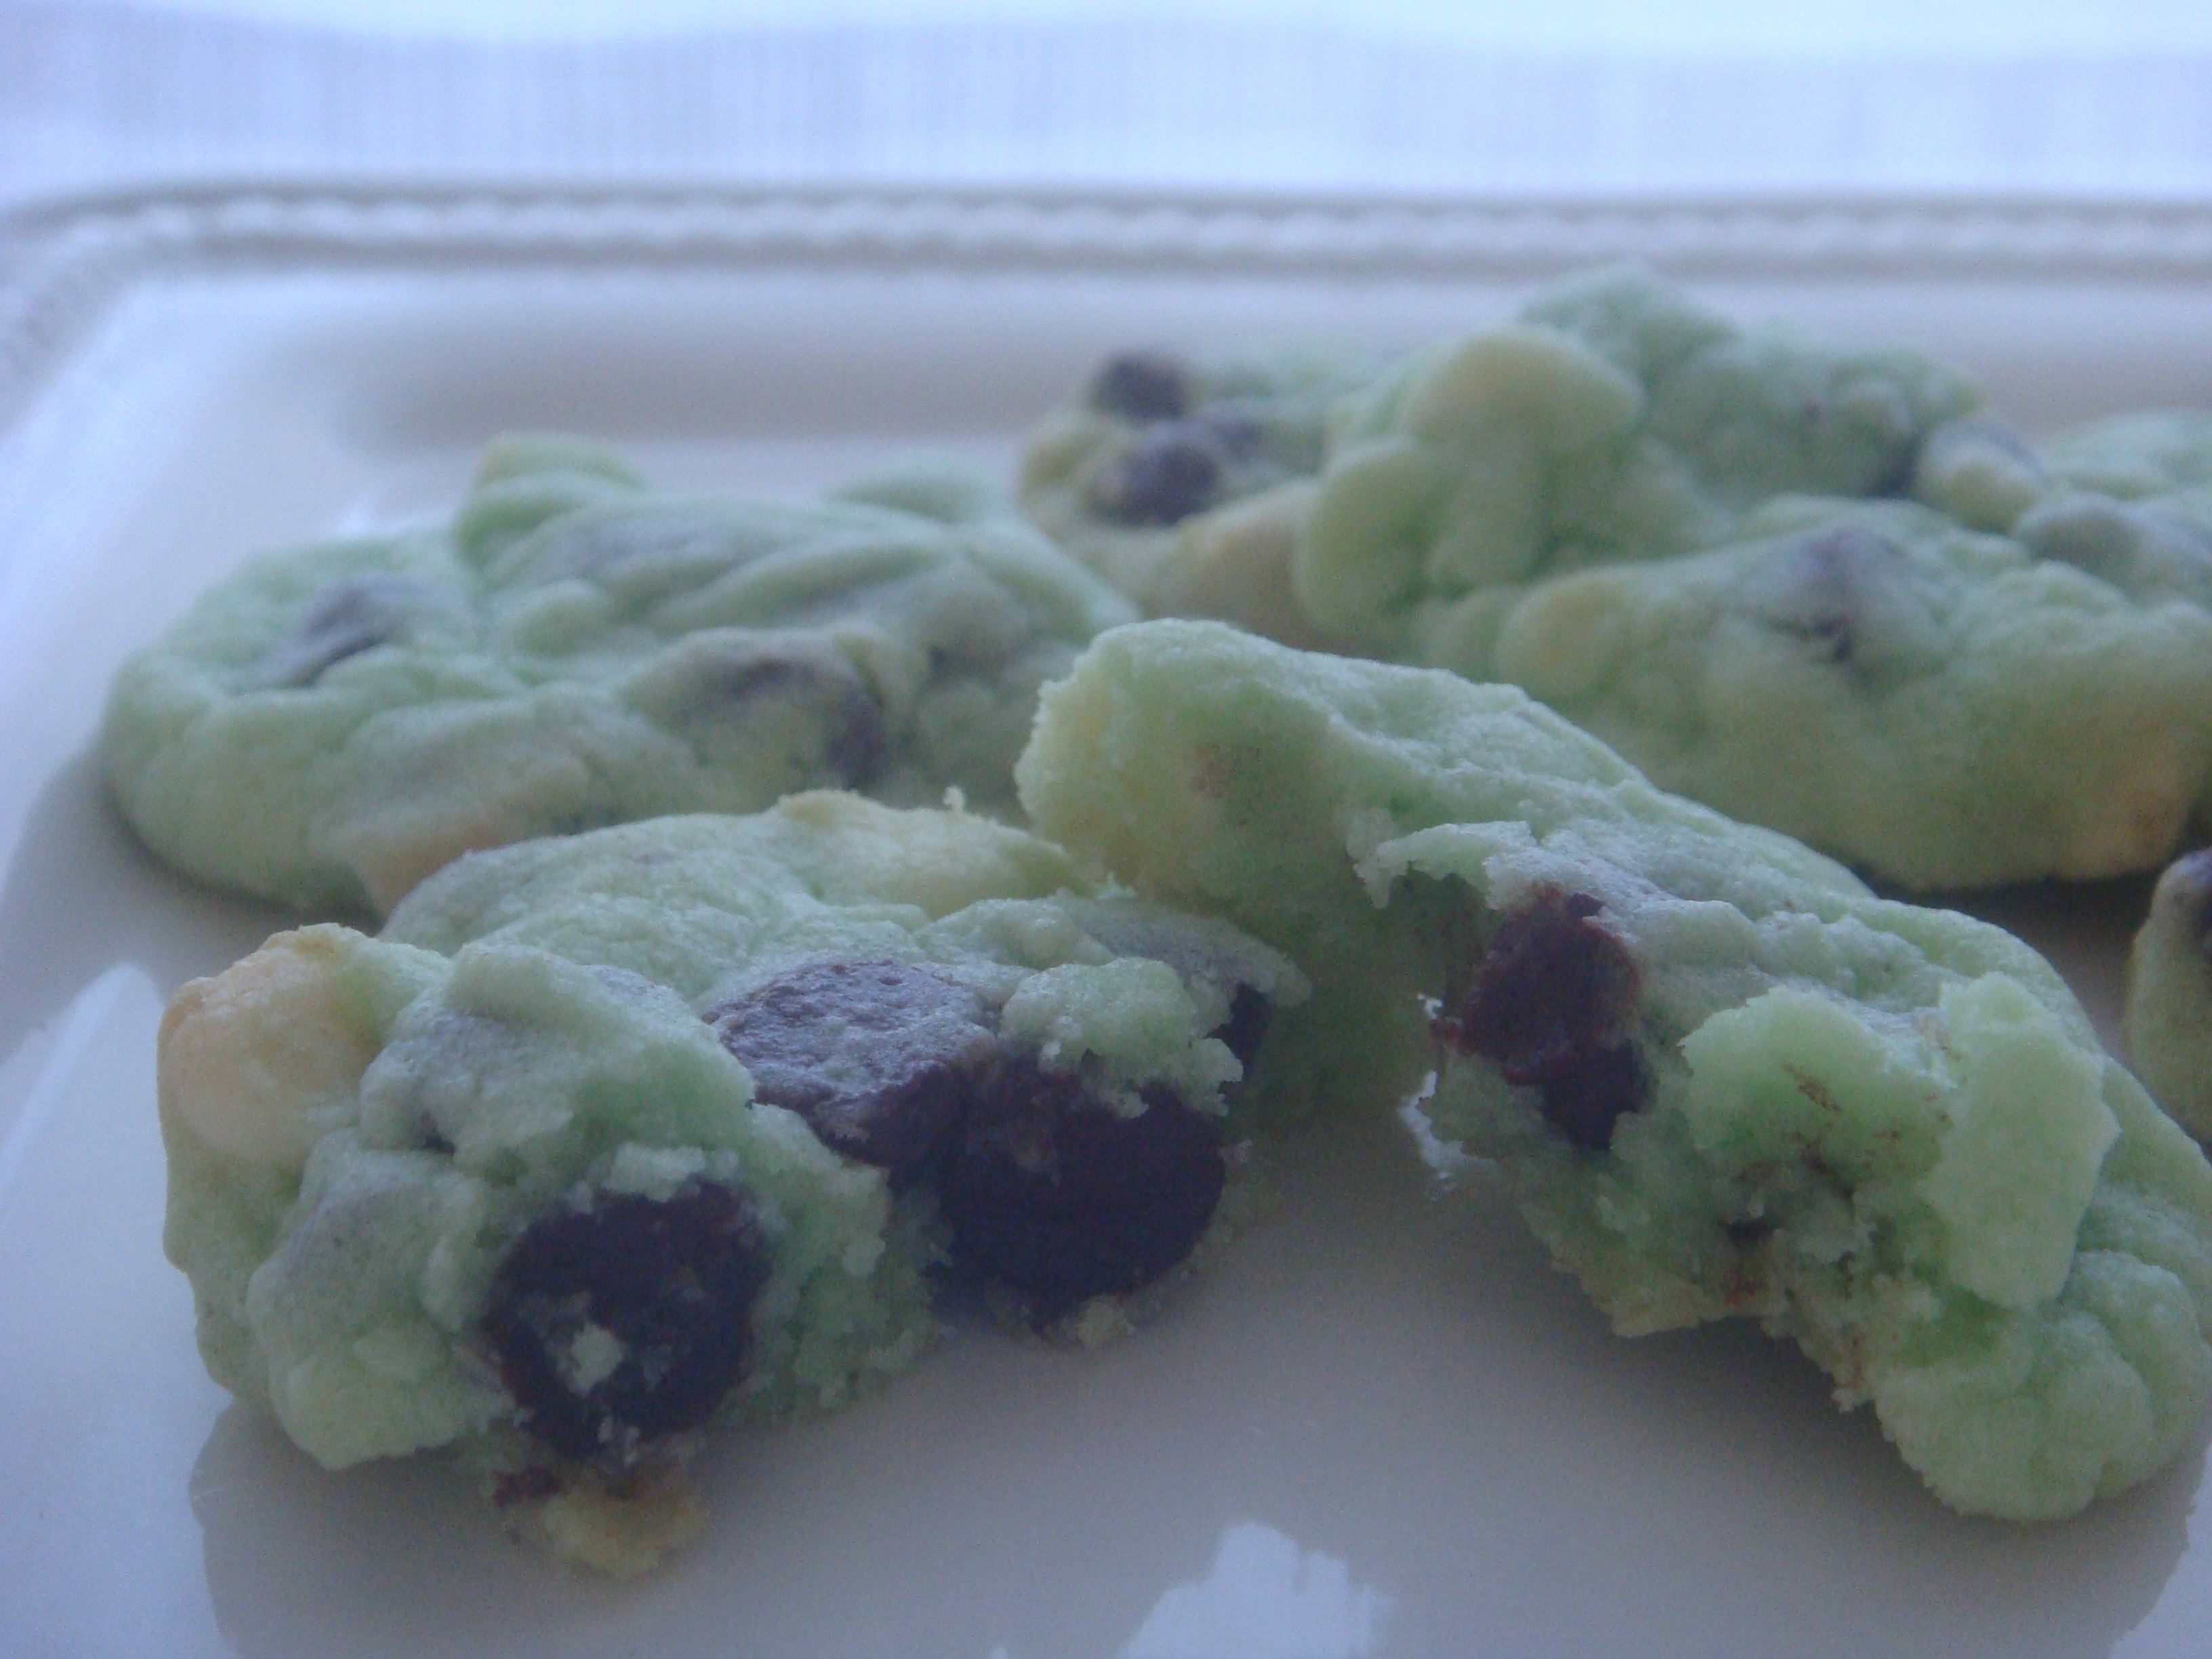
Grinch Cookies are a great Christmas treat paired with a reading of Dr. Seuss’s How the Grinch Stole Christmas!  These Grinch-colored mint sugar cookies with semisweet and white chocolate chips are simple (made with sugar cookie mix!) and surprisingly delicious. 

Source:  http://www.flickr.com/photos/bettycrockerrecipes/4595758178/ (scroll down for recipe)

I changed the recipe a little since I could not find crème de menthe chips.  Here’s my version:

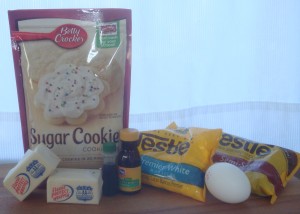
1 package (1 lb 1.5 oz)Betty Crocker Sugar Cookie mix

1/2 cup butter, softened

1 egg

1/2 teaspoon peppermint extract (original recipe calls for mint, but I only have peppermint)

6-8 drops green food coloring (I used 7 in the pics below)

1 cup semisweet chocolate chips (original recipe calls for chunks, which I also did not have)

1 cup white chocolate chips (I could not find crème de menthe chips anywhere – this is why I used the higher end of the range of peppermint extract)

DSC01440

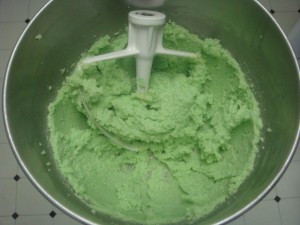
Preheat oven to 350 degrees (or 325 convection).  Stir cookie mix, butter, and egg together.  Then add peppermint extract and food coloring.  Add more peppermint extract to taste and more green food coloring to get the color you want.

DSC01443

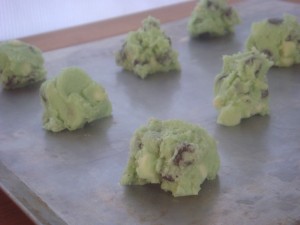
Add the chocolate and white chocolate chips and mix well.  Place dough balls on cookie sheet.  It will help if you flatten them a little, as this dough doesn’t fall much while baking.  I did not flatten the dough before I put it in the oven and reached in the oven with a spatula and pressed them down a little while they baked.

DSC01446

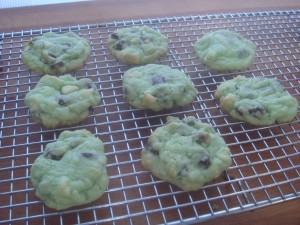
Bake for 8-10 minutes or until set.  I take them out of the oven when I see the first hint of browning of the dough.  Let cool on baking rack for a few minutes before serving.

DSC01452

DSC01459

The Story:  I saw this on Pinterest a few years ago and took it to my godson and his brothers for a Christmas treat while we read How the Grinch Stole Christmas!  It quickly became a much anticipated Christmas tradition.  Oh, and of course the reading of the Grinch book is by no means limited to Christmastime.
Share Button

Poppy Seed Bread

Poppy Seed Bread makes a great Christmas or hostess gift.  It’s dense, moist, and very sweet.  The only complaint I’ve ever heard about this recipe is that the name is misleading – it’s better described as Poppy Seed Cake!  It’s great served warm or buttered and toasted. 

Difficulty:  Easy (This is a batter bread, so it’s as simple as making pancake batter.)

Batter

3 cups flour

2 1/3 cups sugar

1 1/2 teaspoons salt

1 1/2 teaspoons baking powder

1 1/2 teaspoons poppy seeds

3 eggs

1 1/2 cups milk

1 1/8 cups oil

1 1/2 teaspoons almond extract

1 1/2 teaspoons butter flavoring

1 1/2 teaspoons vanilla extract

Glaze

1/2 teaspoon butter flavoring

1/2 teaspoon vanilla extract

1/2 teaspoon almond extract

1/4 cup orange juice

3/4 cup sugar

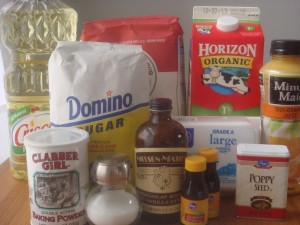
DSC01413

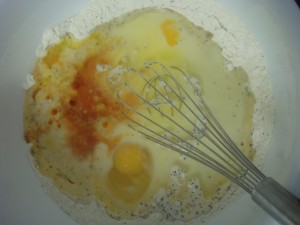
Batter:  Mix all ingredients from flour through the first listing of extracts and flavorings.  Just stir with a big spoon or whisk, and allow some lumps to remain.

DSC01414
The purpose of this pic is to show you this super whisk. It has a whisk inside a whisk and a ball inside that for extra whisking power. If you ever run across one, get one for every cook in your family.
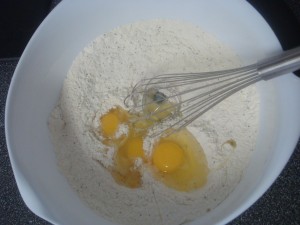
DSC01416
Not a great pic, but it’s really that easy – dump ingredients in bowl and stir

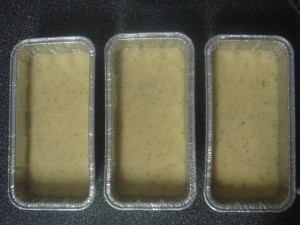
Pour into two greased loaf pans or three smaller foil pans.  These are 8.5″ x 4.5″ x 2.5″.

DSC01418

Bake at 350 degrees for 40-45 minutes.  If you’re using smaller loaf pans, check to see if the bread is done after 35 minutes.  The loaves are done when a fork or toothpick comes out clean when poked into the top.  Cool in pan for 10 minutes.  Poke holes in bread with a toothpick, pour on glaze (recipe below), and let sit awhile.  Remove from pans and slice to serve.

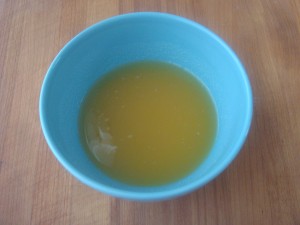
Glaze:  As soon as you put the loaves into the oven to bake, stir the second set of flavorings together with the orange juice and 3/4 cup sugar.  Let rest until time to pour it over the loaves after baking.

DSC01422      DSC01428

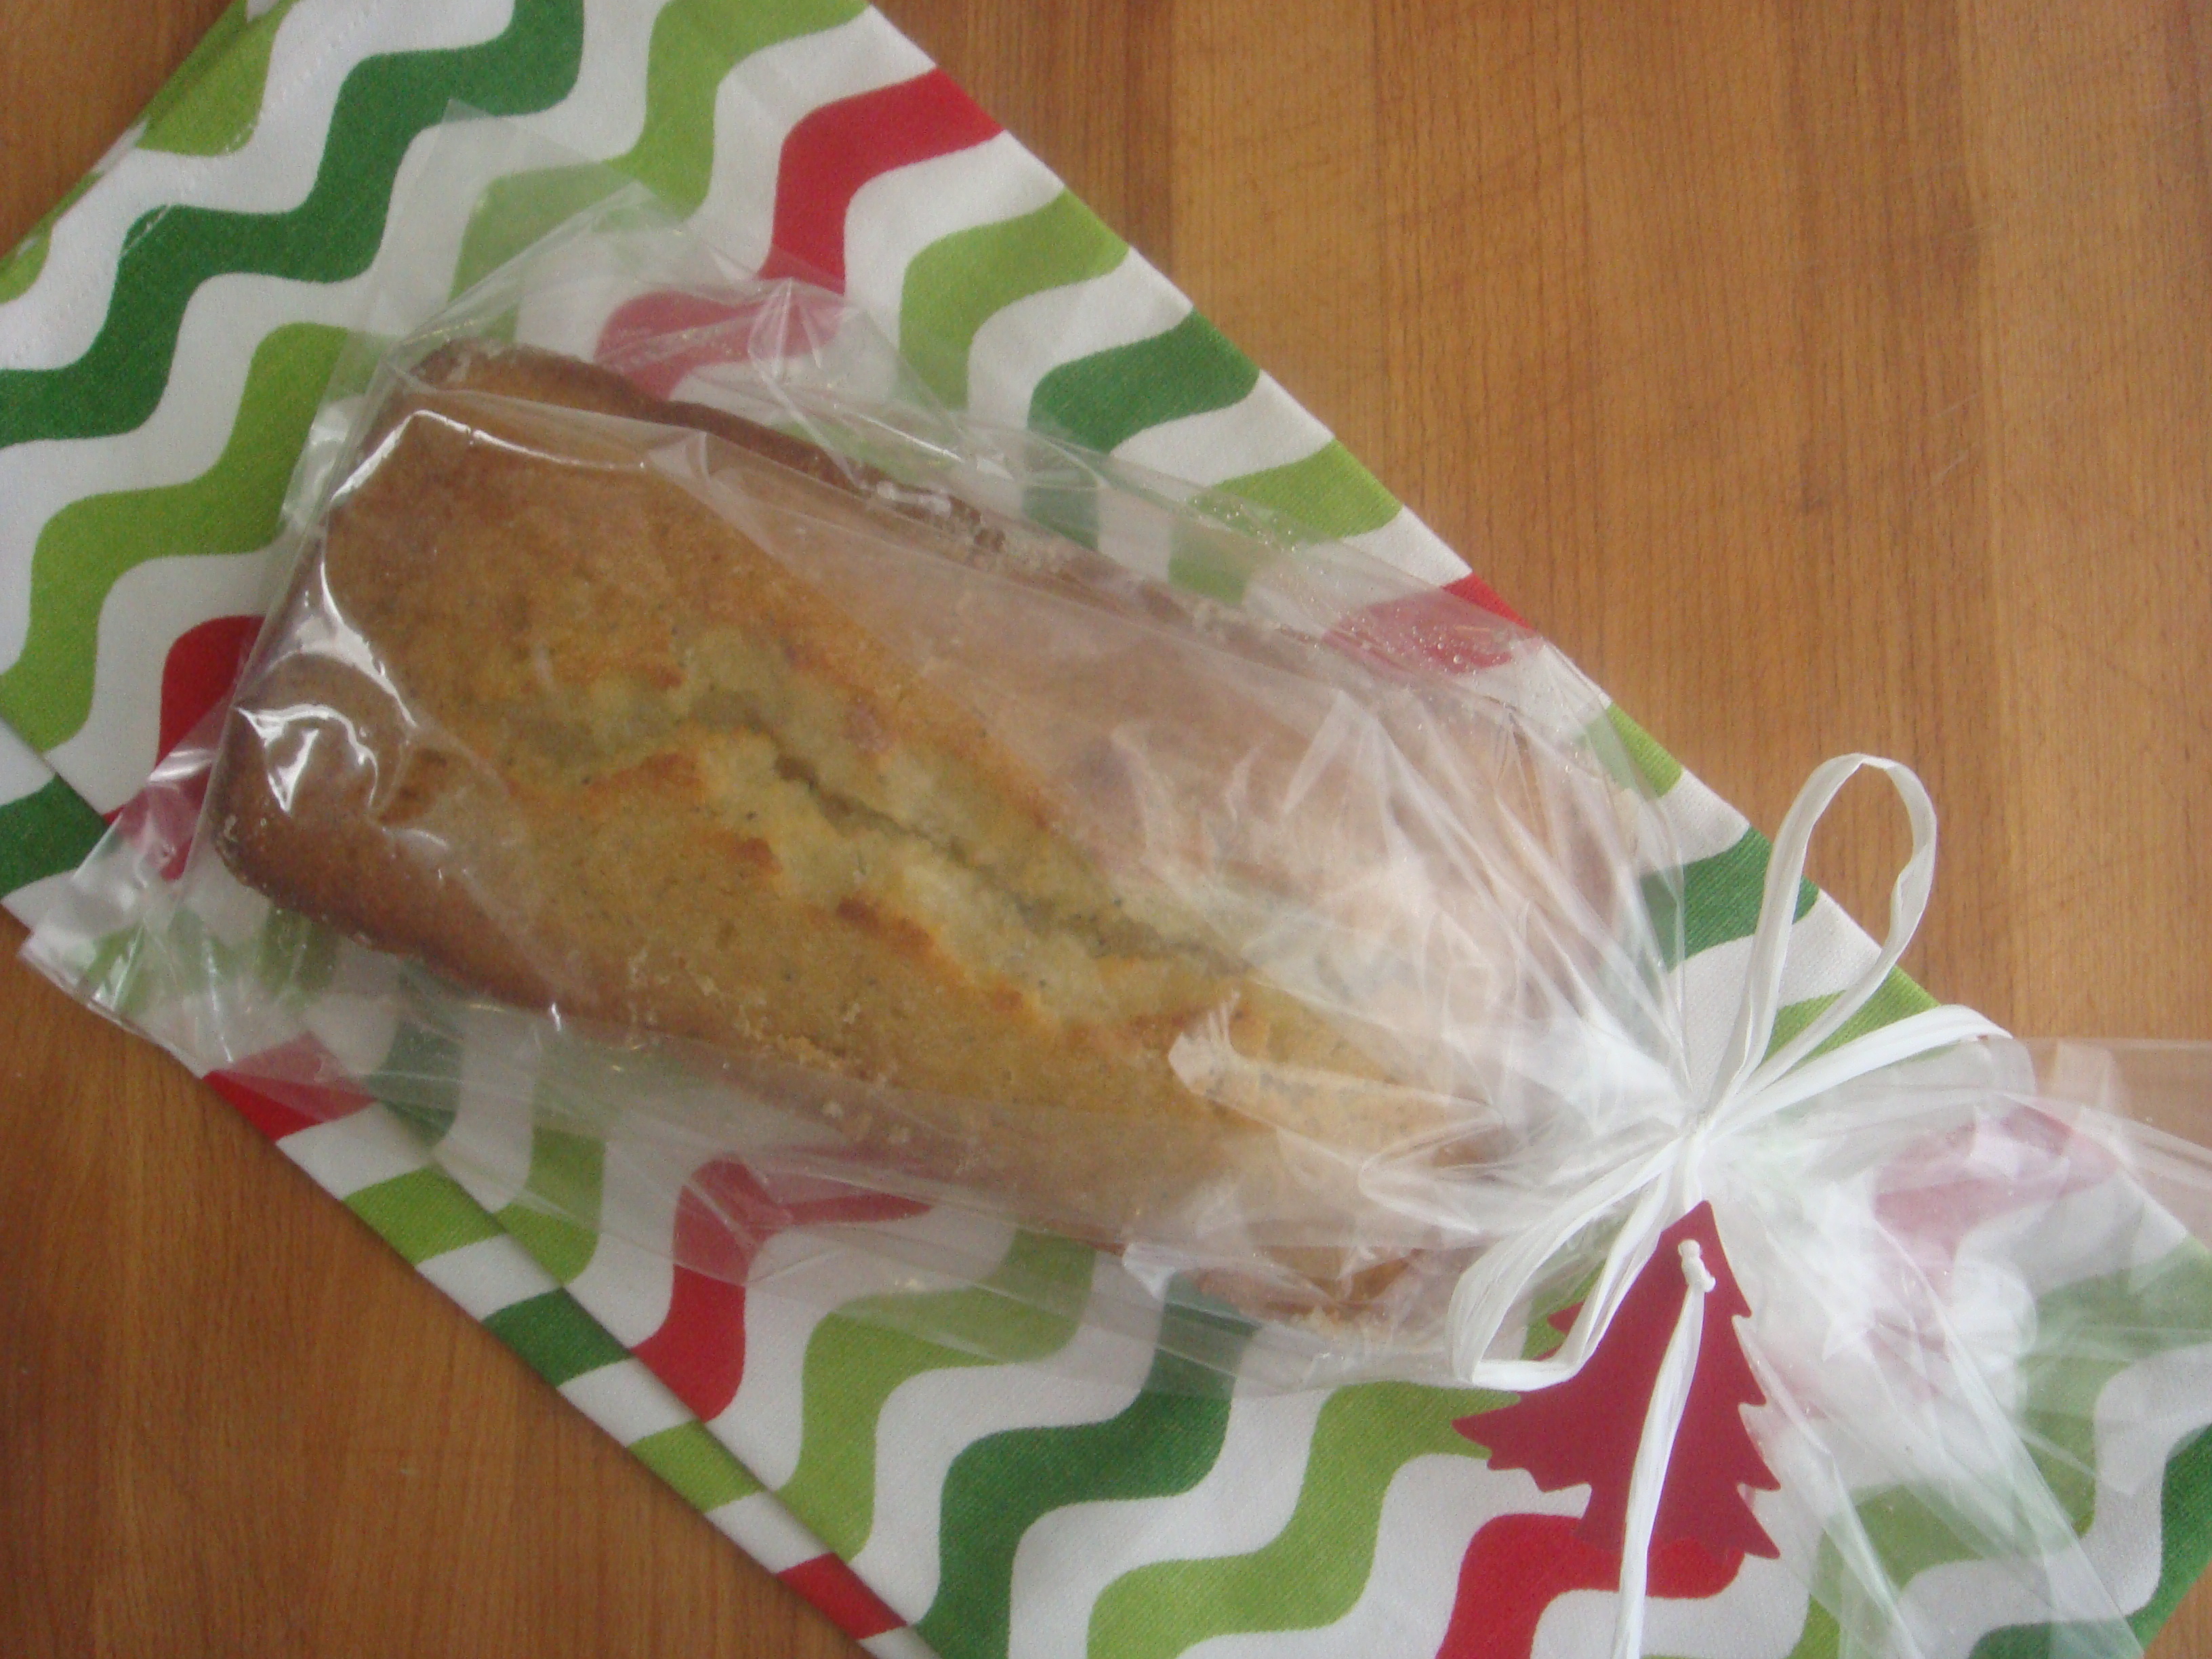
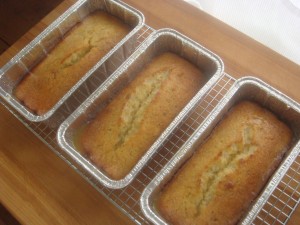
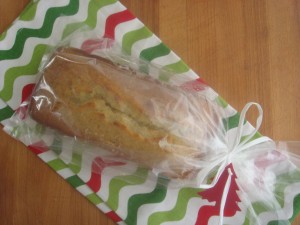
  Poppy Seed Bread makes a great gift – I give it out as Christmas gifts every year.

DSC01431


Share Button

Kahlua Brownies (aka Shower Brownies)

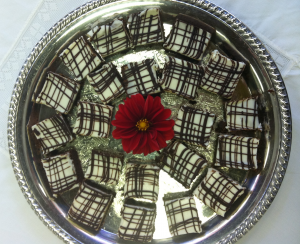
Kahlua Brownies are great for serving at parties because they’re pretty and delicious and in a completely different league than your traditional brownie.  They gained the nickname “Shower Brownies” because our friend who gave us the recipe served them at so many wedding and baby showers.  This recipe makes a half sheet pan worth of brownies, which, cut in 1+ inch squares, yields 88 brownies.  If you serve them, you will get requests for the recipe!

Source:  Jane Hyde gave the recipe to my family, and she found it in Mississippi magazine.  It was Jane’s daughter who dubbed them Shower Brownies.

Difficulty:  Medium (just because it has 3 layers so it’s more time consuming than your regular brownie)

Brownies

1 ½ cups butter

3 cups sugar

6 eggs

6 ounces unsweetened chocolate, melted and cooled

1 ½ teaspoon vanilla extract

1 ½ cups flour

¾ teaspoon salt

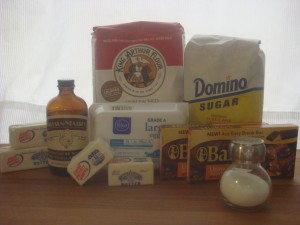
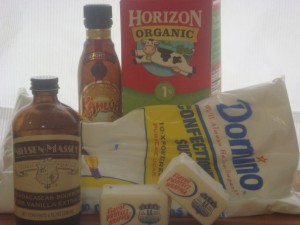
Kahlua Brownies Ingredients

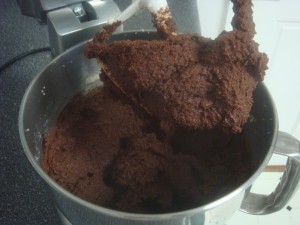
Cream butter and sugar.  Add melted chocolate.

Shower Brownies Step 1

Add eggs, one at a time.
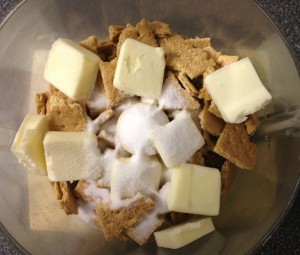
After all the eggs have been added

Add vanilla.  Stir salt and flour together and then add to mixture.  Pour into greased 12×17 jelly roll pan (“half sheet pan”).

 Kahlua Brownies Step 3

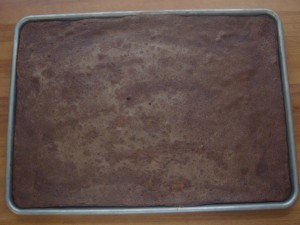
Bake about 20 minutes at 350, or until just done. Remove from oven and sprinkle with a little Kahlua.  Don’t you hate it when recipes are vague?  I use a half tablespoon or a little more.  The variation in color of the chocolate in the picture below shows streaks and drops of Kahlua.

DSC01401

Icing

6 tablespoons butter

4 ½ cups powdered sugar

6 tablespoons milk

1 ½ teaspoons vanilla extract

1 ½ teaspoons Kahlua

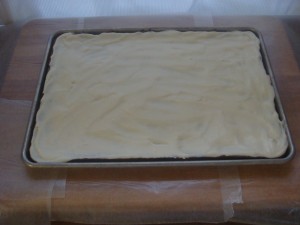
DSC01387

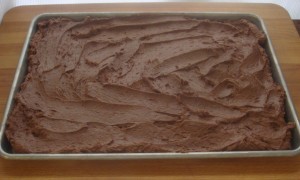
Beat until smooth.  Spread over cooled brownies.

DSC01407

Refrigerate or leave on the counter for awhile to let the icing set.

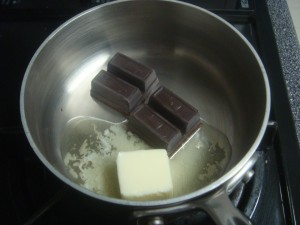
Glaze

2 ounces semi-sweet chocolate

2 tablespoons butter

Melt over low heat.

DSC01406


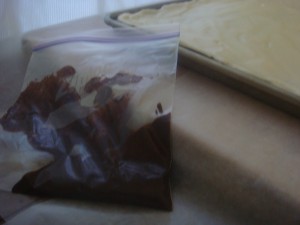
Once it has cooled a little, place in plastic bag.

DSC01408

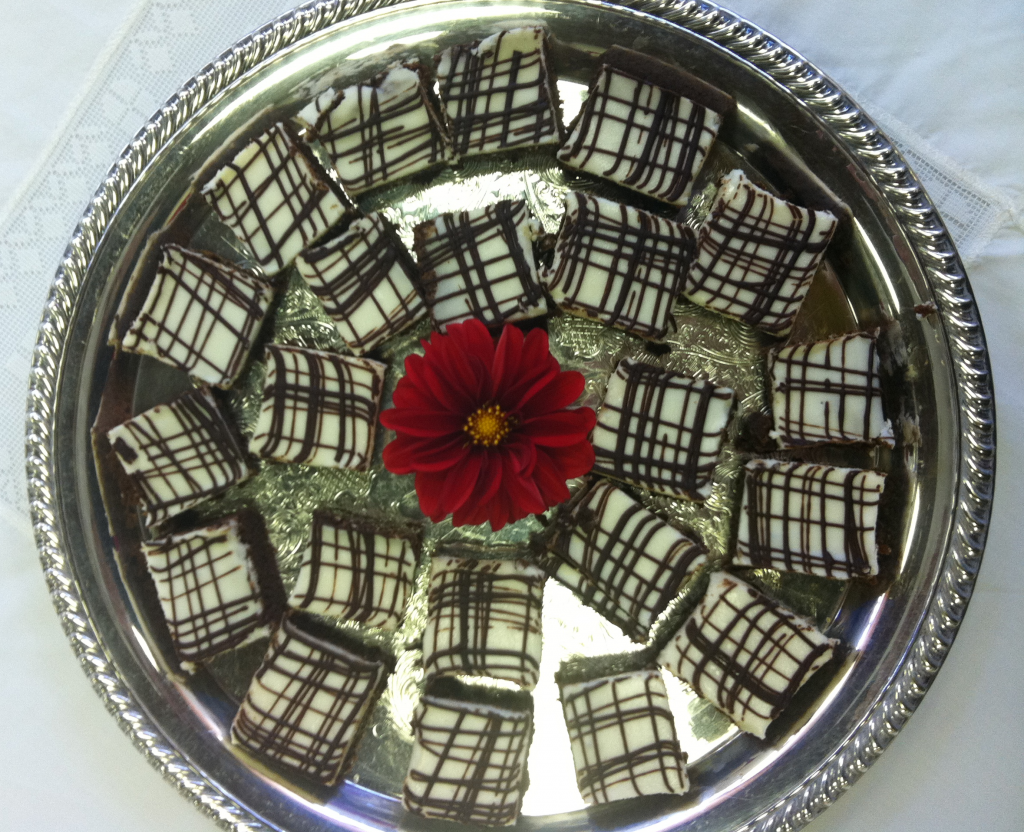
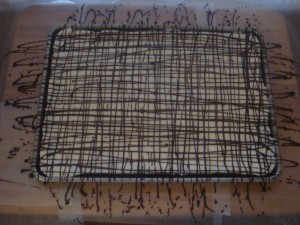
Snip tiny bit off corner of bag and drizzle over frosted brownies in a criss cross pattern.  I like it to look a little messy, which is convenient since it’s difficult to be perfectly precise with the plastic bag method of drizzling.

DSC01409

If you want the lines to go straight all the way to the end of the pan, place the pan on a counter you can sprinkle with chocolate (or wax paper like I did in the picture), then drizzle past the edges of the pan so that your turnaround spot is on the counter, not the brownies.  Drizzle with a fast sweeping motion.  You can freeze these for a few weeks as long as they’re in an airtight container.  I use the plastic lids for my pans and then wrap tightly in foil.  Cut in 1 inch squares and serve room temperature or a little cool.

thanks to my mom for this photo!

Variation

One day I’m going to experiment with replacing the Kahlua with peppermint extract and tinting the frosting green or pink to show that it’s mint.  However, every time I start to make them, I think… but they’re SO tasty with Kahlua, why mess with a great thing?  So I haven’t done it yet, but I will, and then I’ll blog about it.

The Story:  The trees are covered with ice, and the temperature is dropping dropping dropping, so i’m cooking cooking cooking today.  I’m making these for a Christmas party next weekend.  I’m freezing them tightly wrapped in foil until the day of the party to keep them as fresh as possible.

Share Button

Lemon Icebox Pie

Lemon Icebox pie is one of my favorite pies – and one of the only desserts I love that does not have chocolate in it!  Lemon icebox is about as close as I get to liking fruit desserts.

Difficulty:  Easy

Source:  you guessed it – my mom

1 14-ounce can sweetened condensed milk

2 egg yolks

1/2 cup lemon juice (fresh squeezed, may need to add more)

1 teaspoon lemon zest (I prefer to leave this out)

1 graham cracker crust – http://notjustanotherfoodblogger.com/graham-cracker-crust/

For anything bigger than a shallow 8 inch pie plate, you’ll probably want to double this recipe.  You may not end up using quite double, but you’ll want more than a single recipe.

lemon juicing
It really is important to use fresh squeezed lemon juice.

Mix sweetened condensed milk with egg yolks and 1/2 cup lemon juice. Add more lemon juice to taste.  Stir with whisk until completely mixed.  I’m making 2x the recipe here.

I don't worry if I get some lemon seeds in this part because I'm going to strain it  later.
I don’t worry if I get some lemon seeds in this part because I’m going to strain it later.

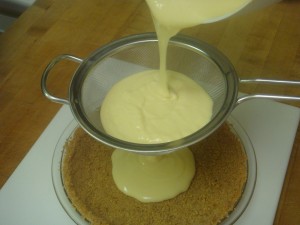
Pour through strainer into pie crust.  The straining gets rid of lemon pulp and bits of the egg yolk.  If you use lemon zest, you’ll want to pour through the strainer into a bowl before adding lemon zest, then stir in the zest and pour into crust.

Thanks to my mom and brother for helping with this pic!

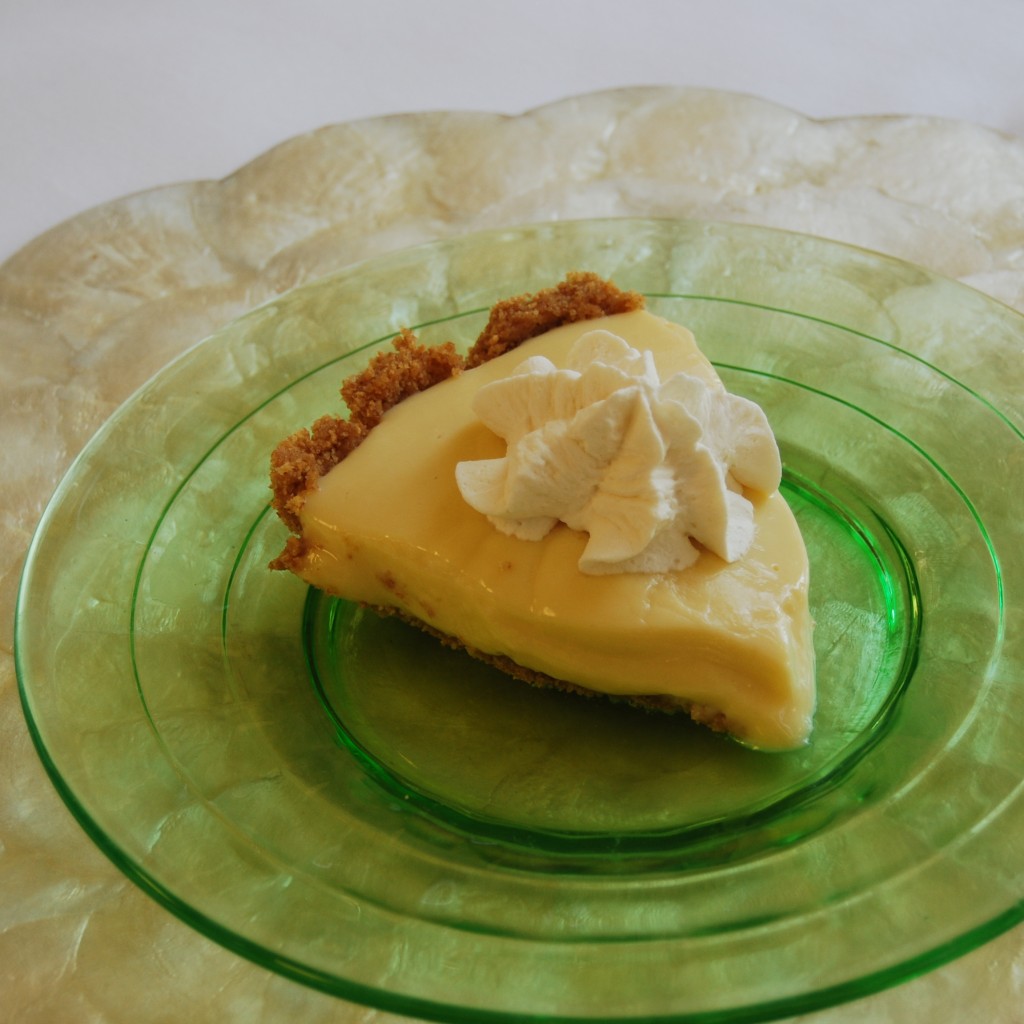
Refrigerate for a few hours until set.  Serve with meringue topping or whipped cream.  I think it’s excellent without any topping.  This version of this pie isn’t as firm as what you’ll generally find in restaurants, but I like the taste of this version best.  More lemon juice will make it a bit more firm.

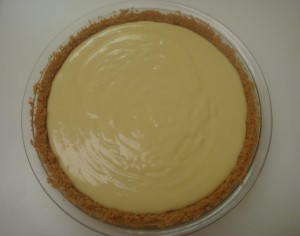
Finished product!
Finished product!

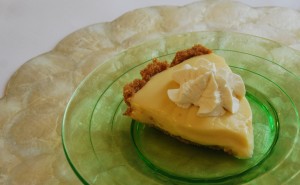
Lemon Icebox Pie

The Story:  Growing up I wasn’t a huge fan of birthday cake, which required (can I say inspired?) some creativity on the part of my mom when it came to birthday party planning.  For my 6th birthday she made miniature lemon icebox pies for my party guests.  I’m not sure my guests were as excited about the lemon icebox as I was, but I loved it for sure!

Share Button

Graham Cracker Crust

Homemade Graham Cracker Crust is very easy (as long as you have a food processor) and SO much better than the bought version.  This crust is part of my cooking ahead for Thanksgiving, so be on the lookout for a future post with the lemon icebox pie filling.

1 package graham crackers + 1 sheet (i.e. 1 of the three packages that come in a box plus one rectangular graham cracker)*

3/4 stick butter, cut in pats

1/4 cup sugar

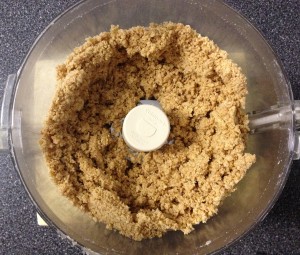
Break graham crackers into pieces.  Combine all ingredients in food processor and process until mixed and well ground but not as fine as sugar.

2013-11-17 15.10.57

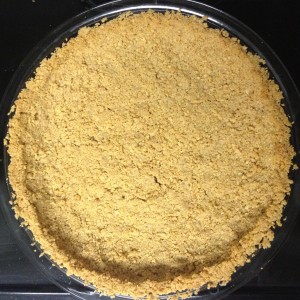
Graham Cracker Crust in the food processor

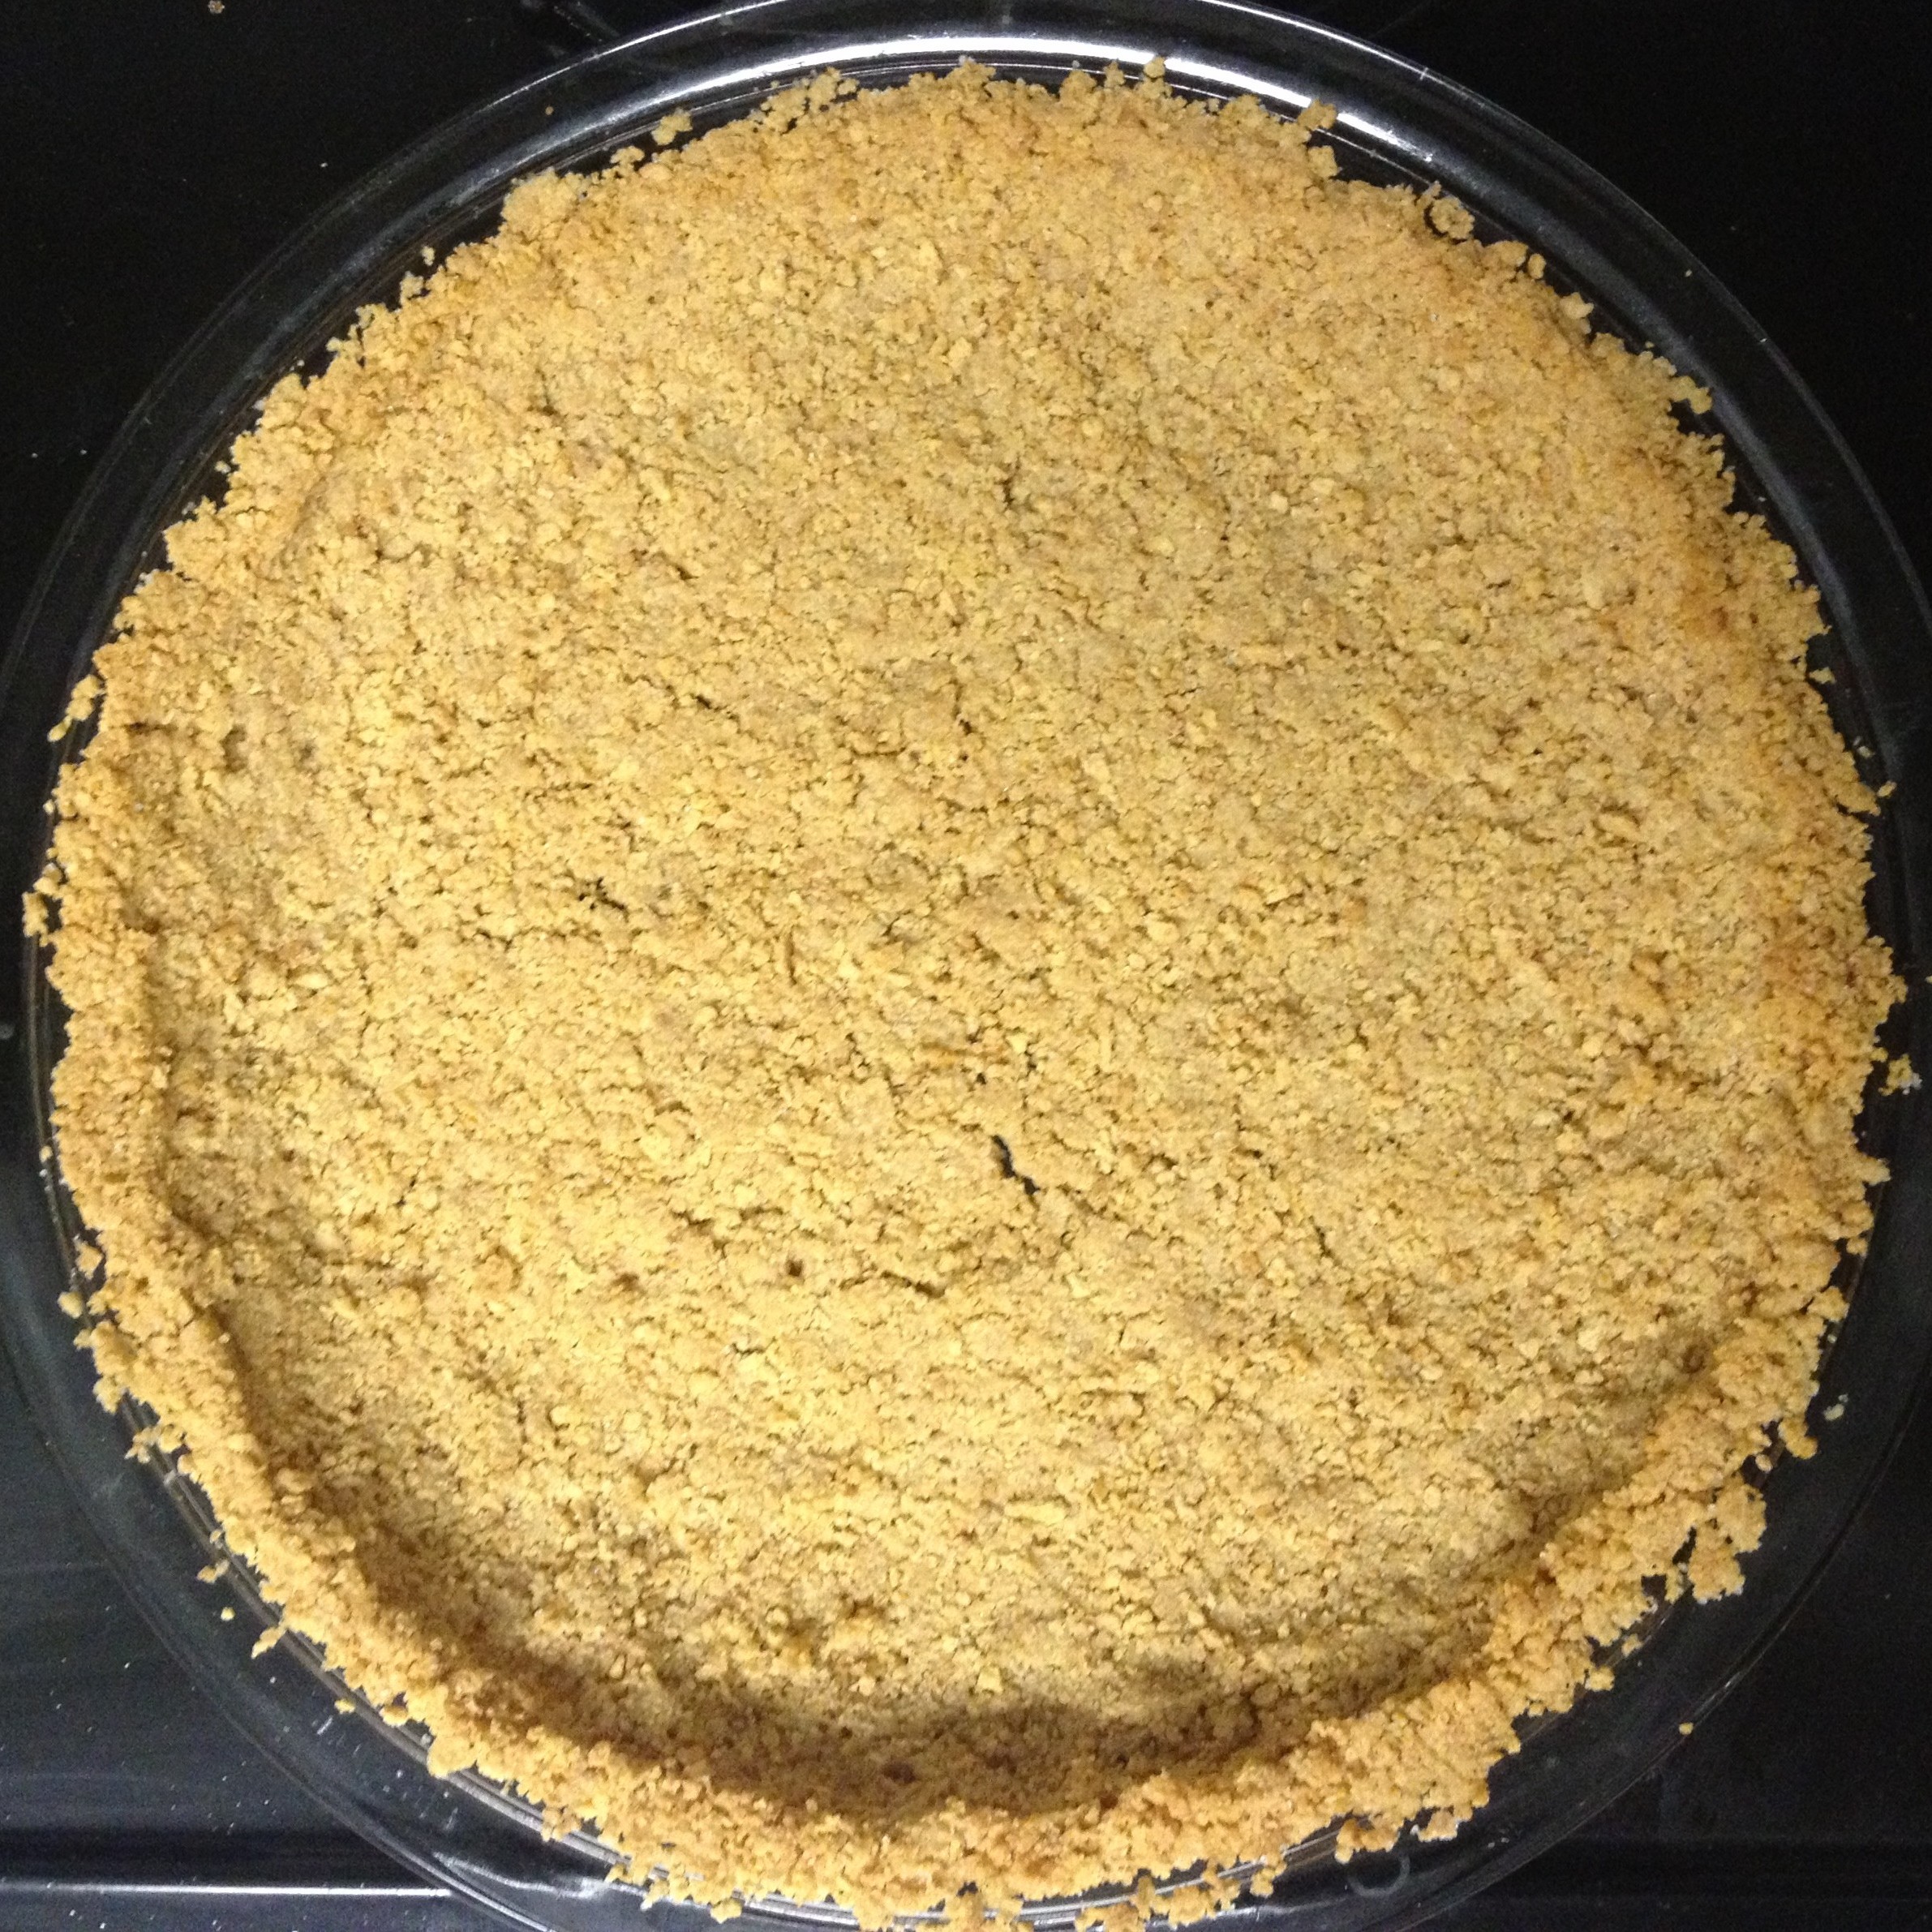
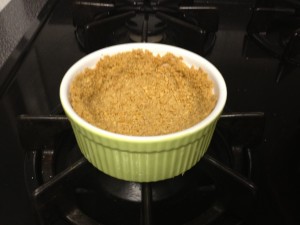
Press gently into pie plate just enough to make it into a crust – don’t pack it tightly.  For a shallow 8-9 inch pie plate, I do not use all of the mixture and put the rest in a ramekin for a very small pie.

graham cracker crust

2013-11-17 15.33.11

Bake at 350 degrees (325 convection) for 5-10 minutes until just a little toasty brown.  Fill with pie filling (my favorites are lemon icebox <link below> and hot fudge) or wrap tightly in foil and freeze until needed.

http://notjustanotherfoodblogger.com/lemon-icebox-pie/

* The Story behind the extra graham cracker:  My sister has been a graham cracker aficionado ever since I can remember.  She once noticed that a box of graham crackers wasn’t up to par and called Nabisco to report a “bad batch.”  They sent her coupons, but that wasn’t her goal.  She just wanted them to know for quality control reasons.  So of course she noticed when they dropped the number of graham crackers in each package (3 packages to a box) by one graham cracker.  She called to confirm that Nabisco had in fact changed the number of sheets per pack and then let all of the family know that we needed to adjust our recipes.  Could you skip the extra graham cracker and still be fine?  Sure, but I stick with adding the graham cracker, partly because I get such a kick out of thinking of my sister (busy mom of three boys) on the phone with the people at Nabisco discussing graham crackers.  And of course, I like to be precise.


Share Button

Easy Caramel Sauce

This Easy Caramel Sauce is better than any I’ve found in stores, and it’s truly very easy.  It’s not technically “real” caramel sauce since you don’t have to caramelize the sugar, but that’s what makes it easy, and you’ll never get a complaint, even from serious caramel fanatics.

1 cup dark corn syrup

1/2 cup white sugar

1/2 cup light brown sugar, packed

1/4 teaspoon salt

1/2 cup cream

2 tablespoons butter

1 teaspoon vanilla

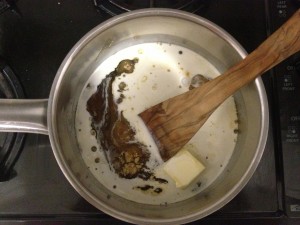
Combine all ingredients except vanilla.  Stir over medium heat until it comes to a boil.

2013-11-16 23.33.43

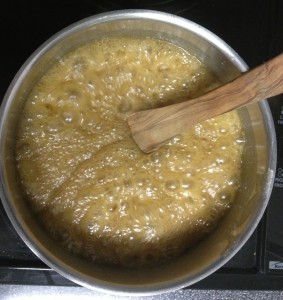
Boil for 5 minutes.

2013-11-16 23.40.18

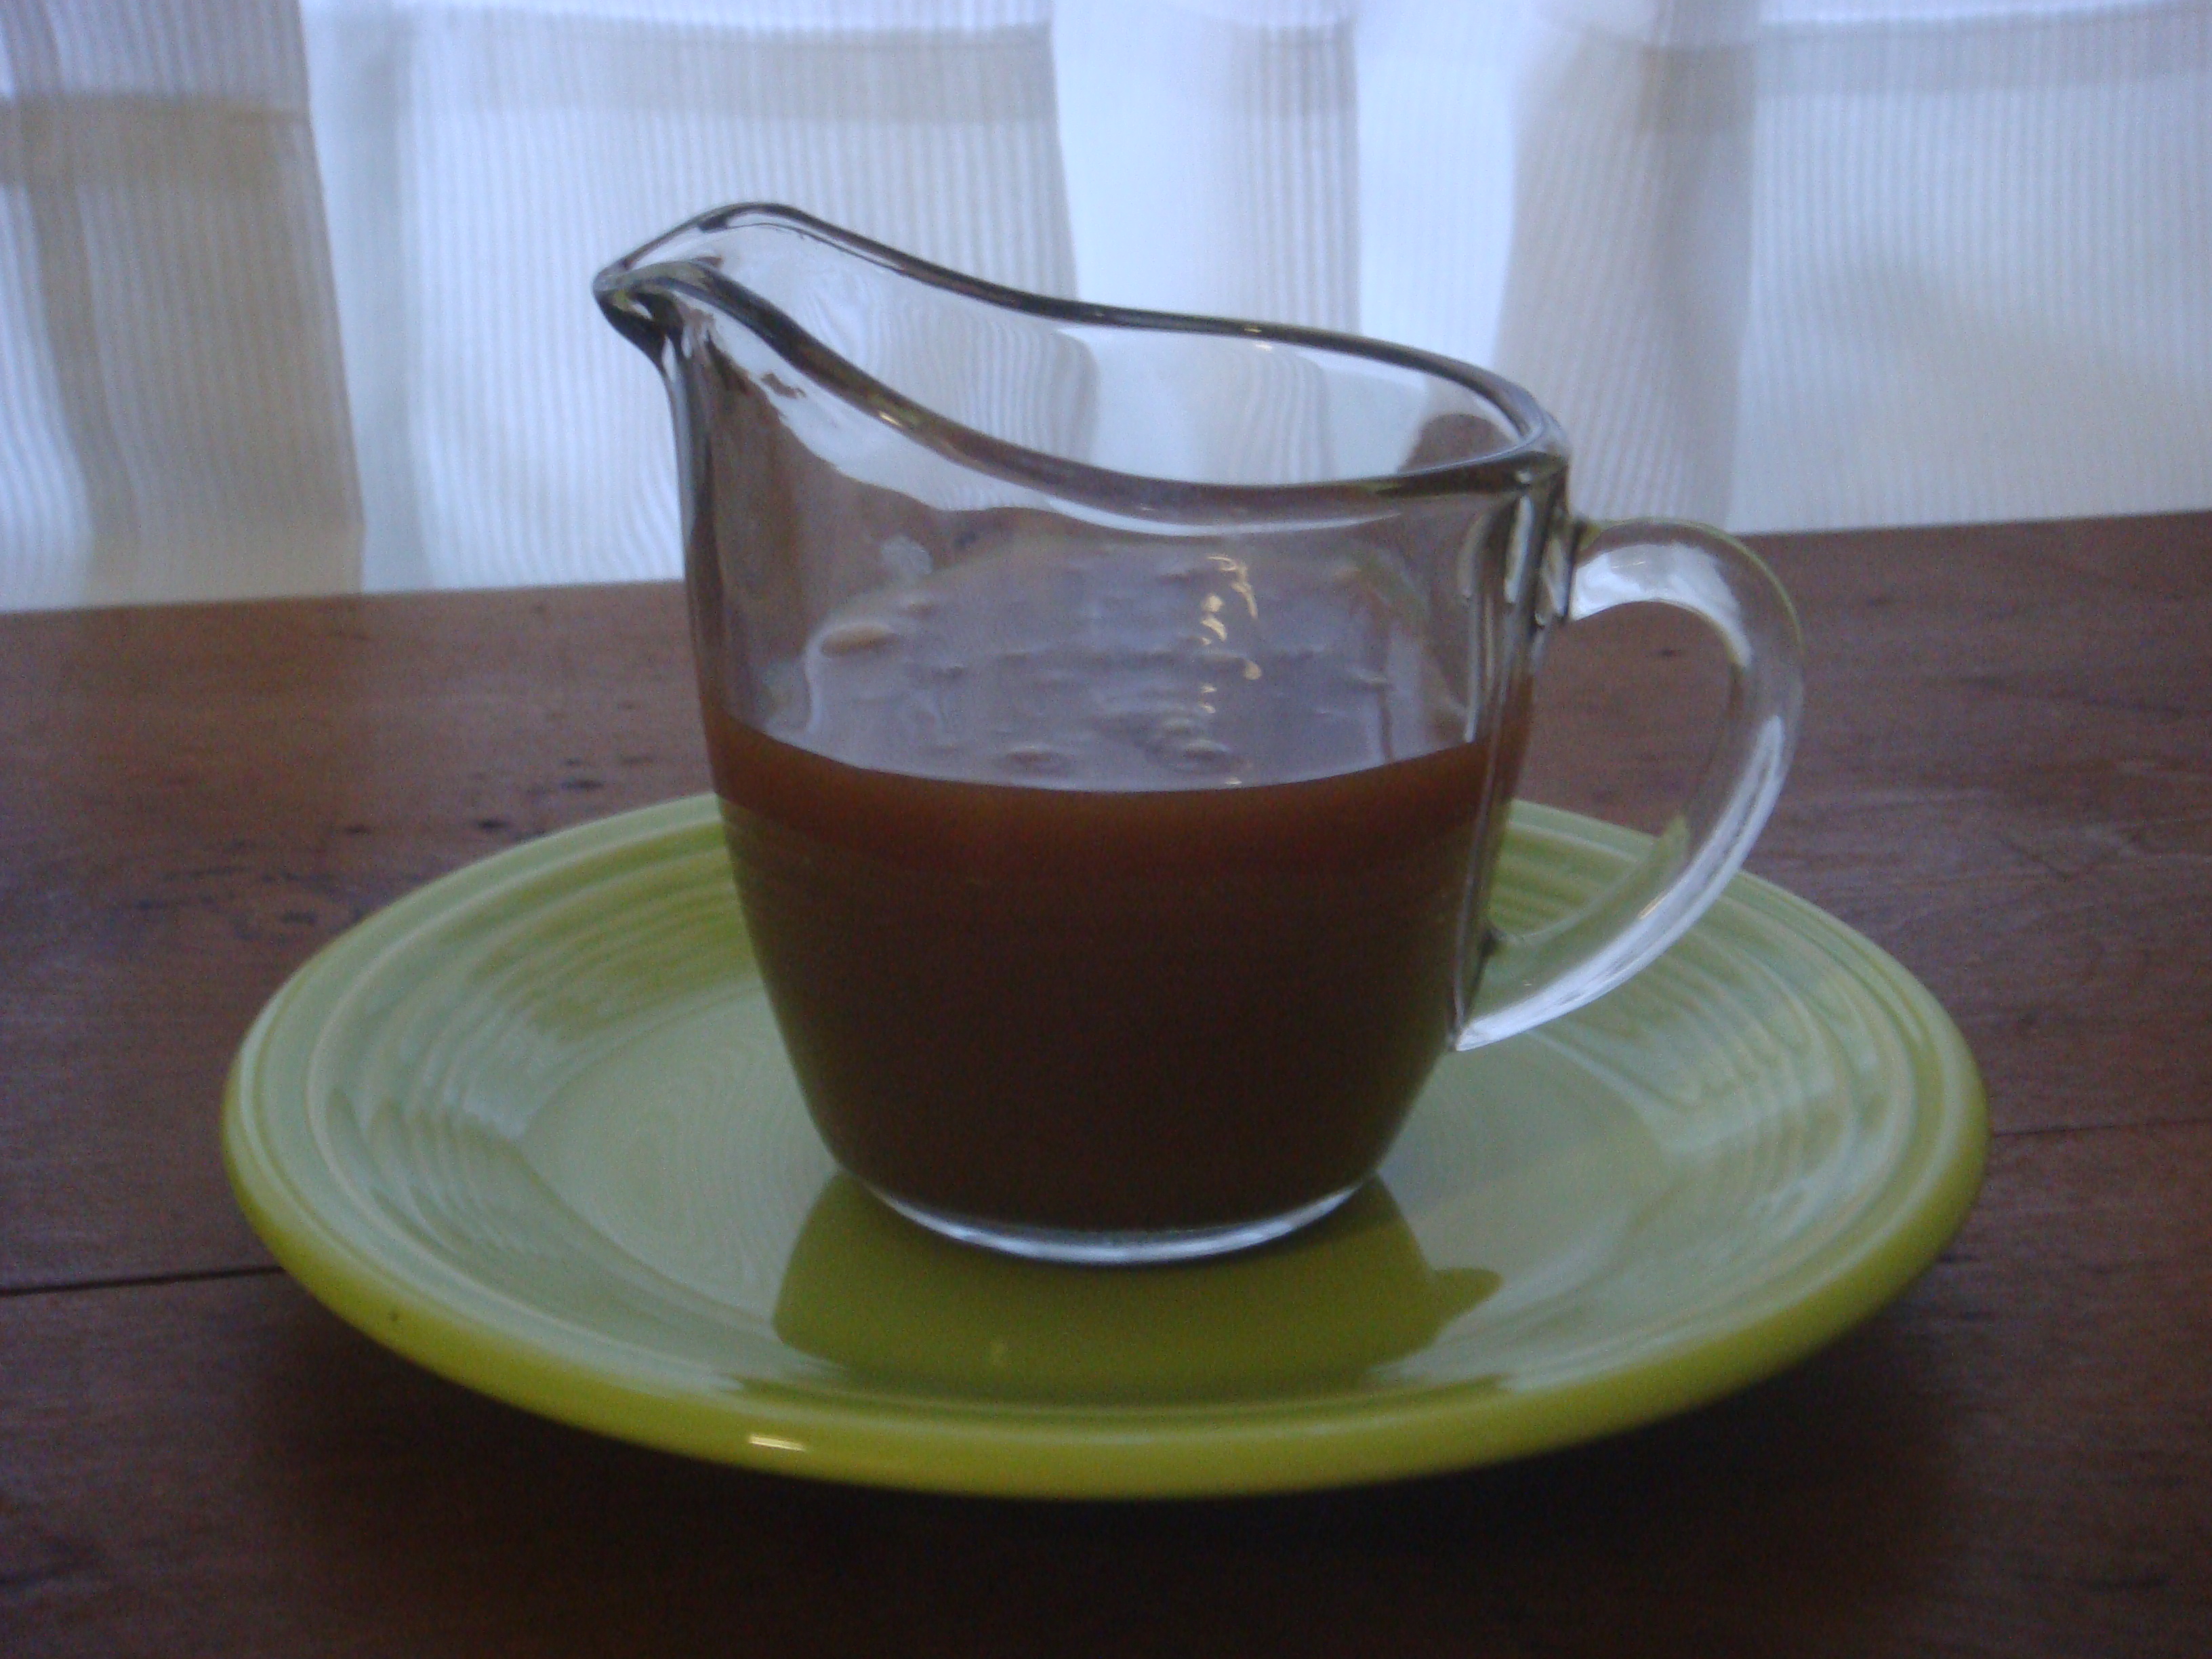
Remove from heat and add vanilla.  Serve warm over ice cream.

DSC01258

This keeps well in the refrigerator for weeks…that is, if there is any left from people grabbing a spoonful here and there!

The Story:  A good friend of mine is a caramel fanatic, and I keep trying to find a bought caramel sauce that is as good as this one, but I haven’t found one yet.  She eats it by the spoonful straight out of the refrigerator “because you don’t lose any from dripping that way.”

Share Button

Really Fudgy Hot Fudge Sauce

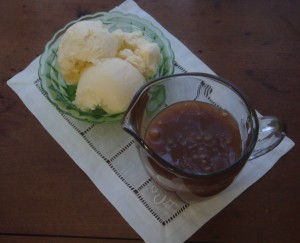
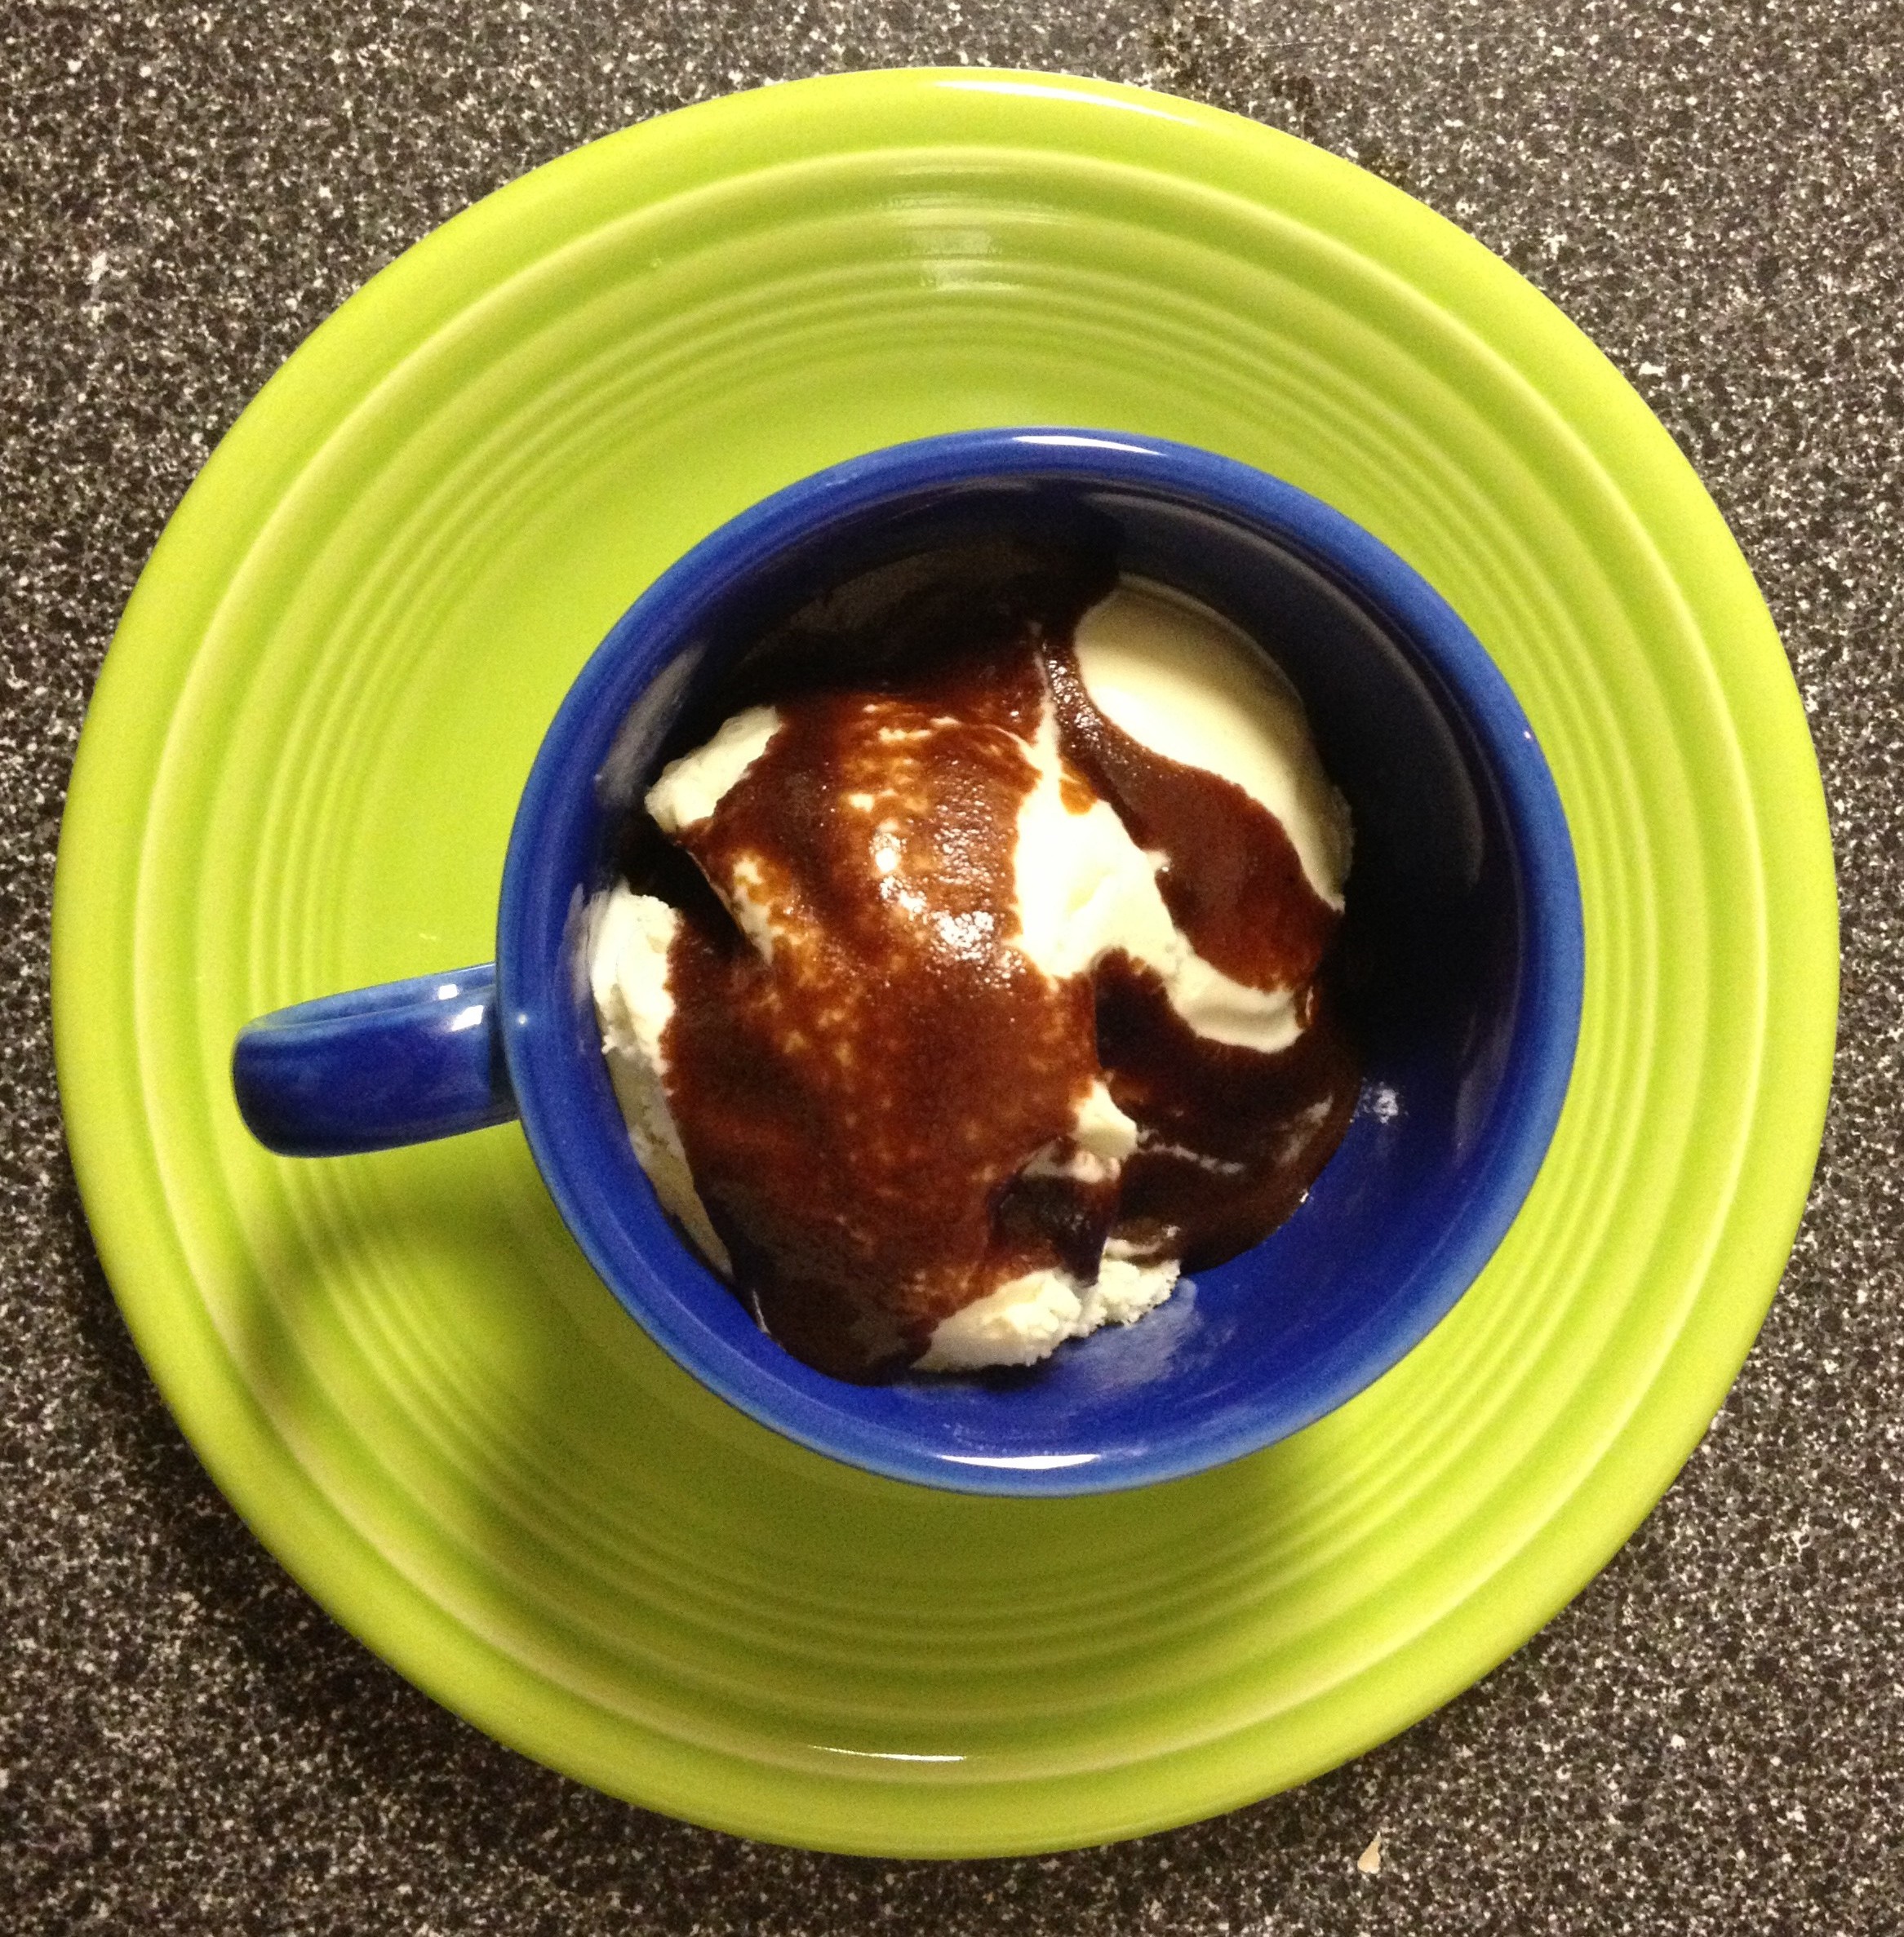
This fudge sauce is, as advertised, really fudgy as well as thick and smooth – just exactly what fudge sauce should be.   It will make you wonder why you ever wasted any time with Hershey’s syrup.  There is really no comparison.

Source:  my mom, of course

Difficulty:  Easy

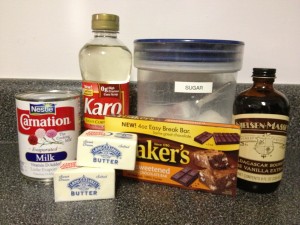
½ cup butter

2 ½ squares unsweetened chocolate

2 cups sugar

1 cup evaporated milk (use 3/4 cup evaporated milk and 1/4 cup whipping cream to really take it up a notch)

½ cup light corn syrup

1 teaspoon vanilla extract (or kahlua or other flavoring of choice)

IMG_1722

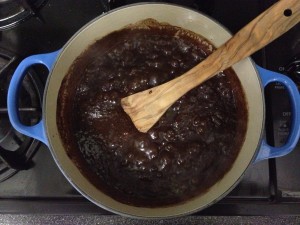
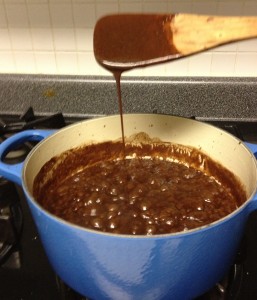
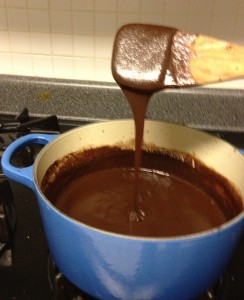
In a heavy saucepan, melt the butter and chocolate together.  Add the sugar and stir until blended.  Then add the corn syrup and evaporated milk gradually, stirring to incorporate.  Continue stirring over low to medium heat until the sugar is dissolved.  Then bring to a boil and let boil for 1 ½ to 2 minutes or until a little thinner than you want it to be.  It thickens as it cools – see the difference between the hot and cooled fudge sauce as it runs off the spoon in the pics below.  Remove from heat and add vanilla.

IMG_1724

IMG_1725

IMG_1730

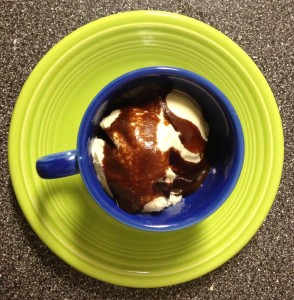
Serve warm over ice cream.

IMG_1735

Recipe yields about 3 1/3 cups of fudge sauce.  This fudge sauce can be made weeks ahead of time and kept in the refrigerator.  Of course, it will likely suffer some attrition over time if you have a sweet tooth like mine!

The Story:  When I was growing up my mom and her friend started the Christmas tradition of a fudge sauce and peppermint ice cream swap.  My mom would make fudge sauce for both families, and her friend would make homemade peppermint ice cream for both families.  This fudge sauce served warm over any ice cream is excellent, but it really takes it to another level to serve it over homemade peppermint ice cream.

I hesitated to even mention Hershey’s syrup in the description at the top, because really, it doesn’t belong in the same sentence with this fudge sauce. Let’s leave Hershey’s syrup to what it does best – flavor milk.


Share Button

Pumpkin Cake

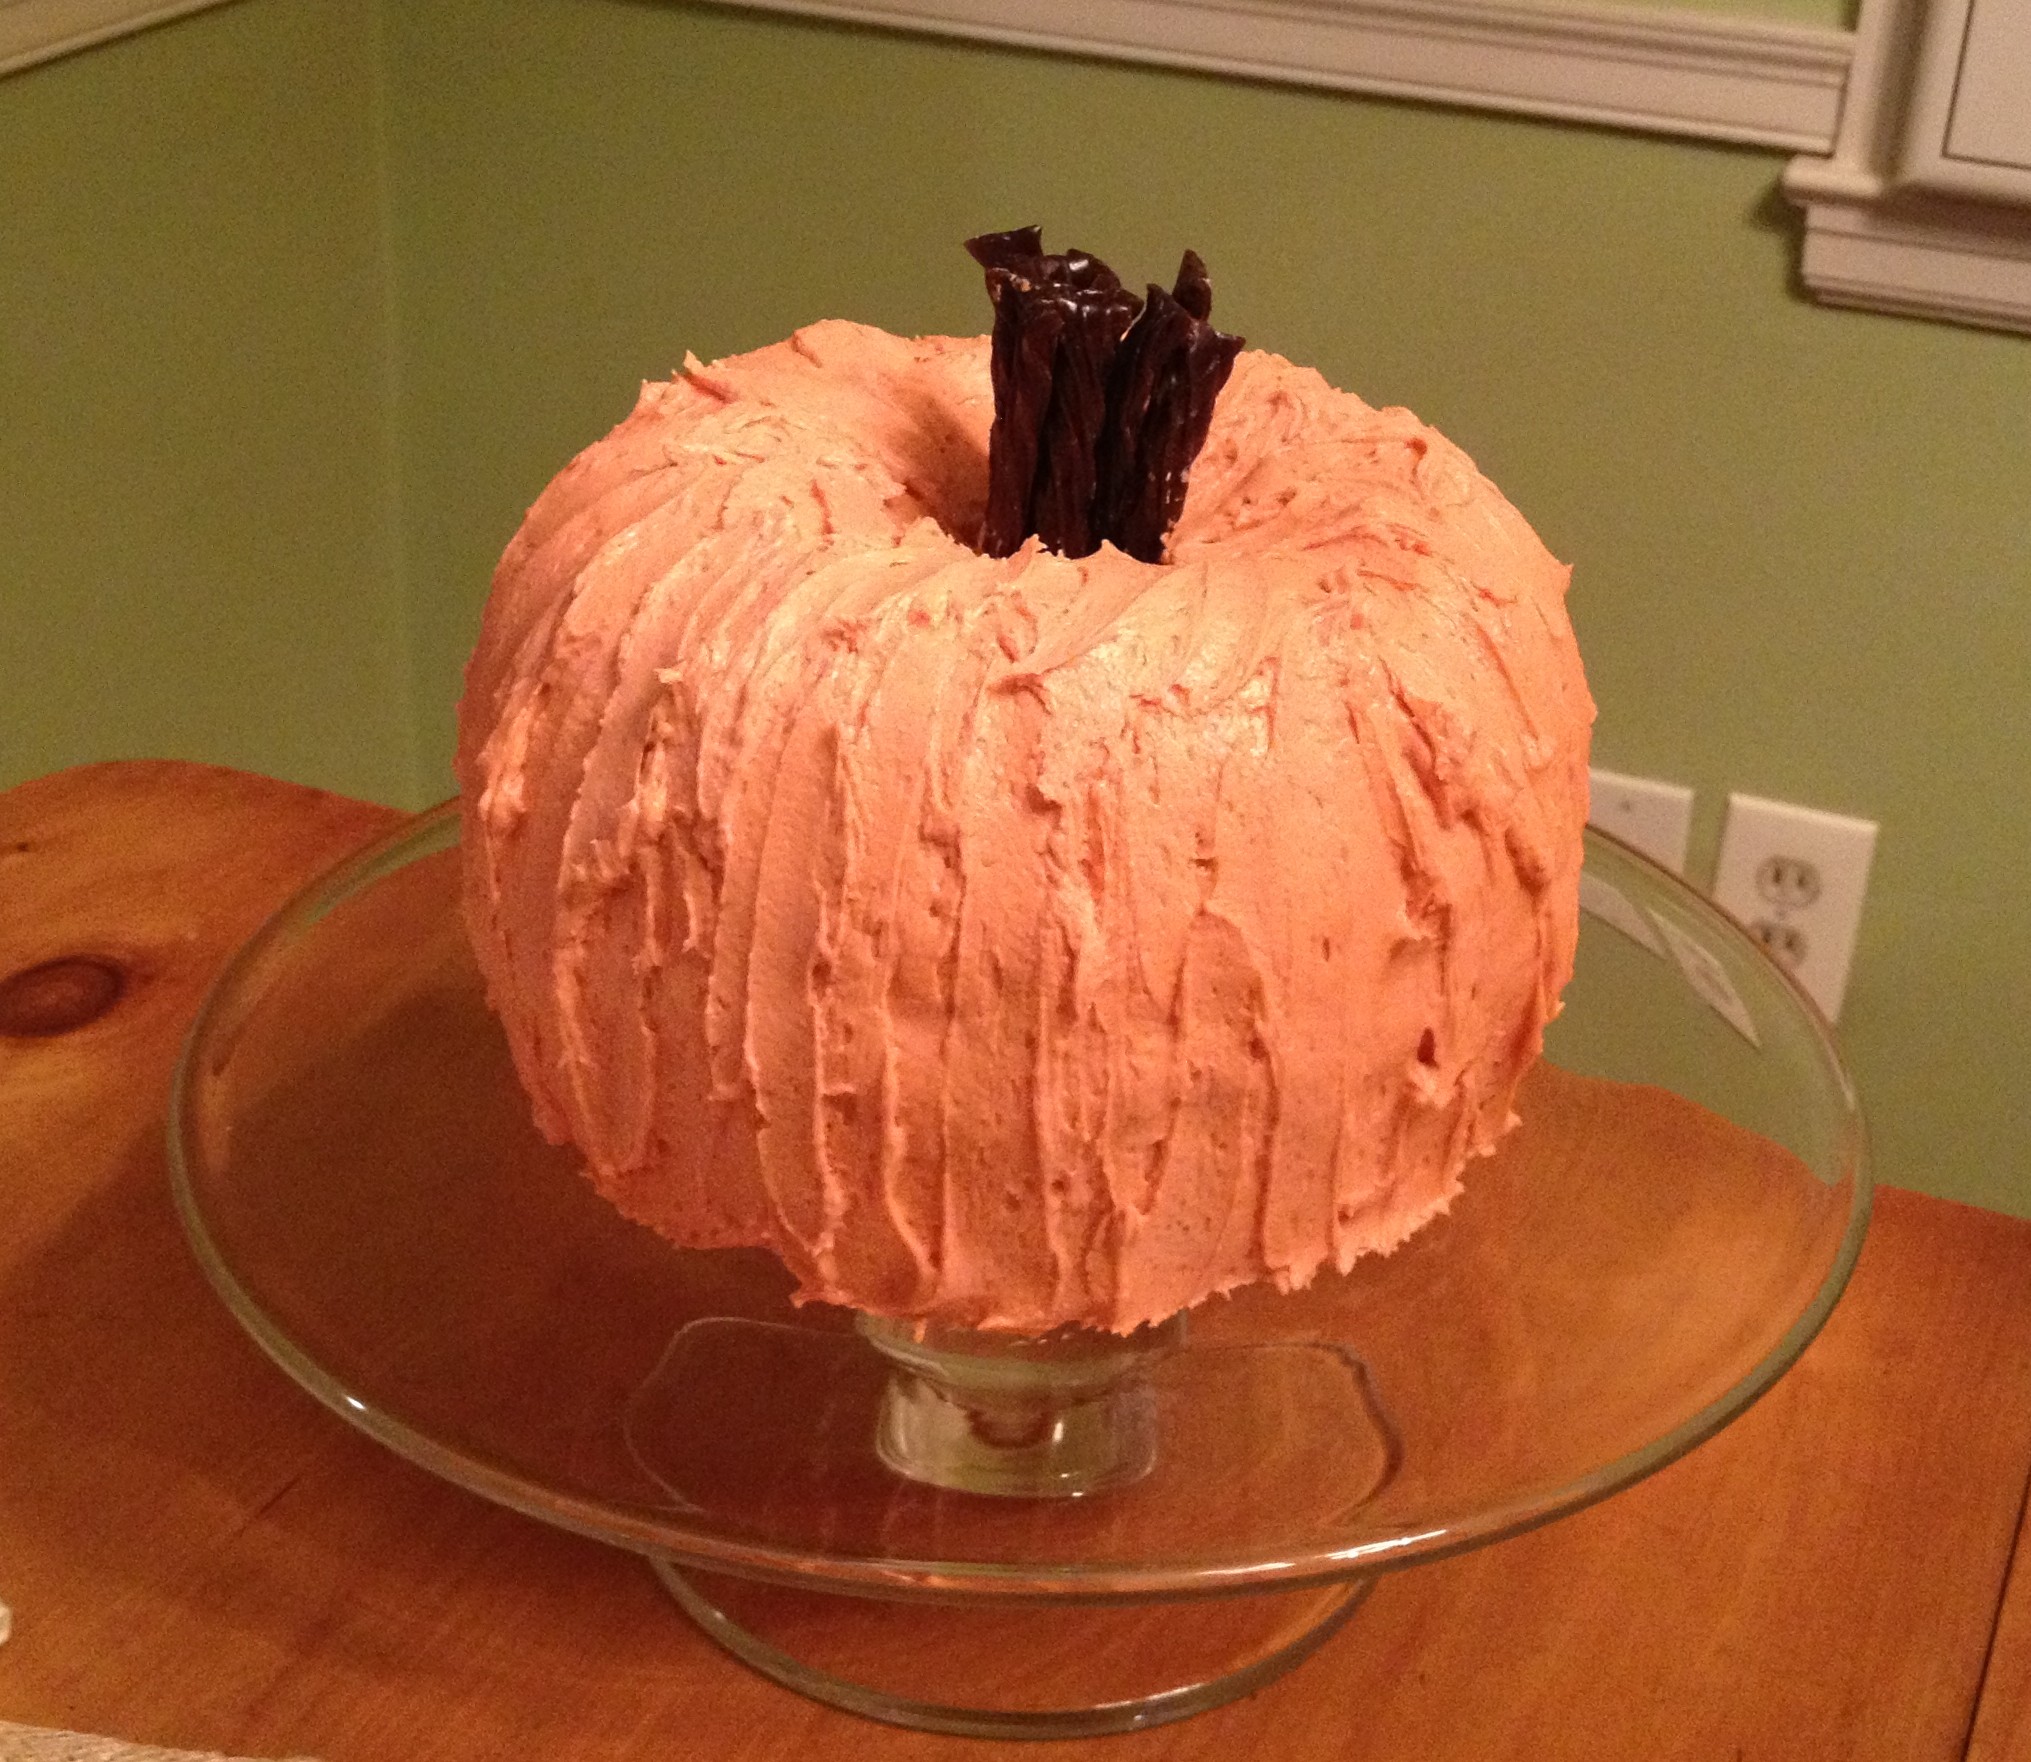
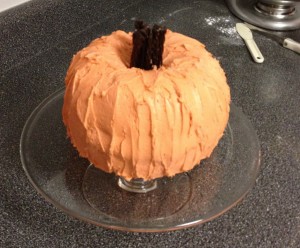
What’s not to like about this pumpkin-shaped cake?  It doesn’t require a huge amount of effort, and it’s a Halloween treat that looks and tastes great.  Note:  there is no pumpkin flavor in the cake or the frosting.

Where I got the idea: a picture on Pinterest (the link did not work)

What I like about this recipe:  It’s really cute (and seasonal) without requiring a huge amount of effort, and it tastes great as well.

Difficulty:  Medium


The Recipes

Grandmother Sarah’s Pound Cake (1 recipe cooked in 2 6-cup bundt pans)

http://notjustanotherfoodblogger.com/grandmother-sarahs-pound-cake/

Buttercream Frosting (make 2x this recipe)

http://notjustanotherfoodblogger.com/buttercream-frosting/


The Process

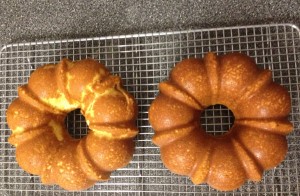
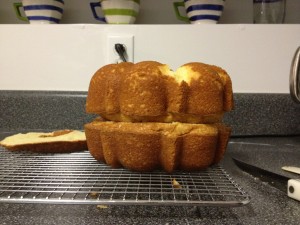
Cake:  Bake one recipe of Grandmother Sarah’s Pound Cake divided into two small bundt pans.  Let cool on cooling racks.  If the bottoms of your cakes (top while they’re in the pans) are rounded, cut most of this off to get the desired pumpkin shape when the cakes are placed on top of each other bottom to bottom.

IMG_1702

IMG_1703

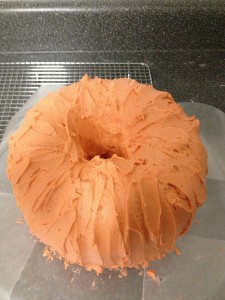
Frosting: Make 2x the Buttercream Frosting recipe, using a little less milk than it suggests since you’ll be adding quite a bit of moisture with the food coloring.  I used Wilton orange food coloring and next time will add some yellow food coloring to make it closer to a real pumpkin color.

IMG_1704

Pulling it all together:  Place one cake upside down on your cake plate with several strips of wax paper tucked under the edges to catch extra frosting.  Frost the top of this cake (actually the bottom of the cake that is facing up) and place the other cake on top of the icing.  Next ice the cake with a thin layer of icing (a “crumb layer”) to seal the crumbs.  Then ice the cake, using extra icing in the hole in the center, while still leaving room for your stem.  Use upward strokes on the frosting to create the look of a grooved pumpkin.  Cut a bunch of chocolate twizzlers to the desired height (they can be tall enough to rest on your cake plate), and place them in the middle for the stem.  Touch up the frosting around the stem and add twizzlers to the edges to cover up any frosting that has gotten onto the twizzlers.

pumpkin cake


IMG_1716

The Story:  I saw this on Pinterest the week before Halloween and just HAD to try it.  So I made it for book club and served it with ice cream and fudge sauce.  It was a hit both at book club and at the office as leftovers.

http://notjustanotherfoodblogger.com/really-fudgy-hot-fudge-sauce/


Share Button

Buttercream Frosting

This is an excellent basic buttercream frosting recipe that I use to frost cinnamon rolls as well as cakes…and sometimes just eat it with a spoon!

Difficulty:  Easy

1 pound powdered sugar (sifted if you’re adding food coloring)

1 stick salted butter (softened)

¼ cup milk

A splash of vanilla

A couple of shakes from the salt shaker

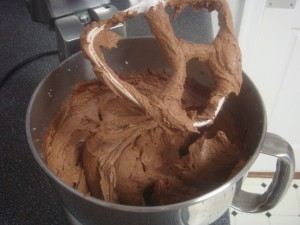
Place ingredients in mixer bowl, and beat until fluffy.

IMG_1587

Share Button

French Silk Frosting

The search for your favorite chocolate frosting recipe is now over!  This is far and away the best chocolate frosting I have ever eaten.   

Difficulty:  Easy

Source:  as with so many recipes, my mom

4 cups powdered sugar

1 cup (2 sticks) softened butter

3 ounces melted and cooled unsweetened chocolate*

1 ½ teaspoons vanilla extract

½ teaspoon cognac

3 tablespoons milk

*The most important (and easiest to botch) part of this recipe is melting the chocolate without cooking/burning it.  If when you mix the chocolate into the mixture, you have tiny chocolate pieces all throughout, you overheated the chocolate.  The frosting will still taste pretty good.  It will just not be homogeneous and won’t taste as great as it would have tasted.

In mixer bowl, blend sugar, butter, and vanilla on low speed.  Then add melted chocolate and cognac.  Gradually add milk.  Beat on high speed until smooth and fluffy.  The frosting gets lighter colored when it is fluffy enough.

The Story:  Our family refers to this as “Don’s First Birthday Frosting,” since that was the first time my mom used this recipe.  Don is the dad of the 2 year old whose birthday cake was the train cake, so we’ve been using this frosting recipe for quite a long time.  When a friend of mine tried this frosting (and learned the name of it), she said, “Tell Don I’m SO thankful he was born!”
This pic is of my godson’s third birthday cake.  So far each year I’ve changed the cake shape but never the frosting!
IMG_0262

Share Button