All posts by notjustanotherfoodblogger

Angel Food Cake

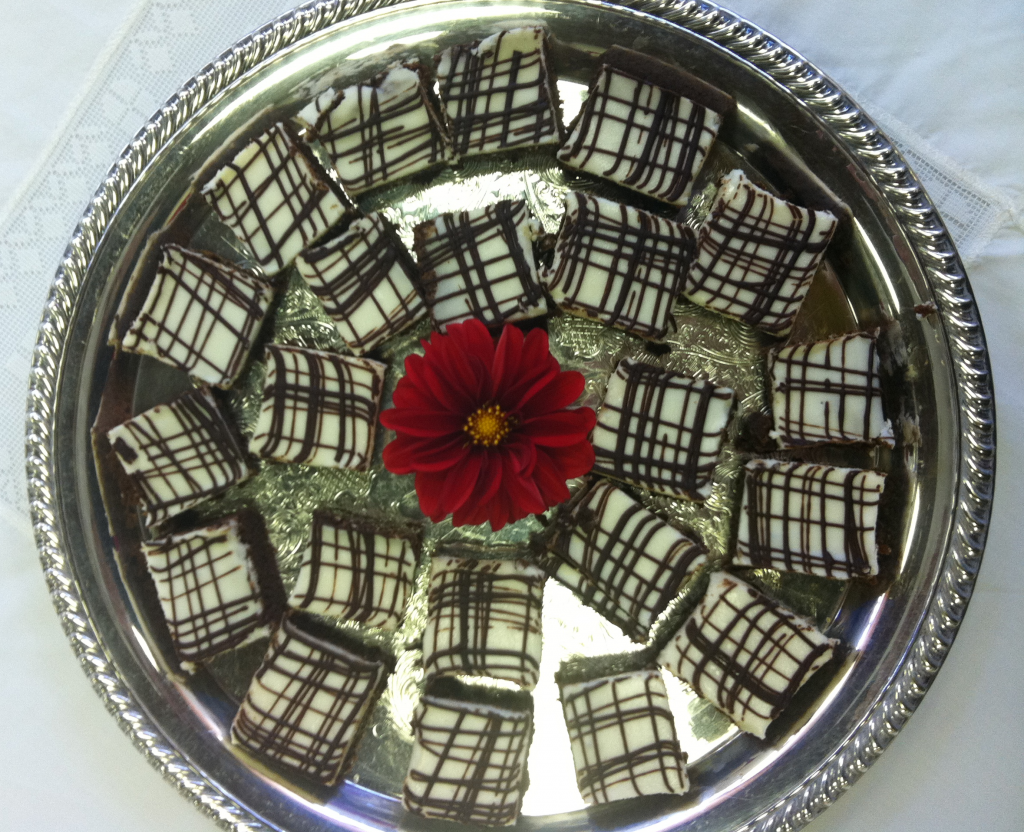
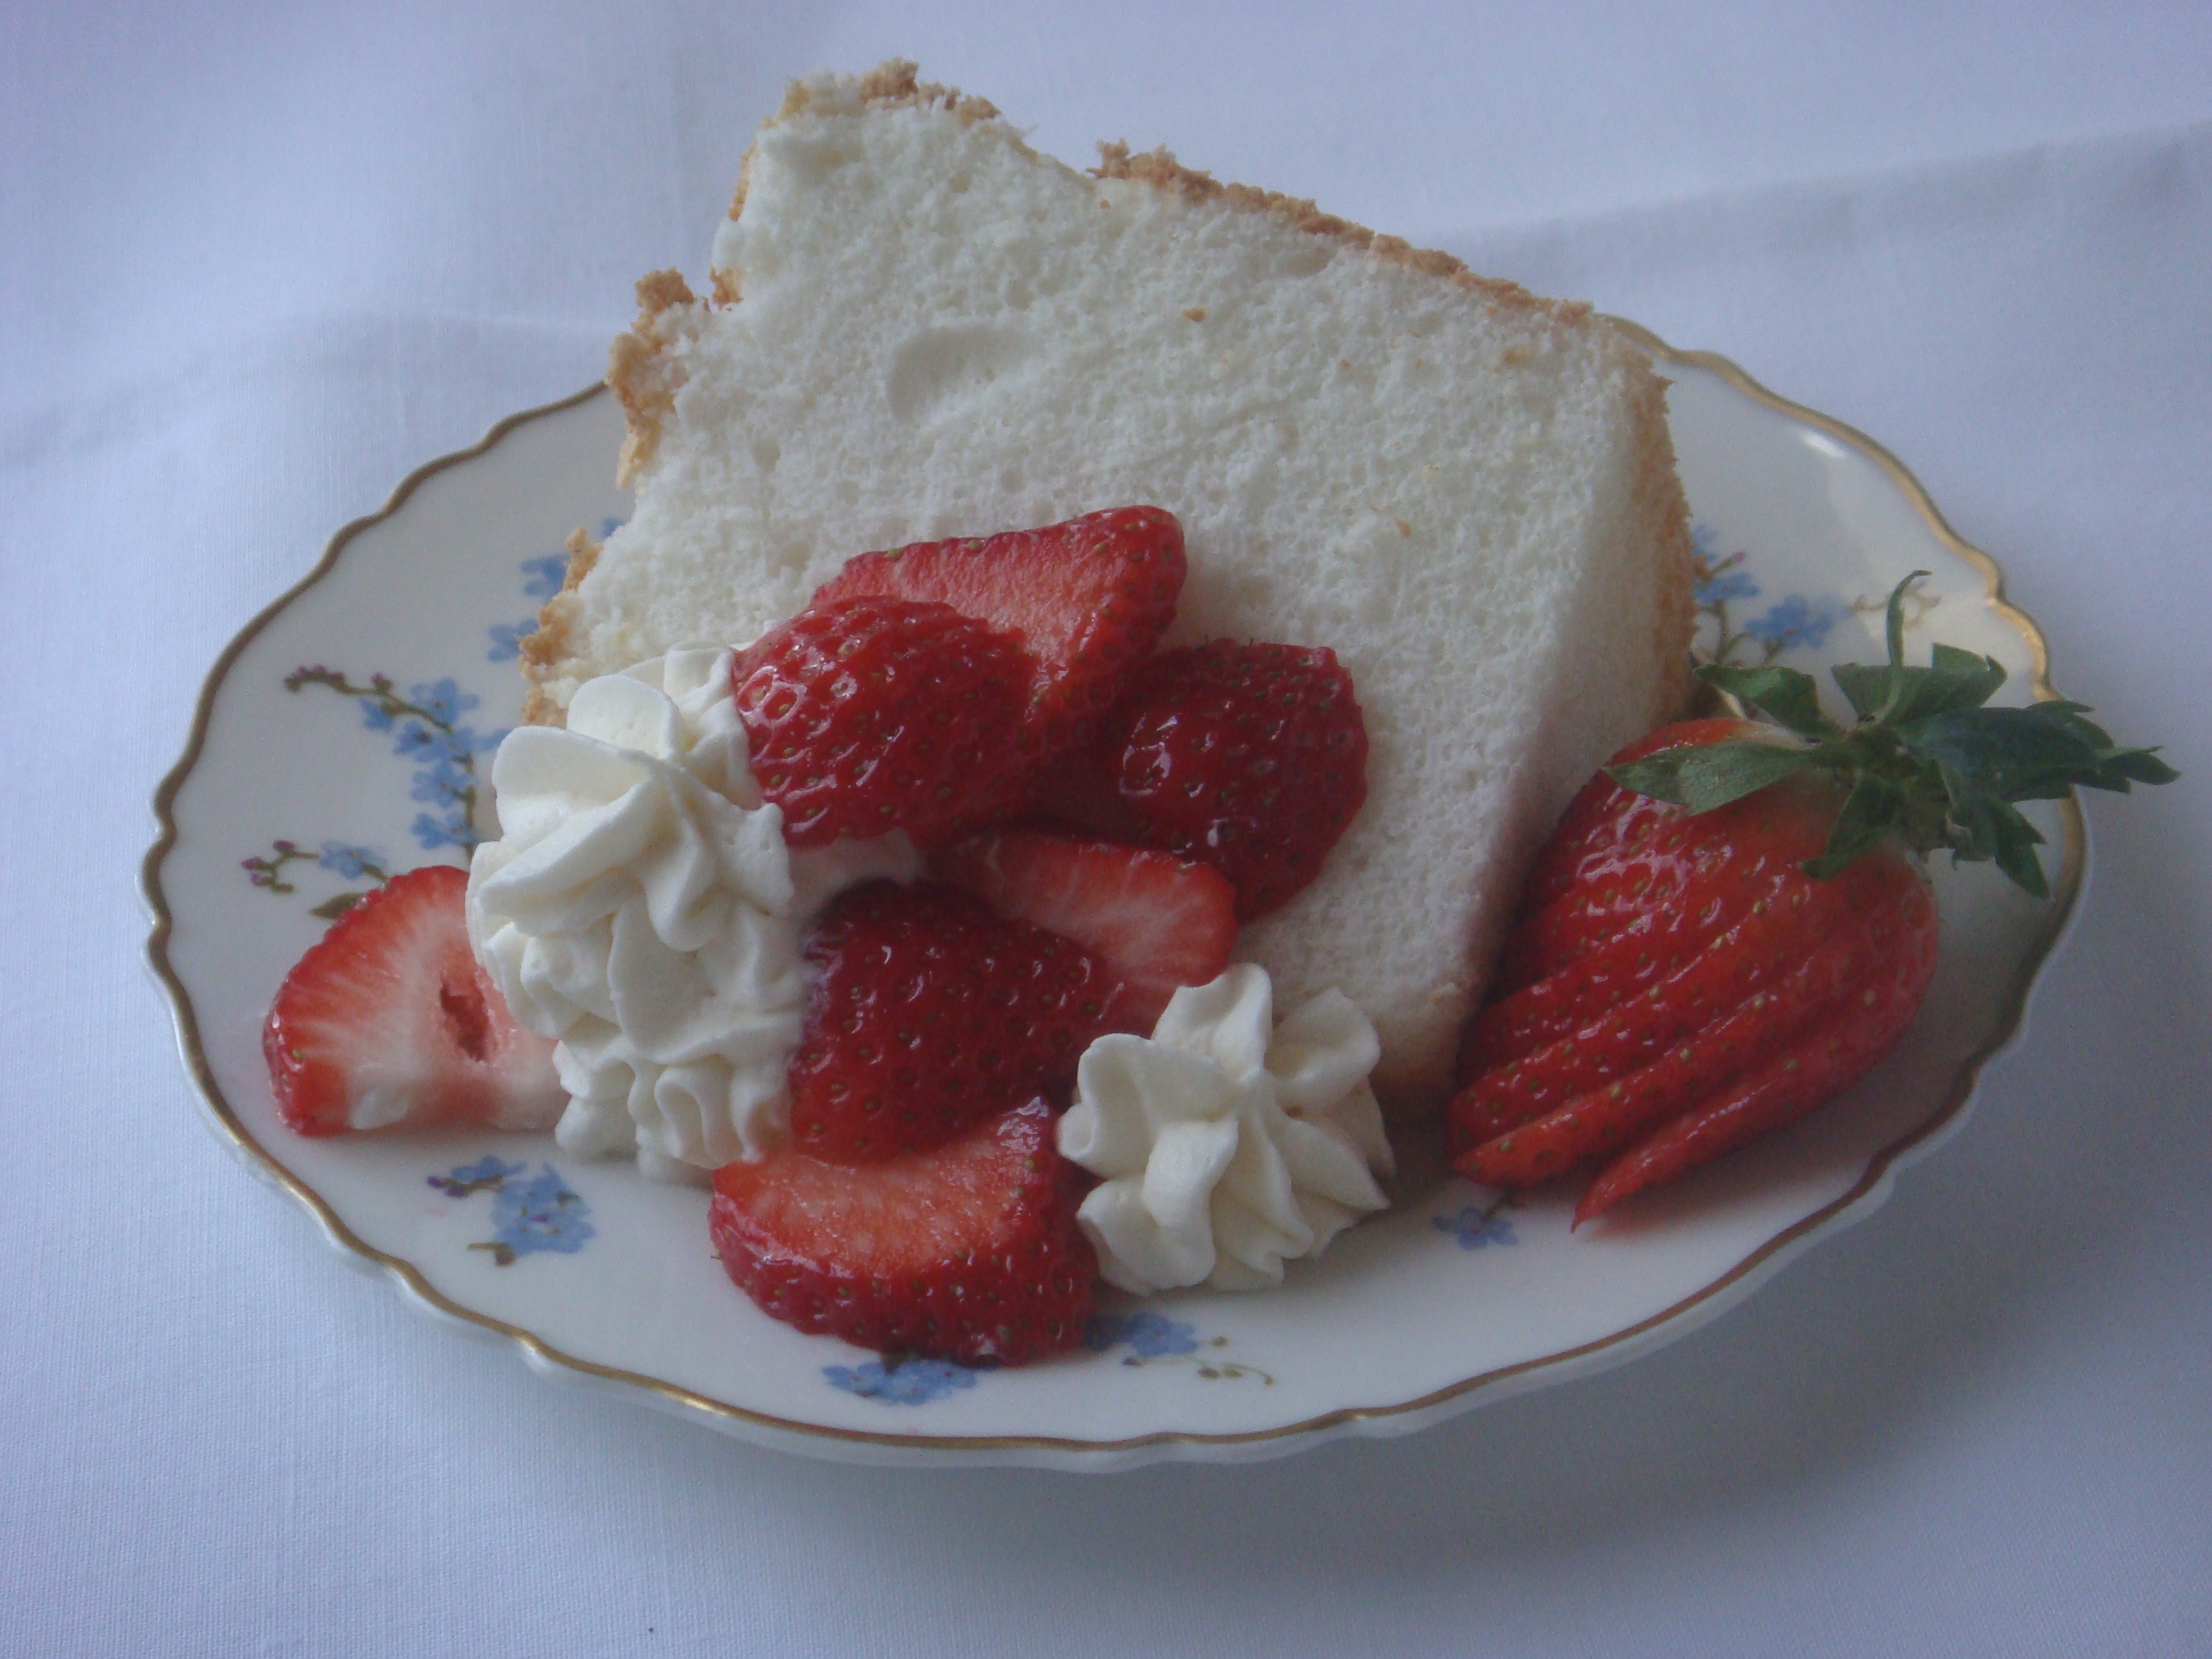
This Angel Food Cake is exactly what it should be – just the right amount of sweetness, light, fluffy, and moist with a slightly crunchy bottom.  This is a great lighter dessert for a break from heavy holiday food or for a little something sweet in January when New Year’s resolution diets are in full force.  When we served this, my nephew came back for seconds saying, “I didn’t think I liked Angel Food Cake that much – I didn’t know it tasted like THIS!”

Source:  American Home All-Purpose Cookbook (copyright of my mom’s cookbook is 1966!)

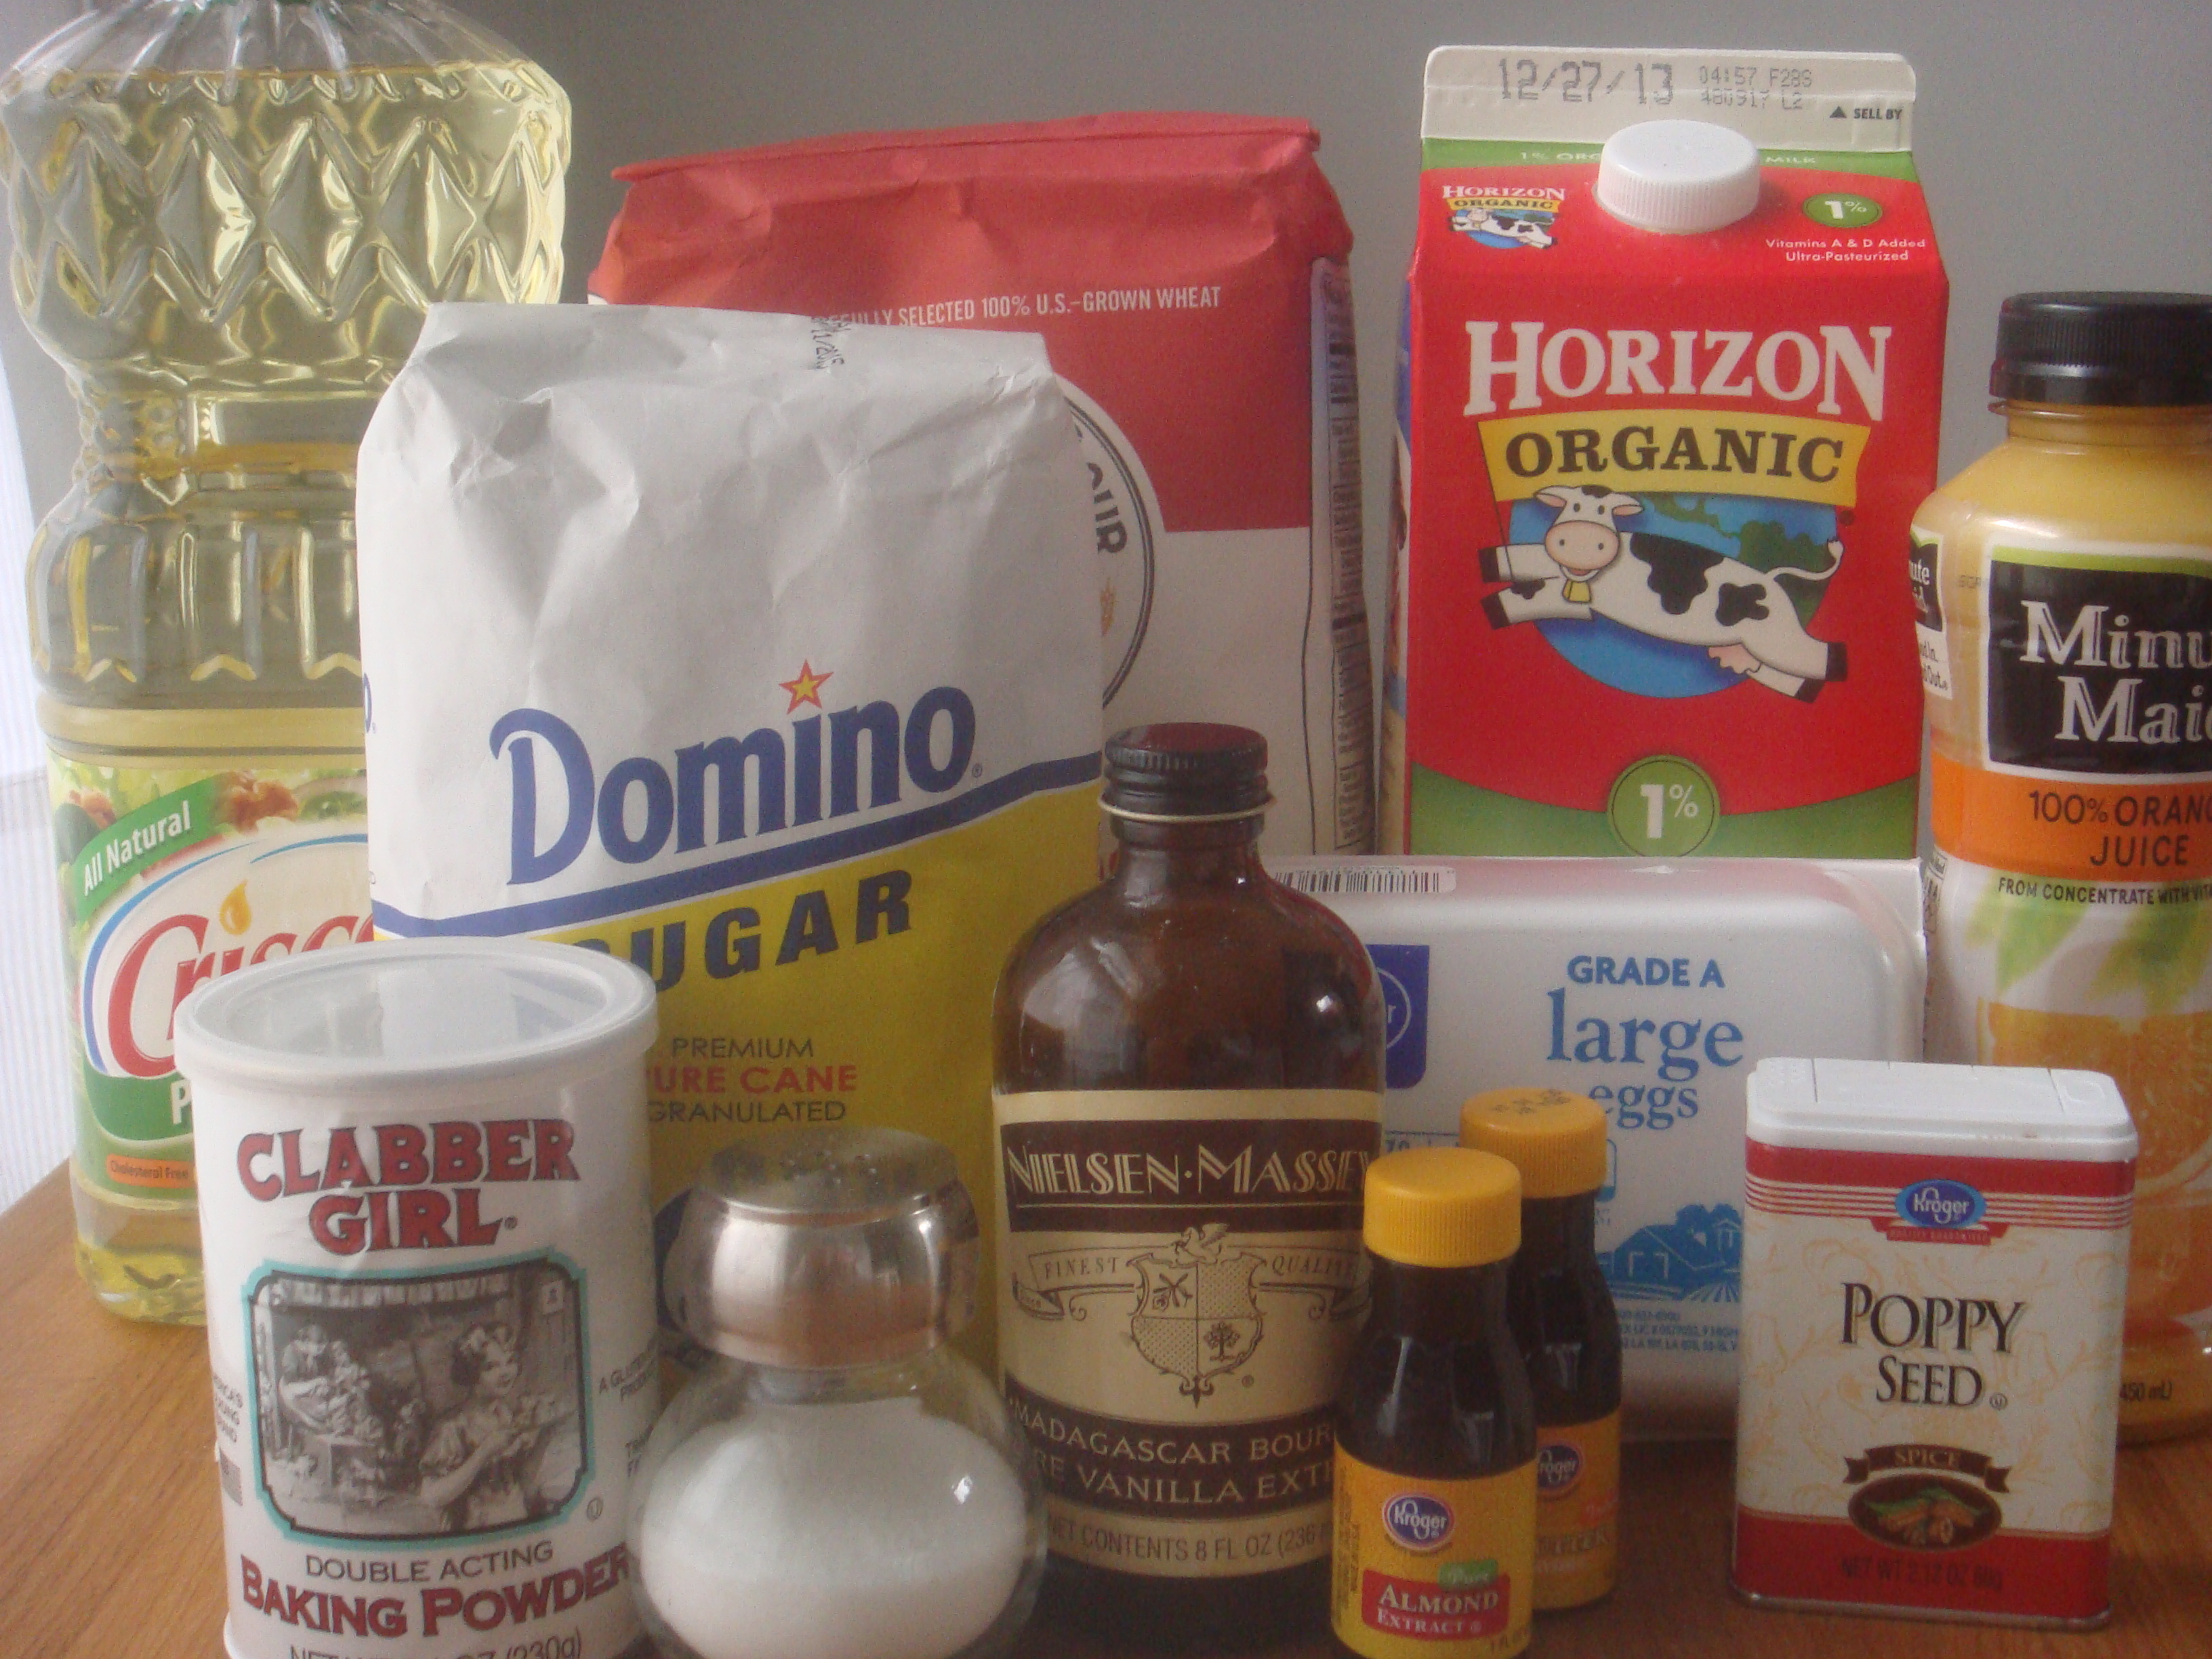
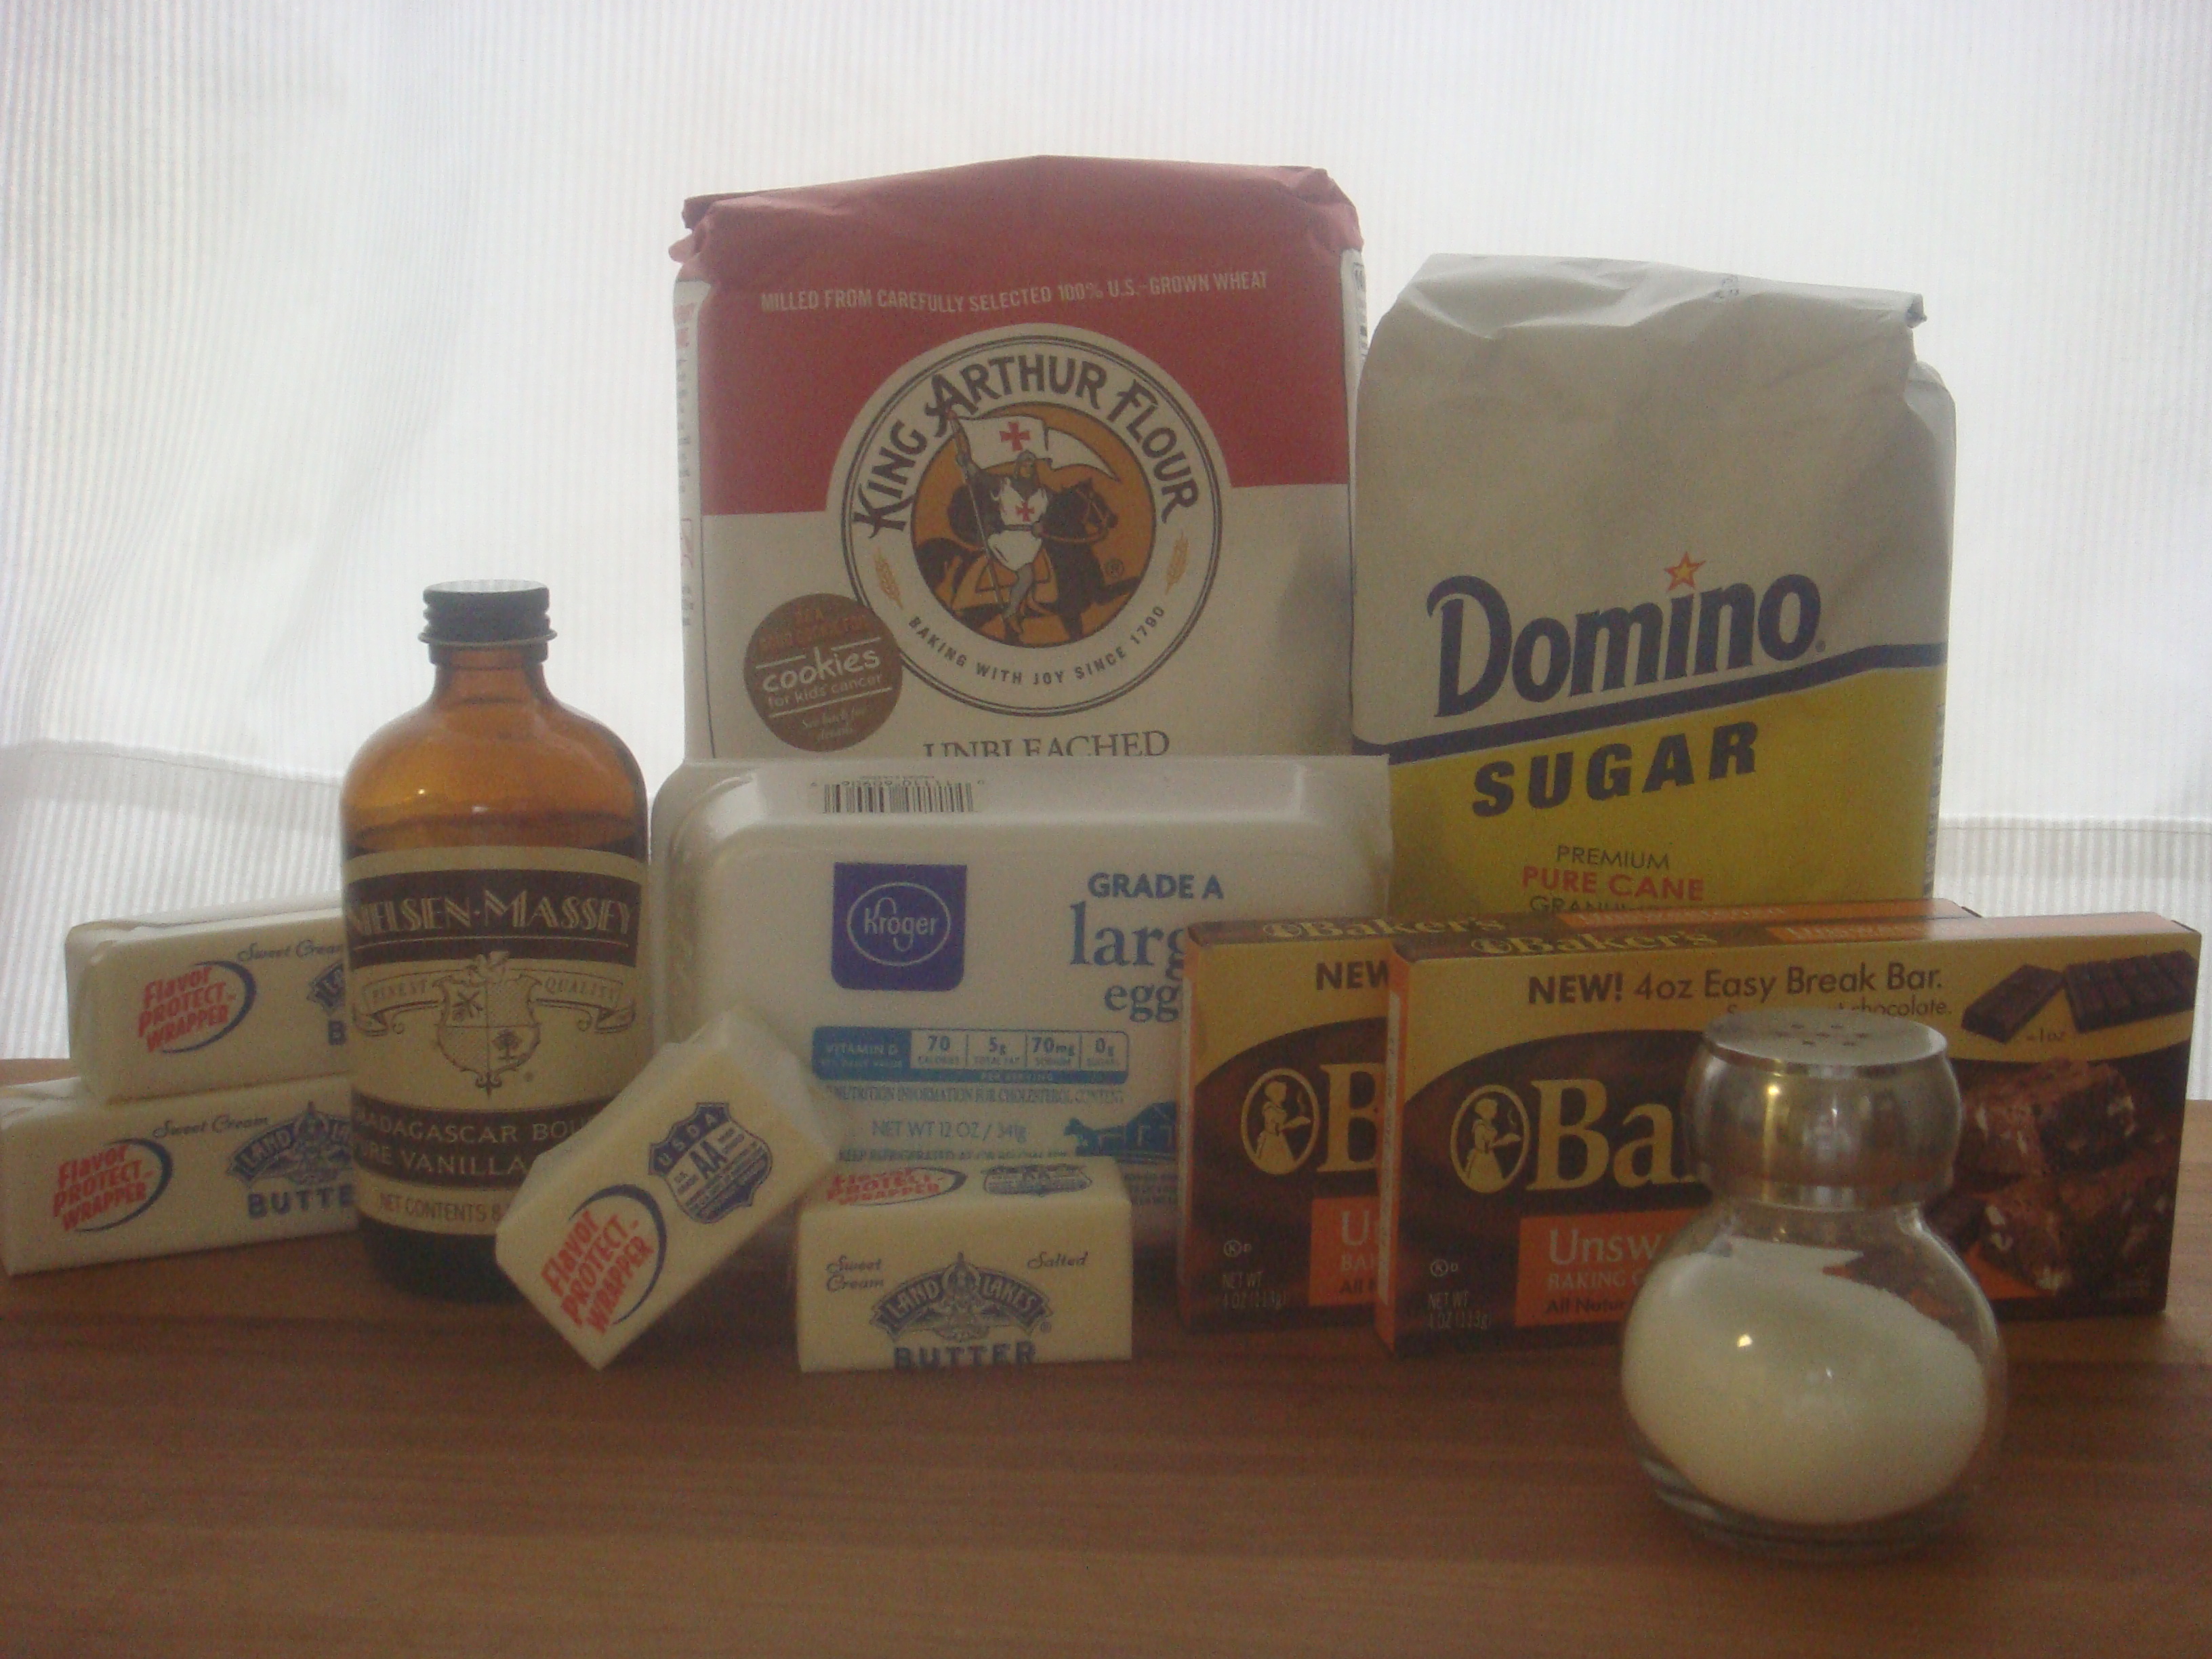
1 cup sifted cake flour

1 1/2 cups sifted confectioner’s sugar

1 1/2 cup egg whites (from 10-12 eggs)

1 1/2 teaspoon cream of tartar

1/4 teaspoon salt

1 cup sugar

1 1/2 teaspoon vanilla

1/4 teaspoon almond extract (original recipe calls for 1/2 teaspoon, but I prefer 1/4)

Heat oven to 350 degrees or 325 convection bake.

DSC01558

DSC01562
sifted powdered sugar before leveling

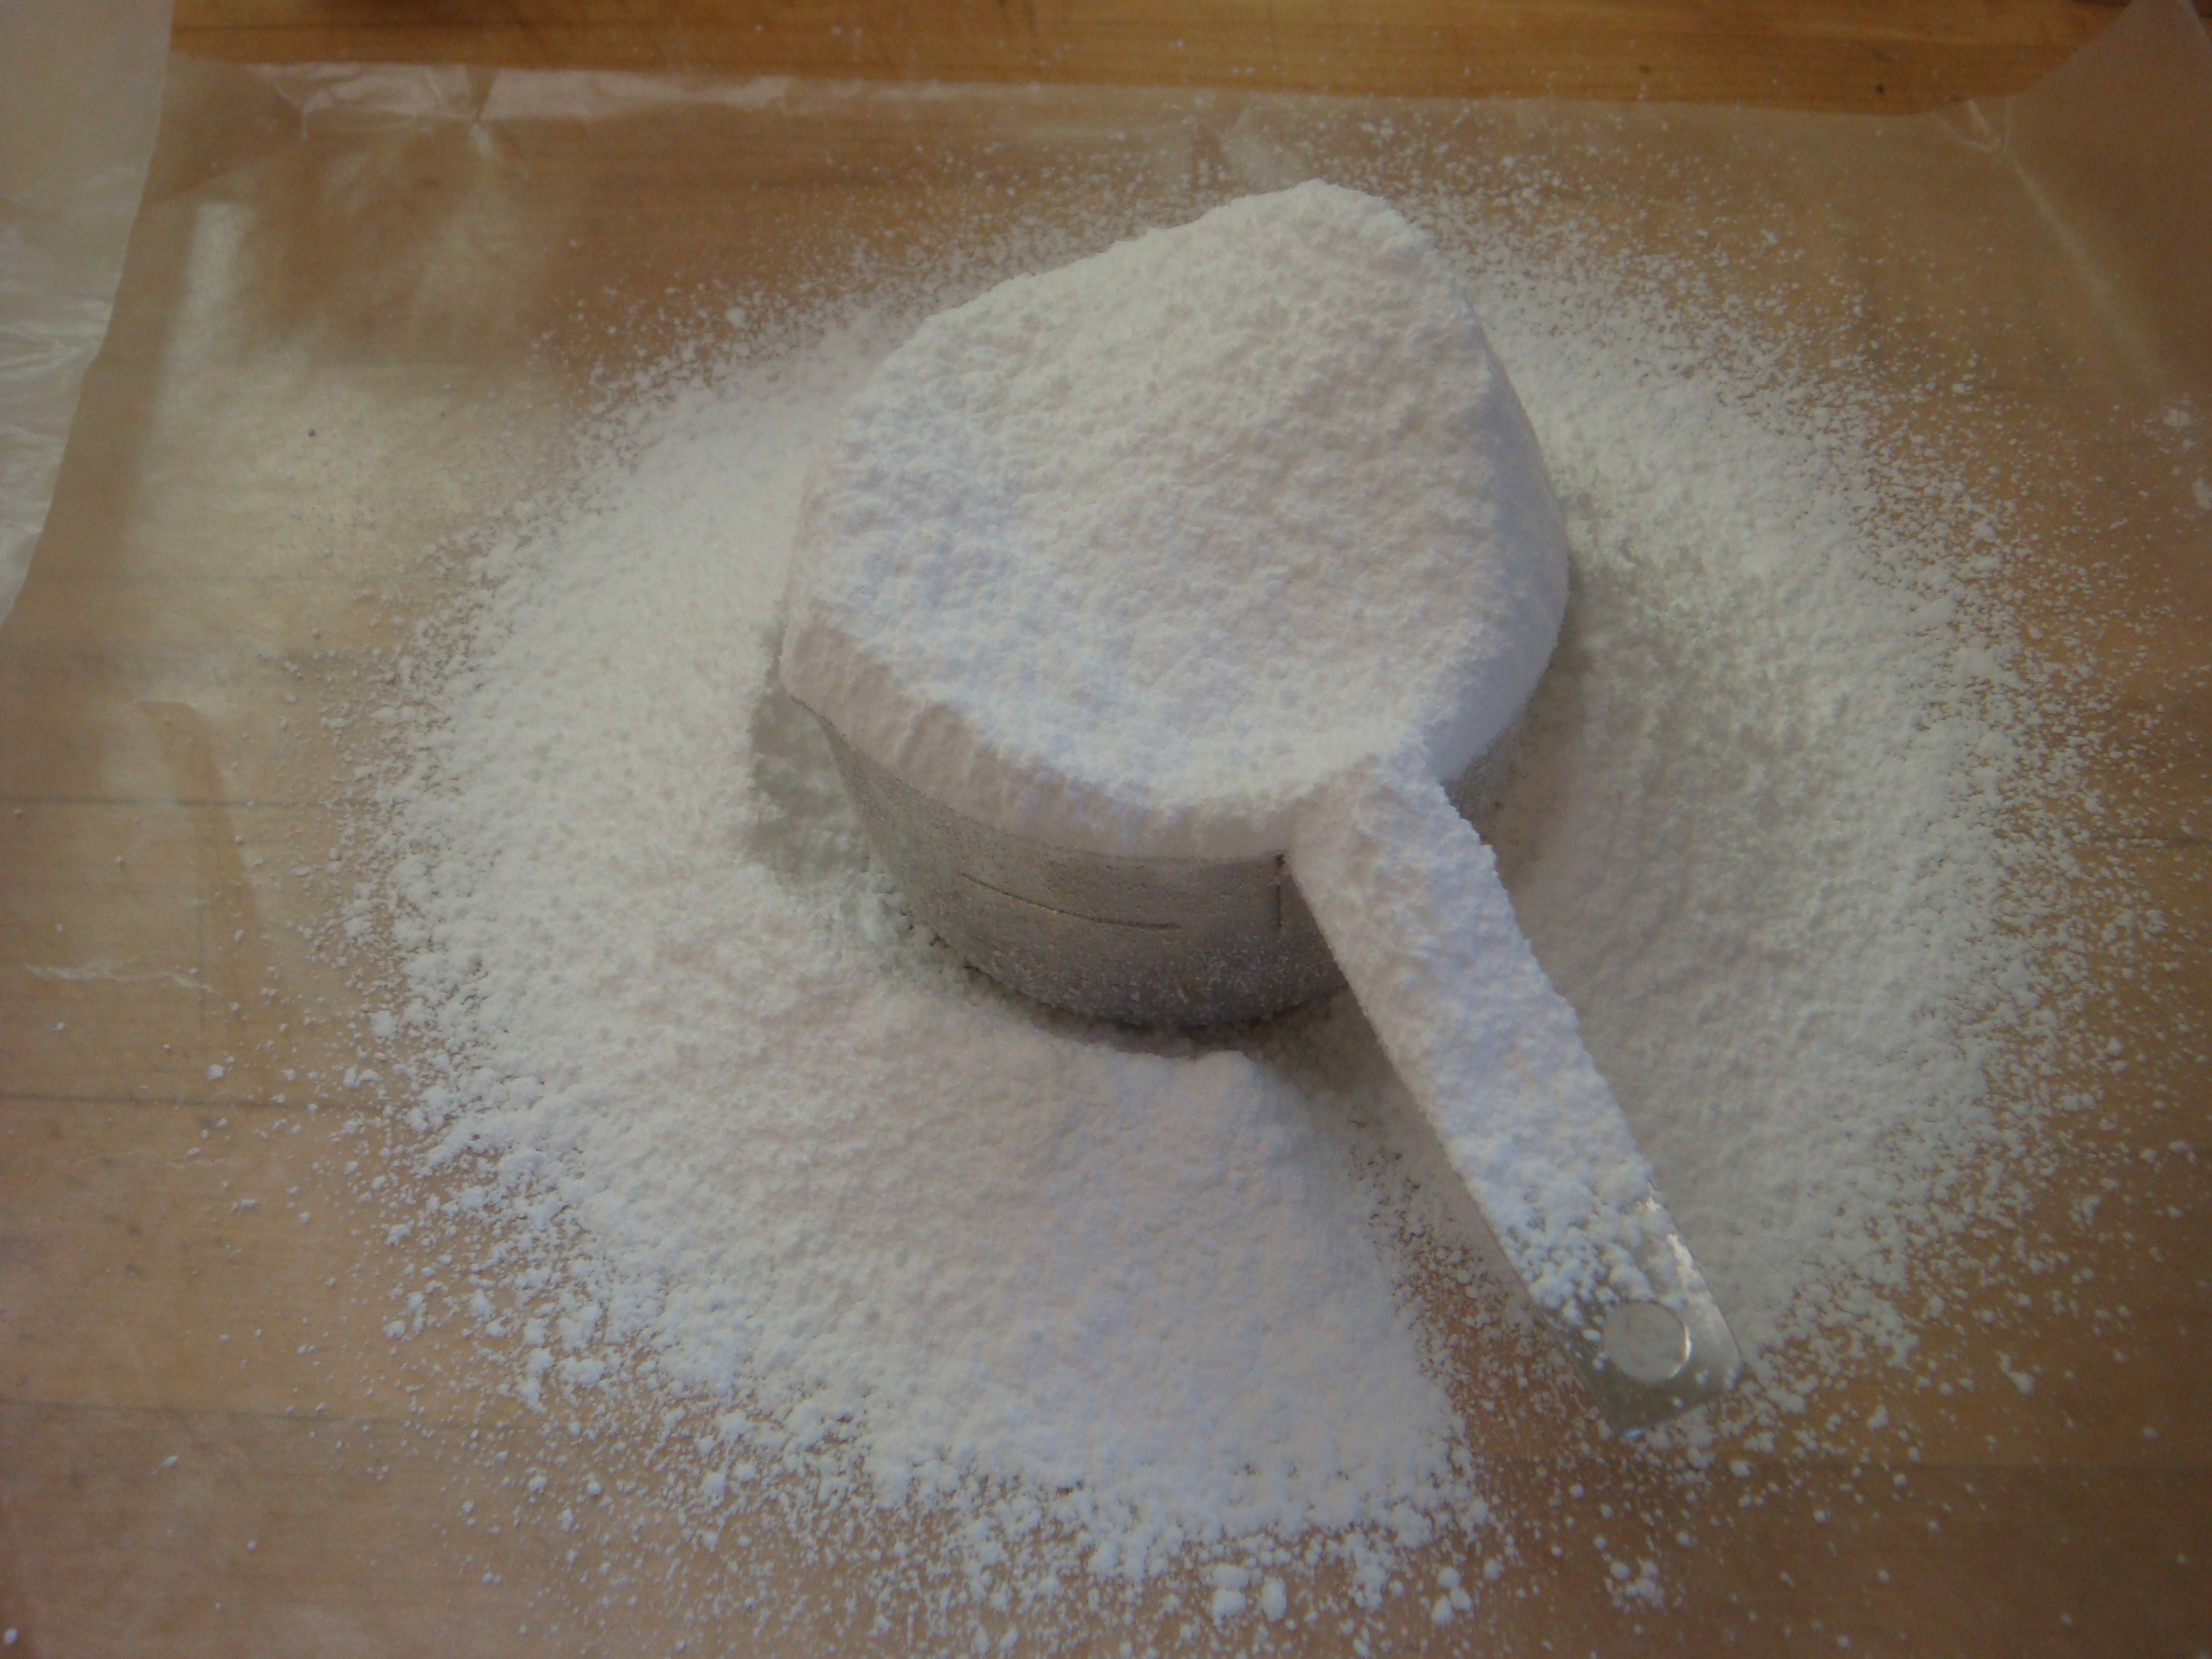
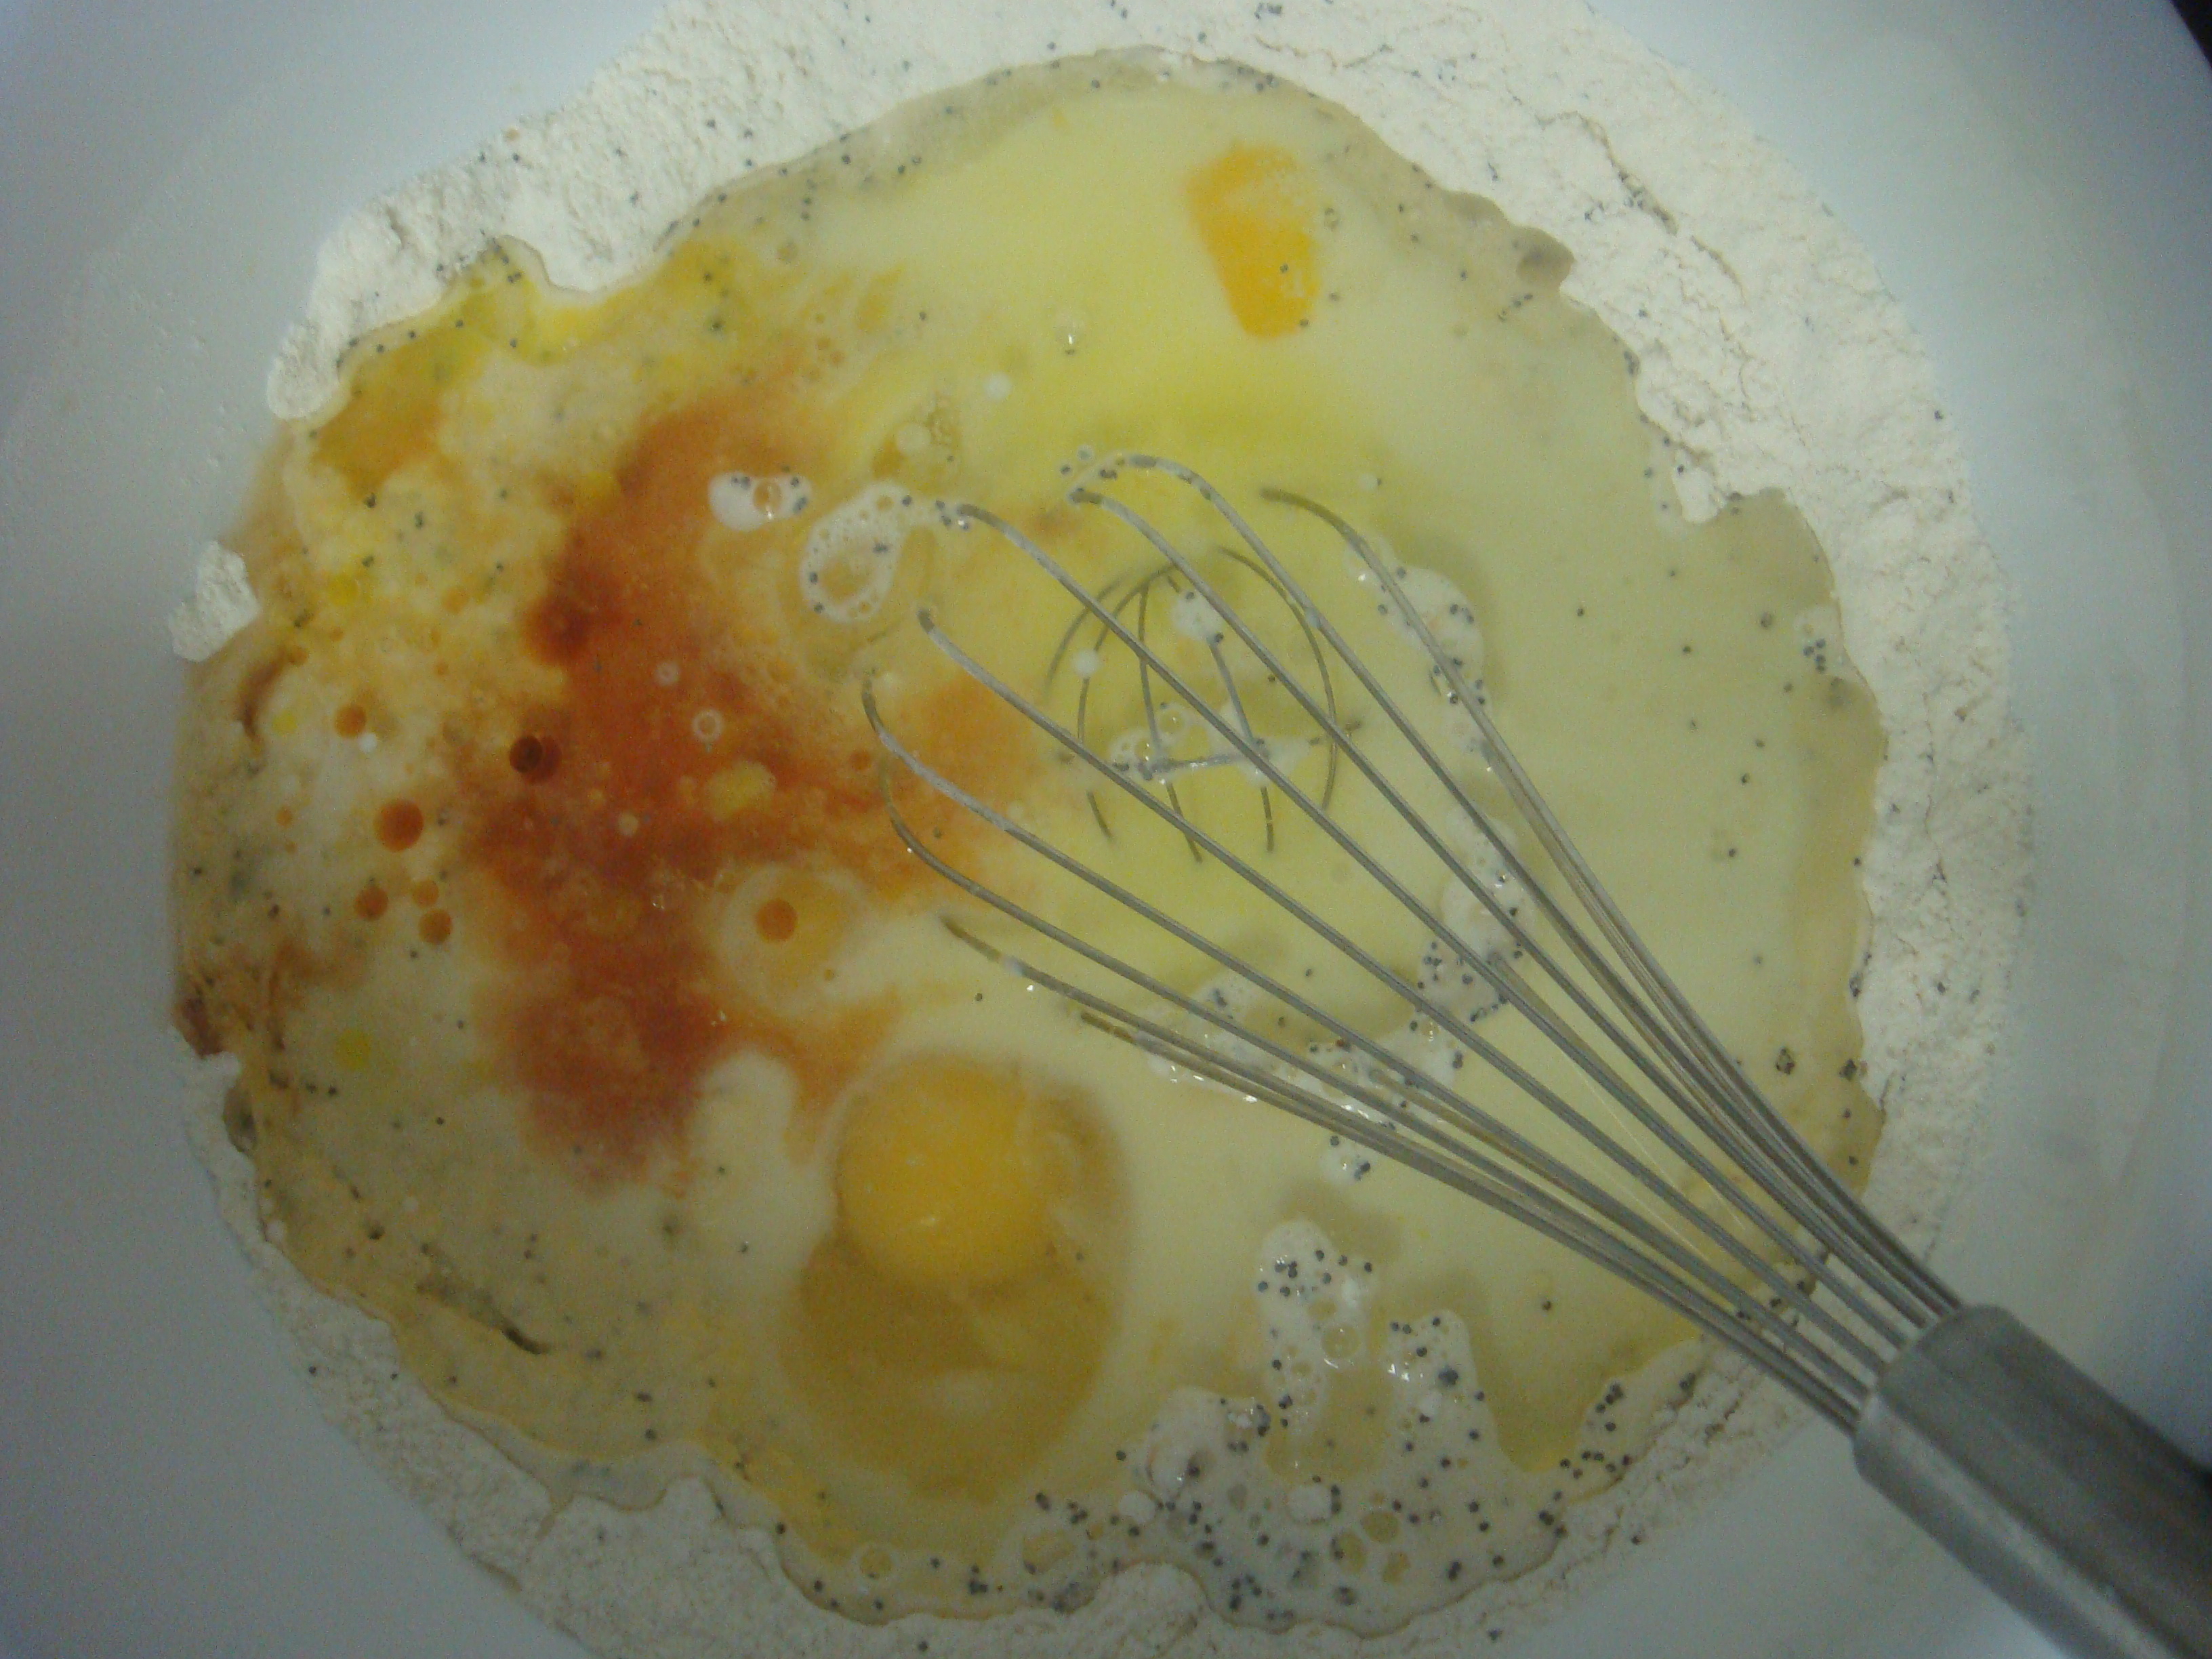
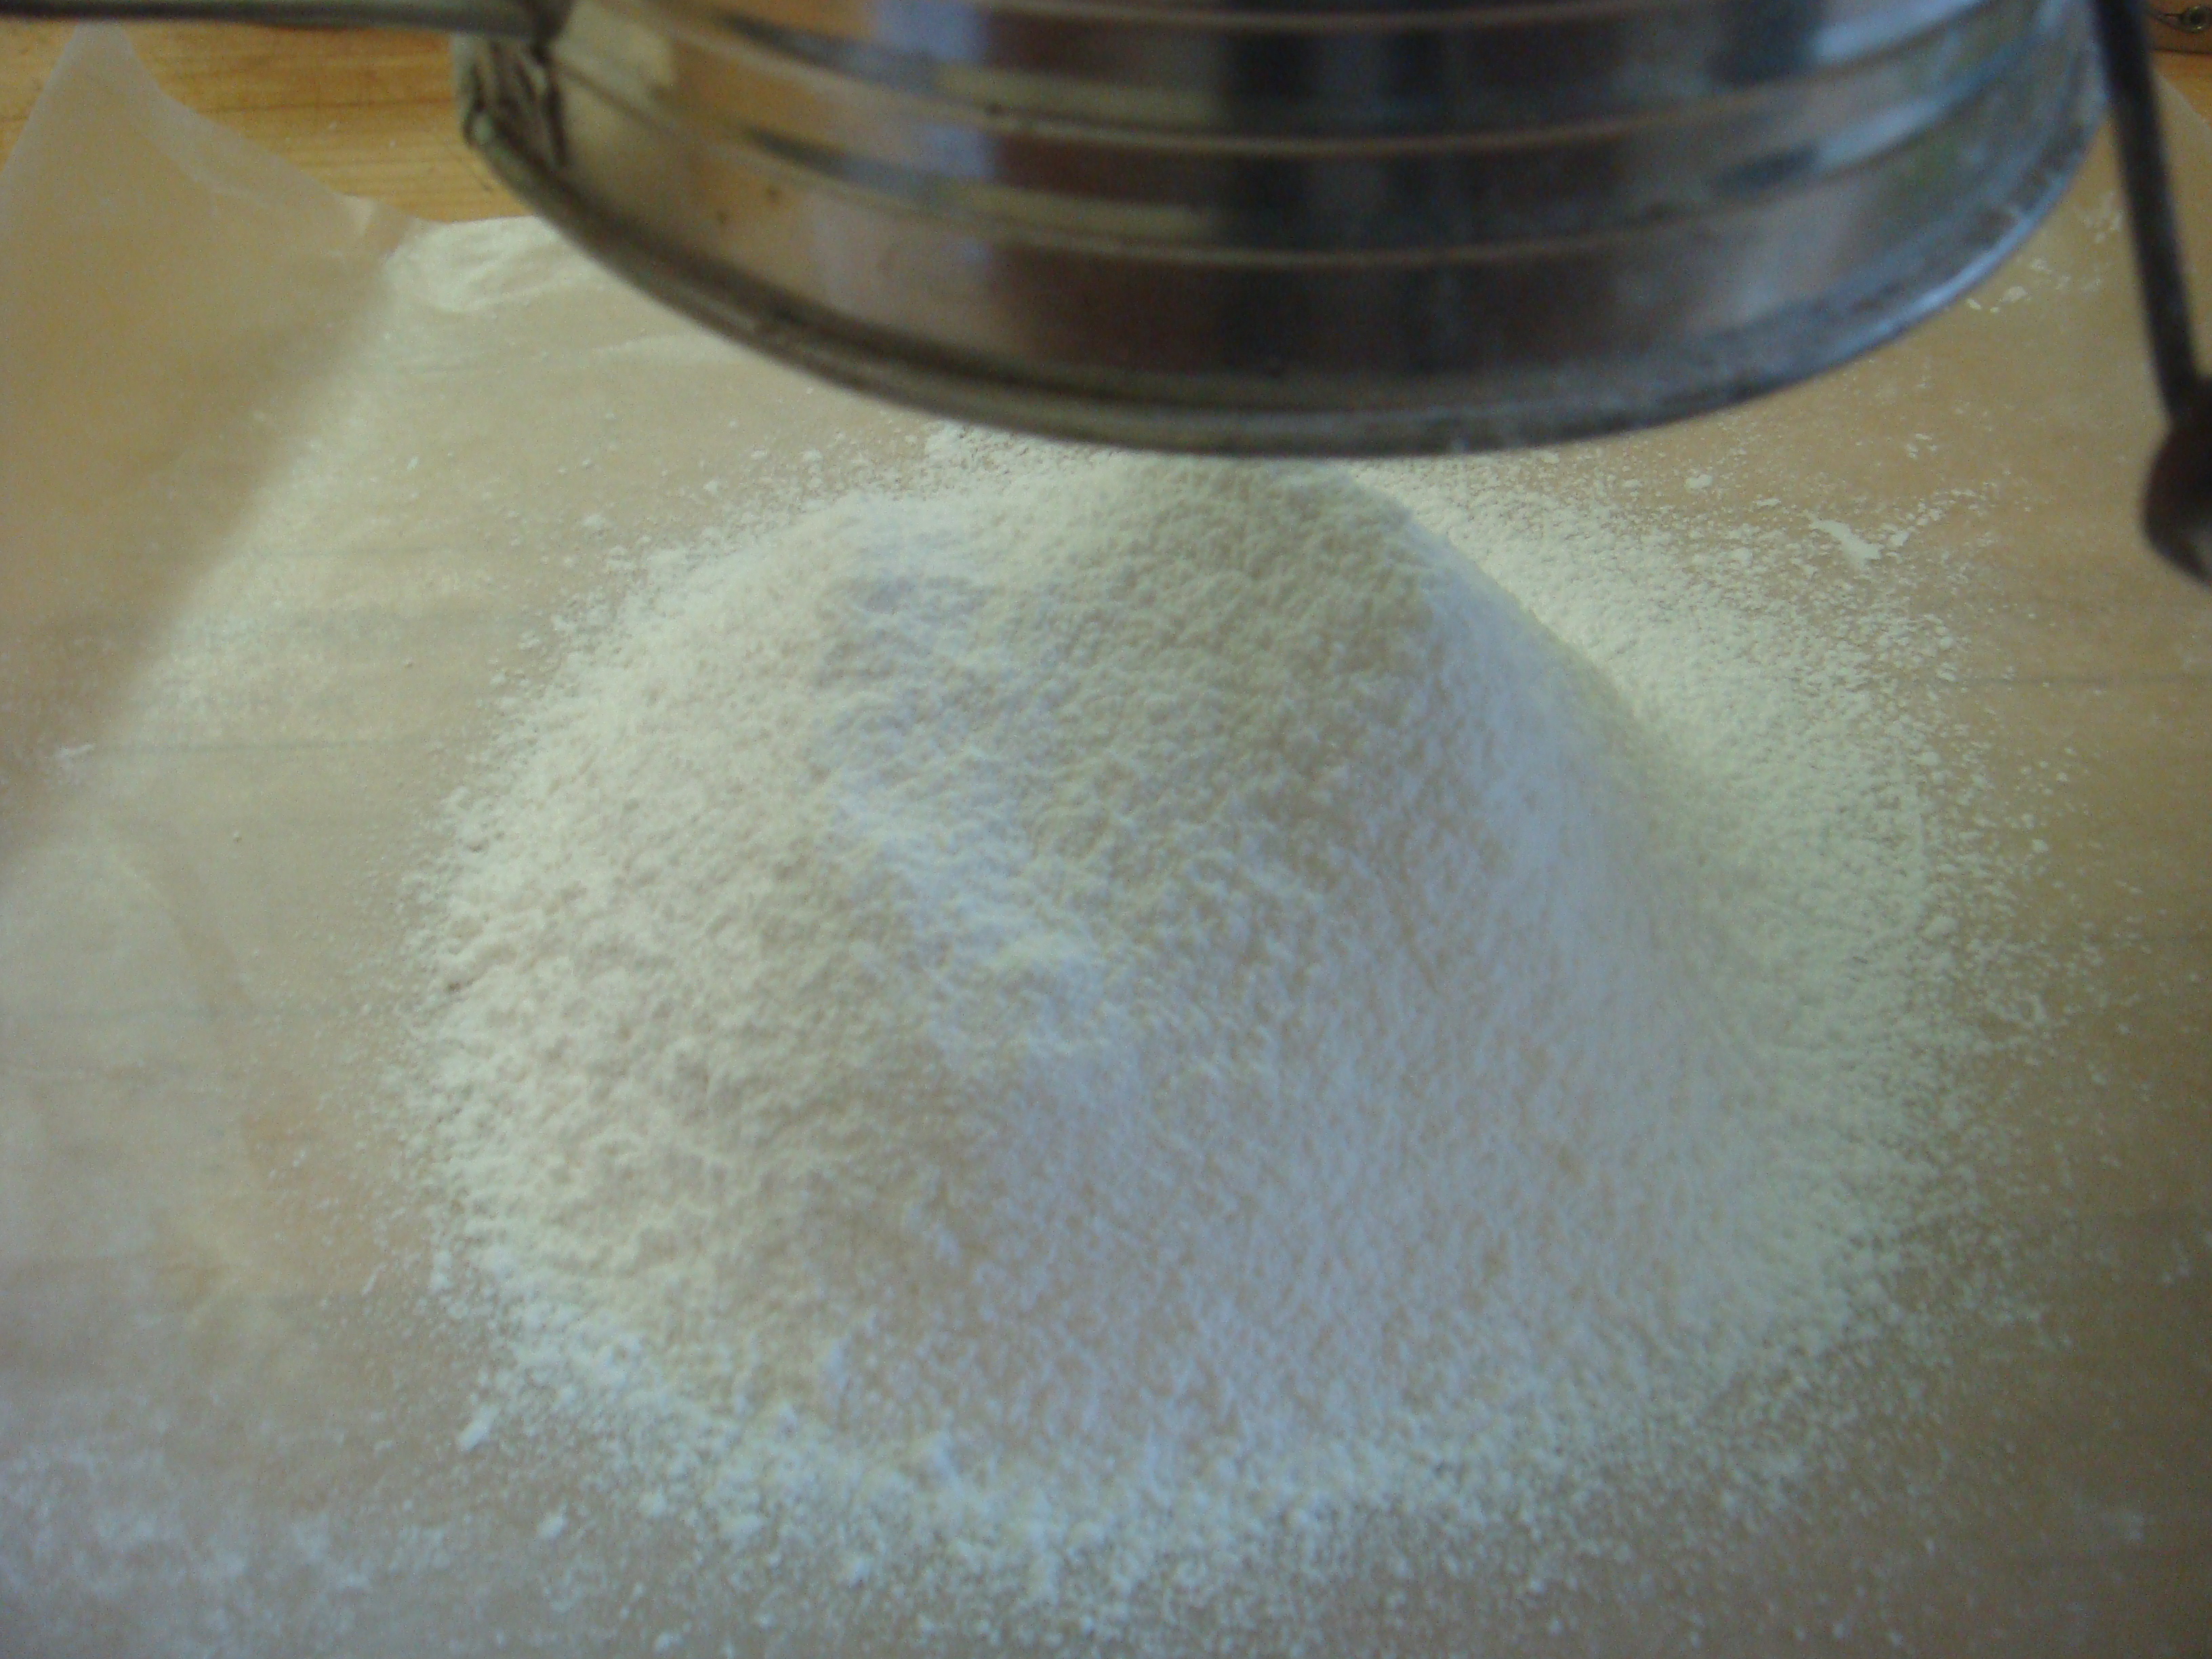
After measuring sifted flour and confectioner’s sugar, sift flour and confectioner’s sugar together.

DSC01563

Combine egg whites, cream of tartar, and salt in large bowl; beat until foamy.

DSC01568

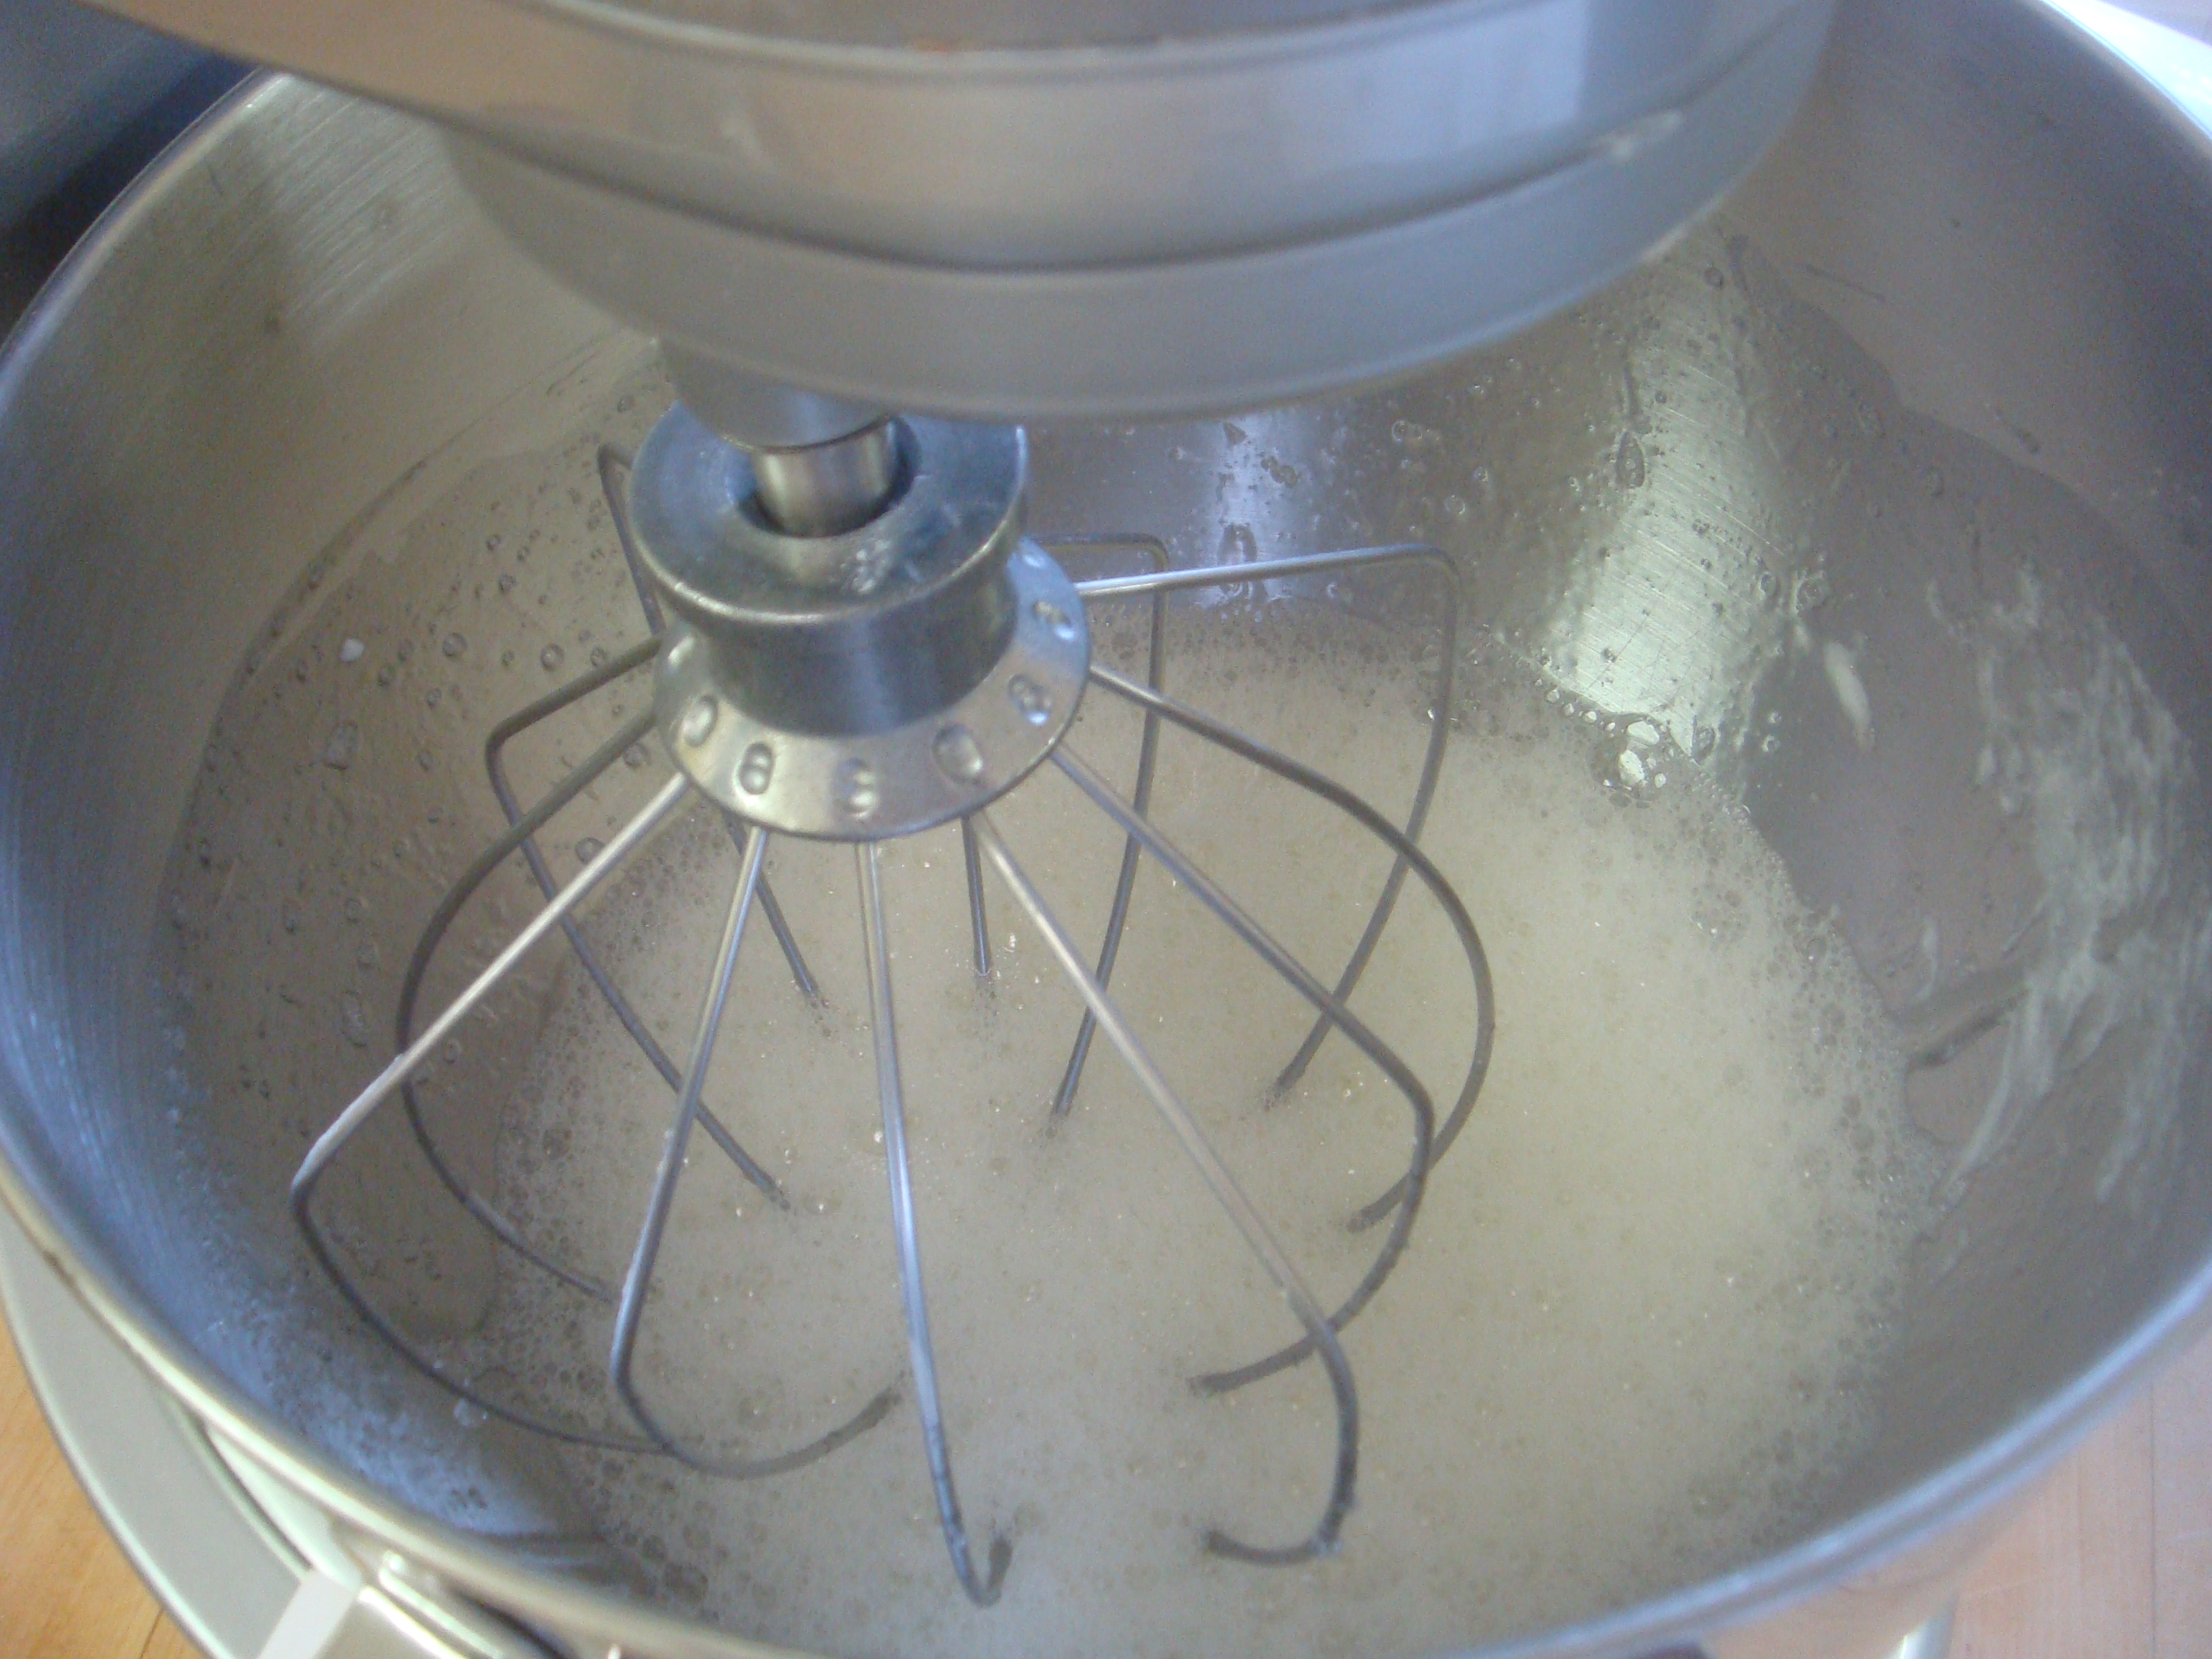
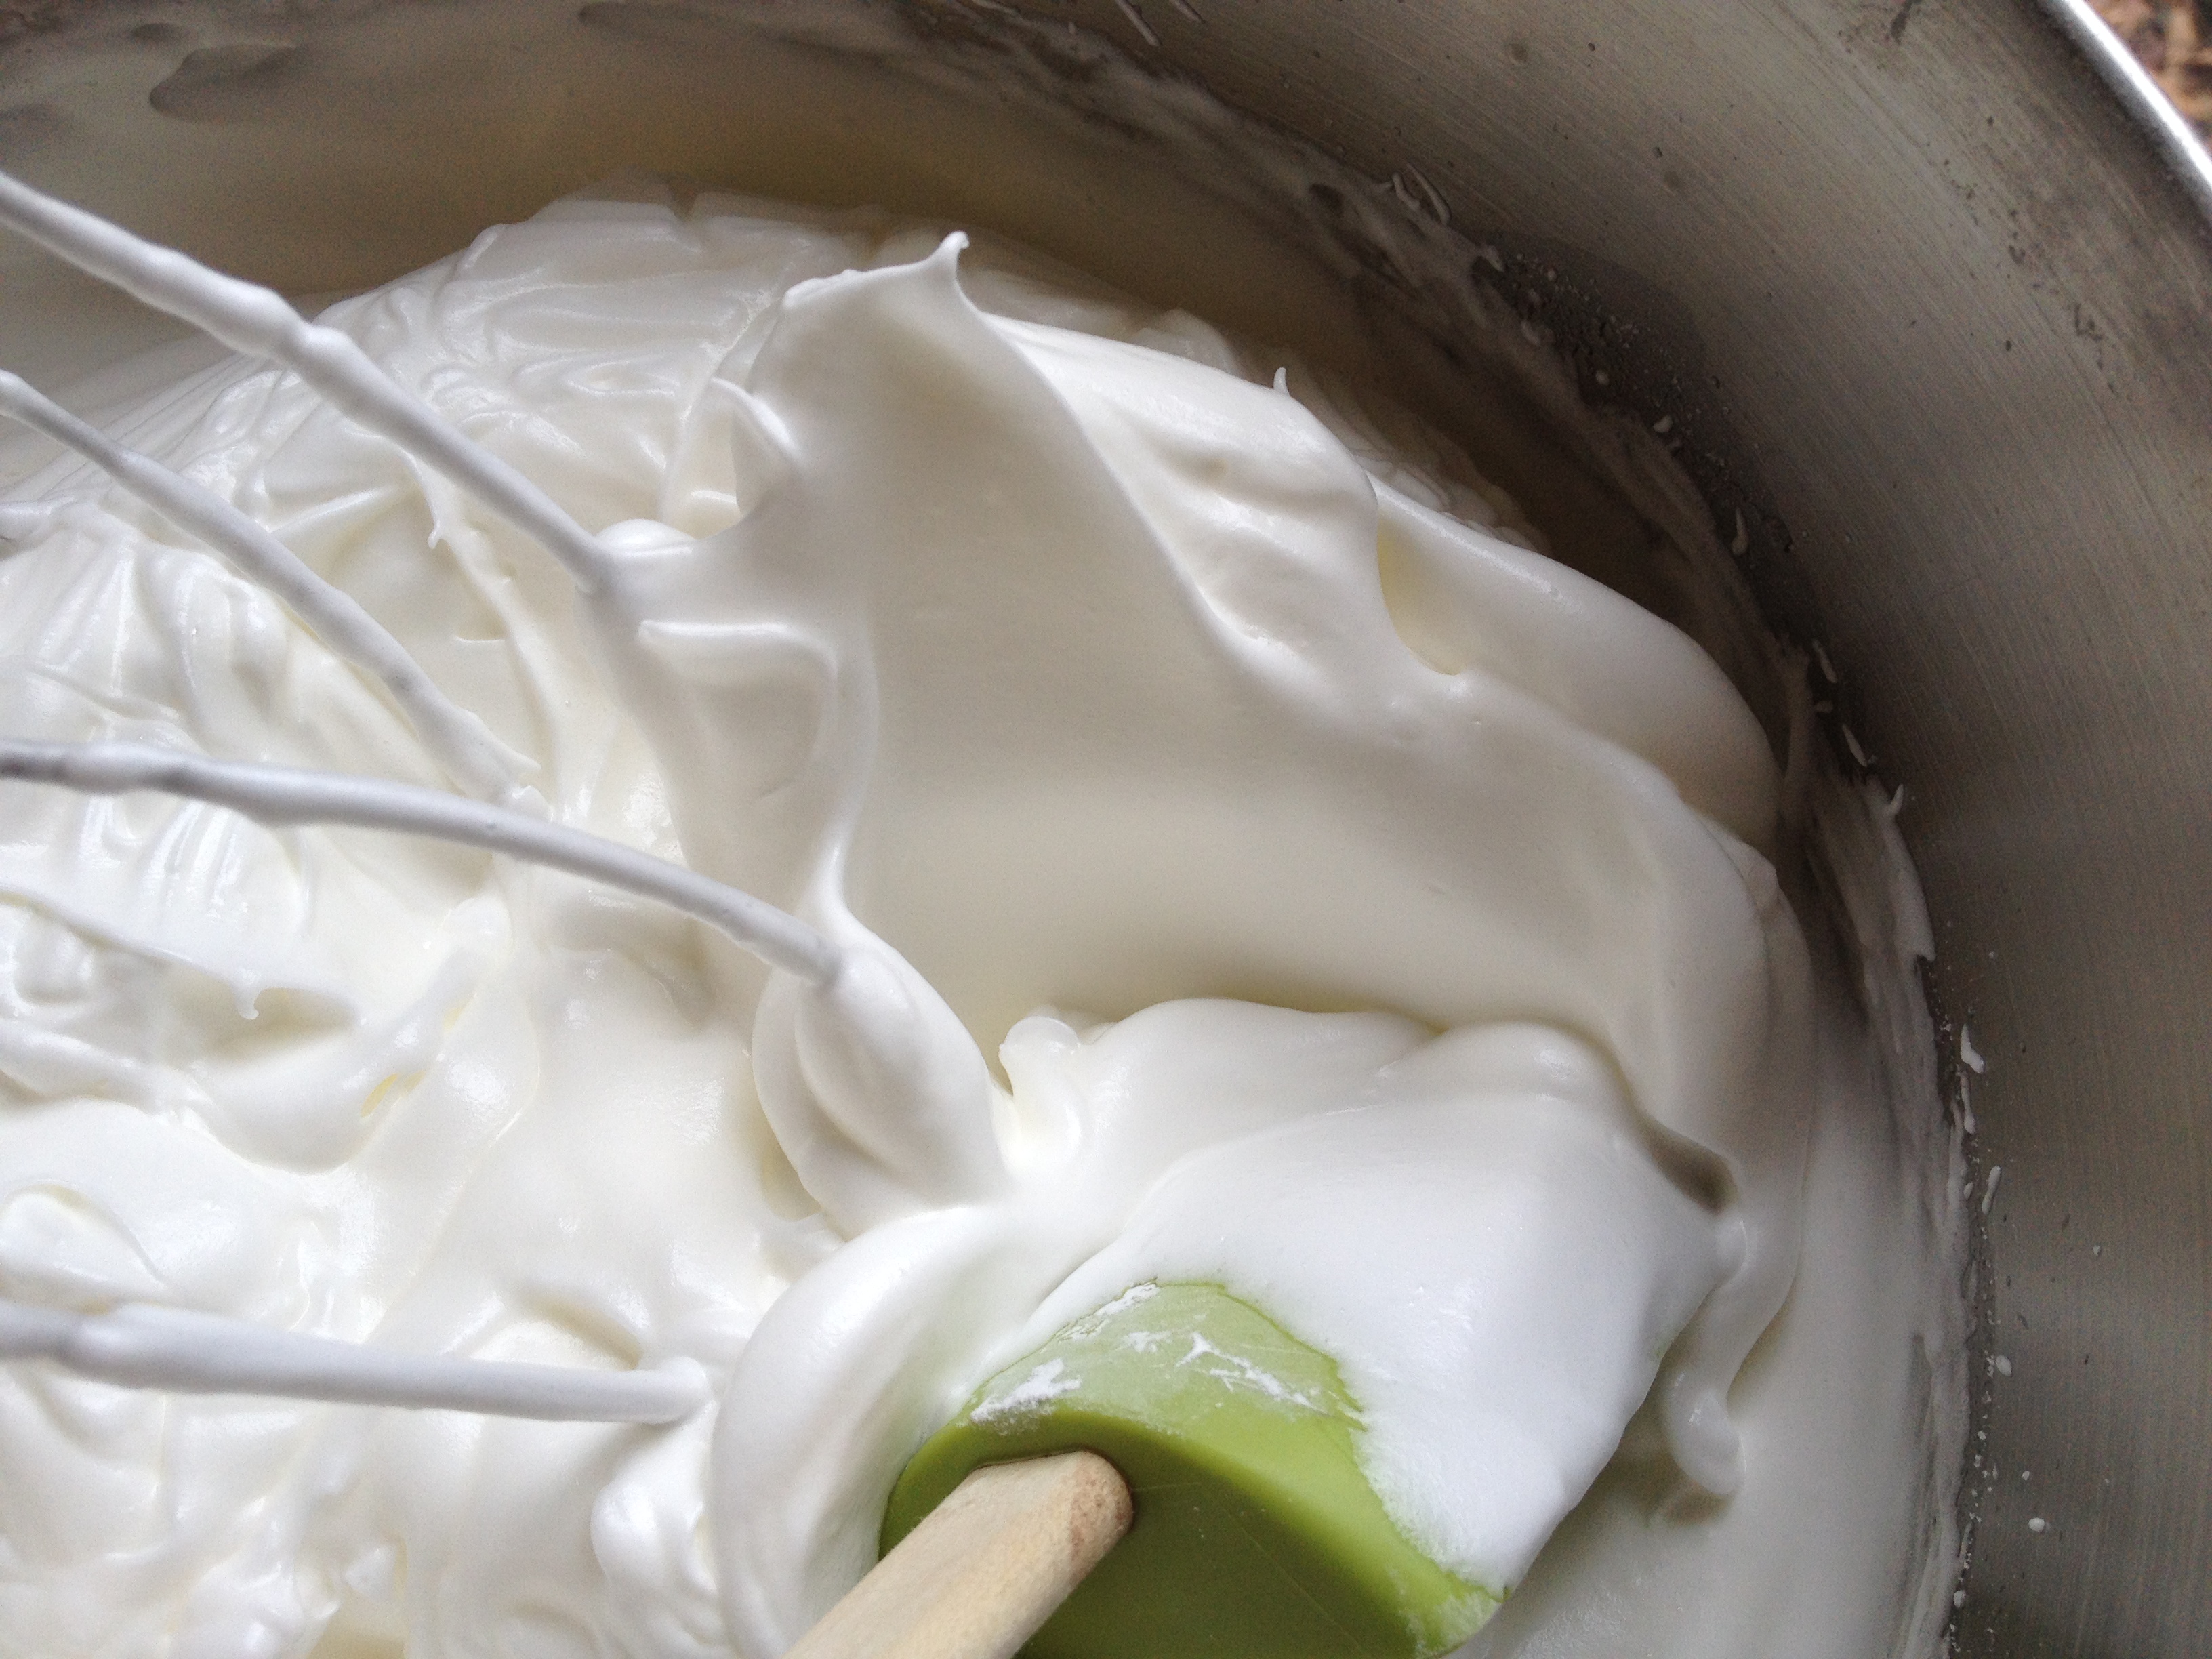
Add sugar gradually.  Continue beating until meringue forms stiff, glossy peaks.

see the stiff peak i made with the spatula
see the stiff peak I made with the spatula

Fold in vanilla and almond extract.  It helps to move the batter to a bowl with the wider top before folding.

vanilla added to angel food cake batter

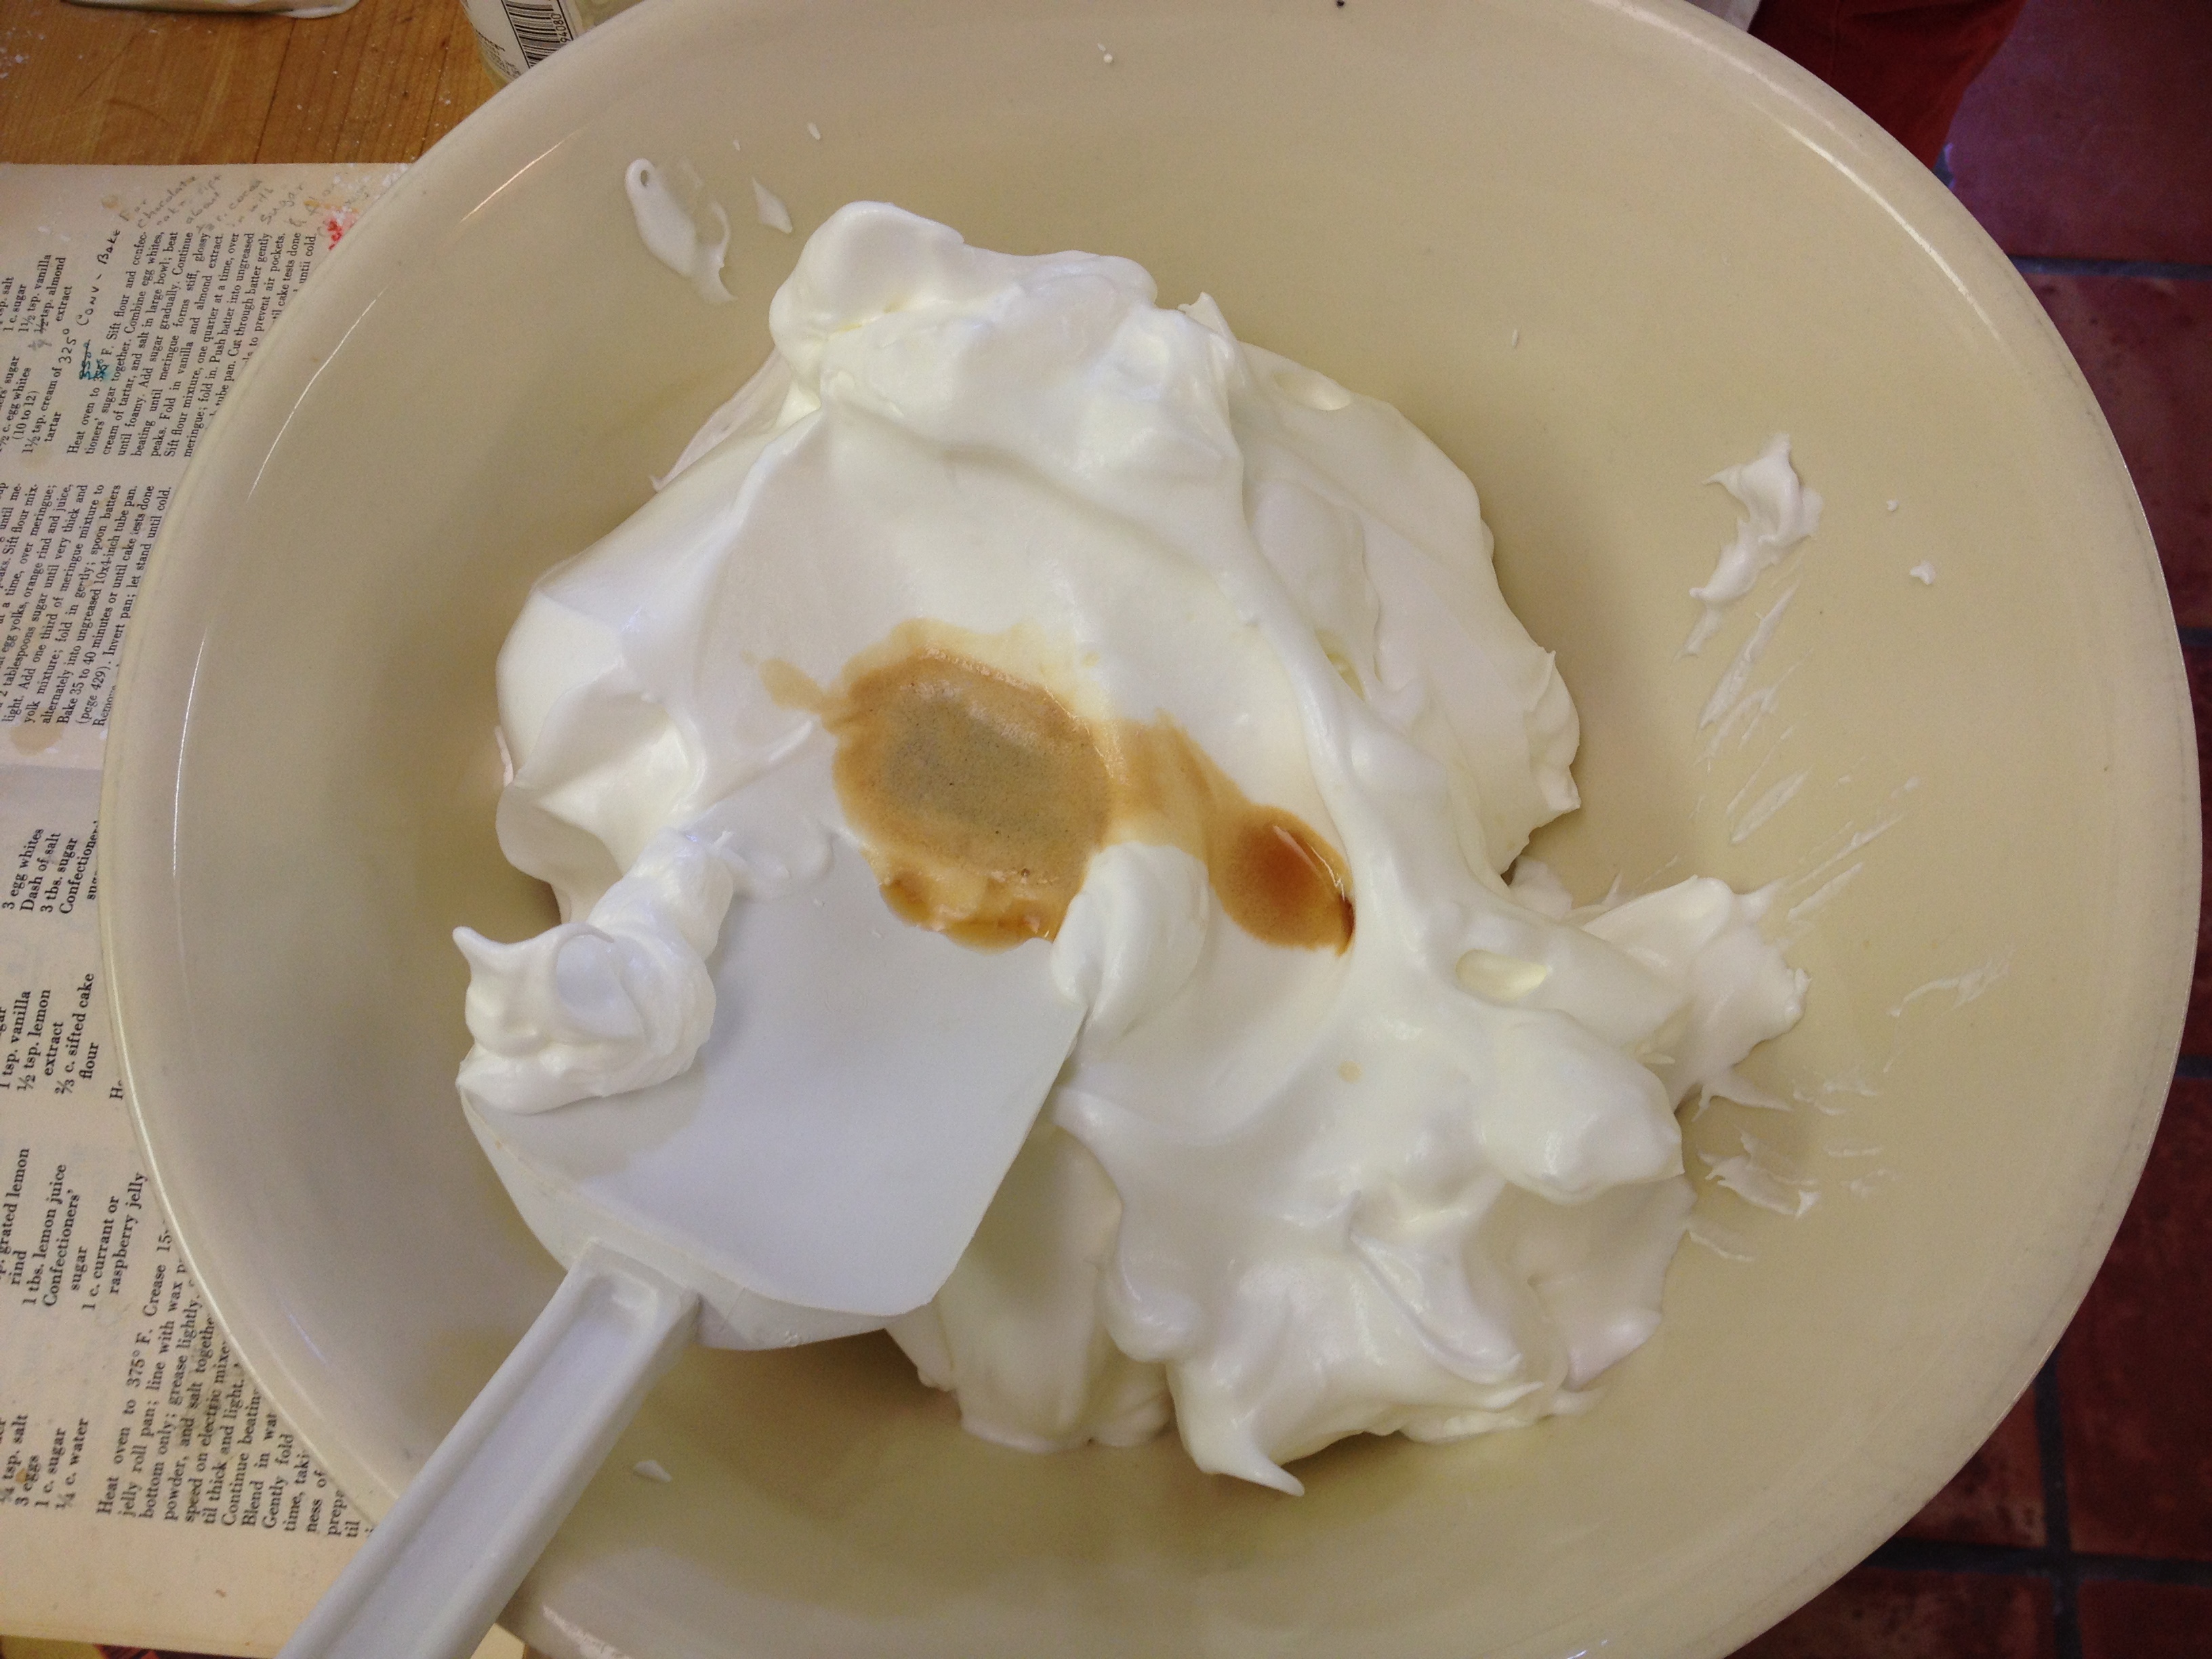
Click on link below for a demonstration of folding (thanks to my mom for folding while I videoed!)

folding in the flour and sugar mixture

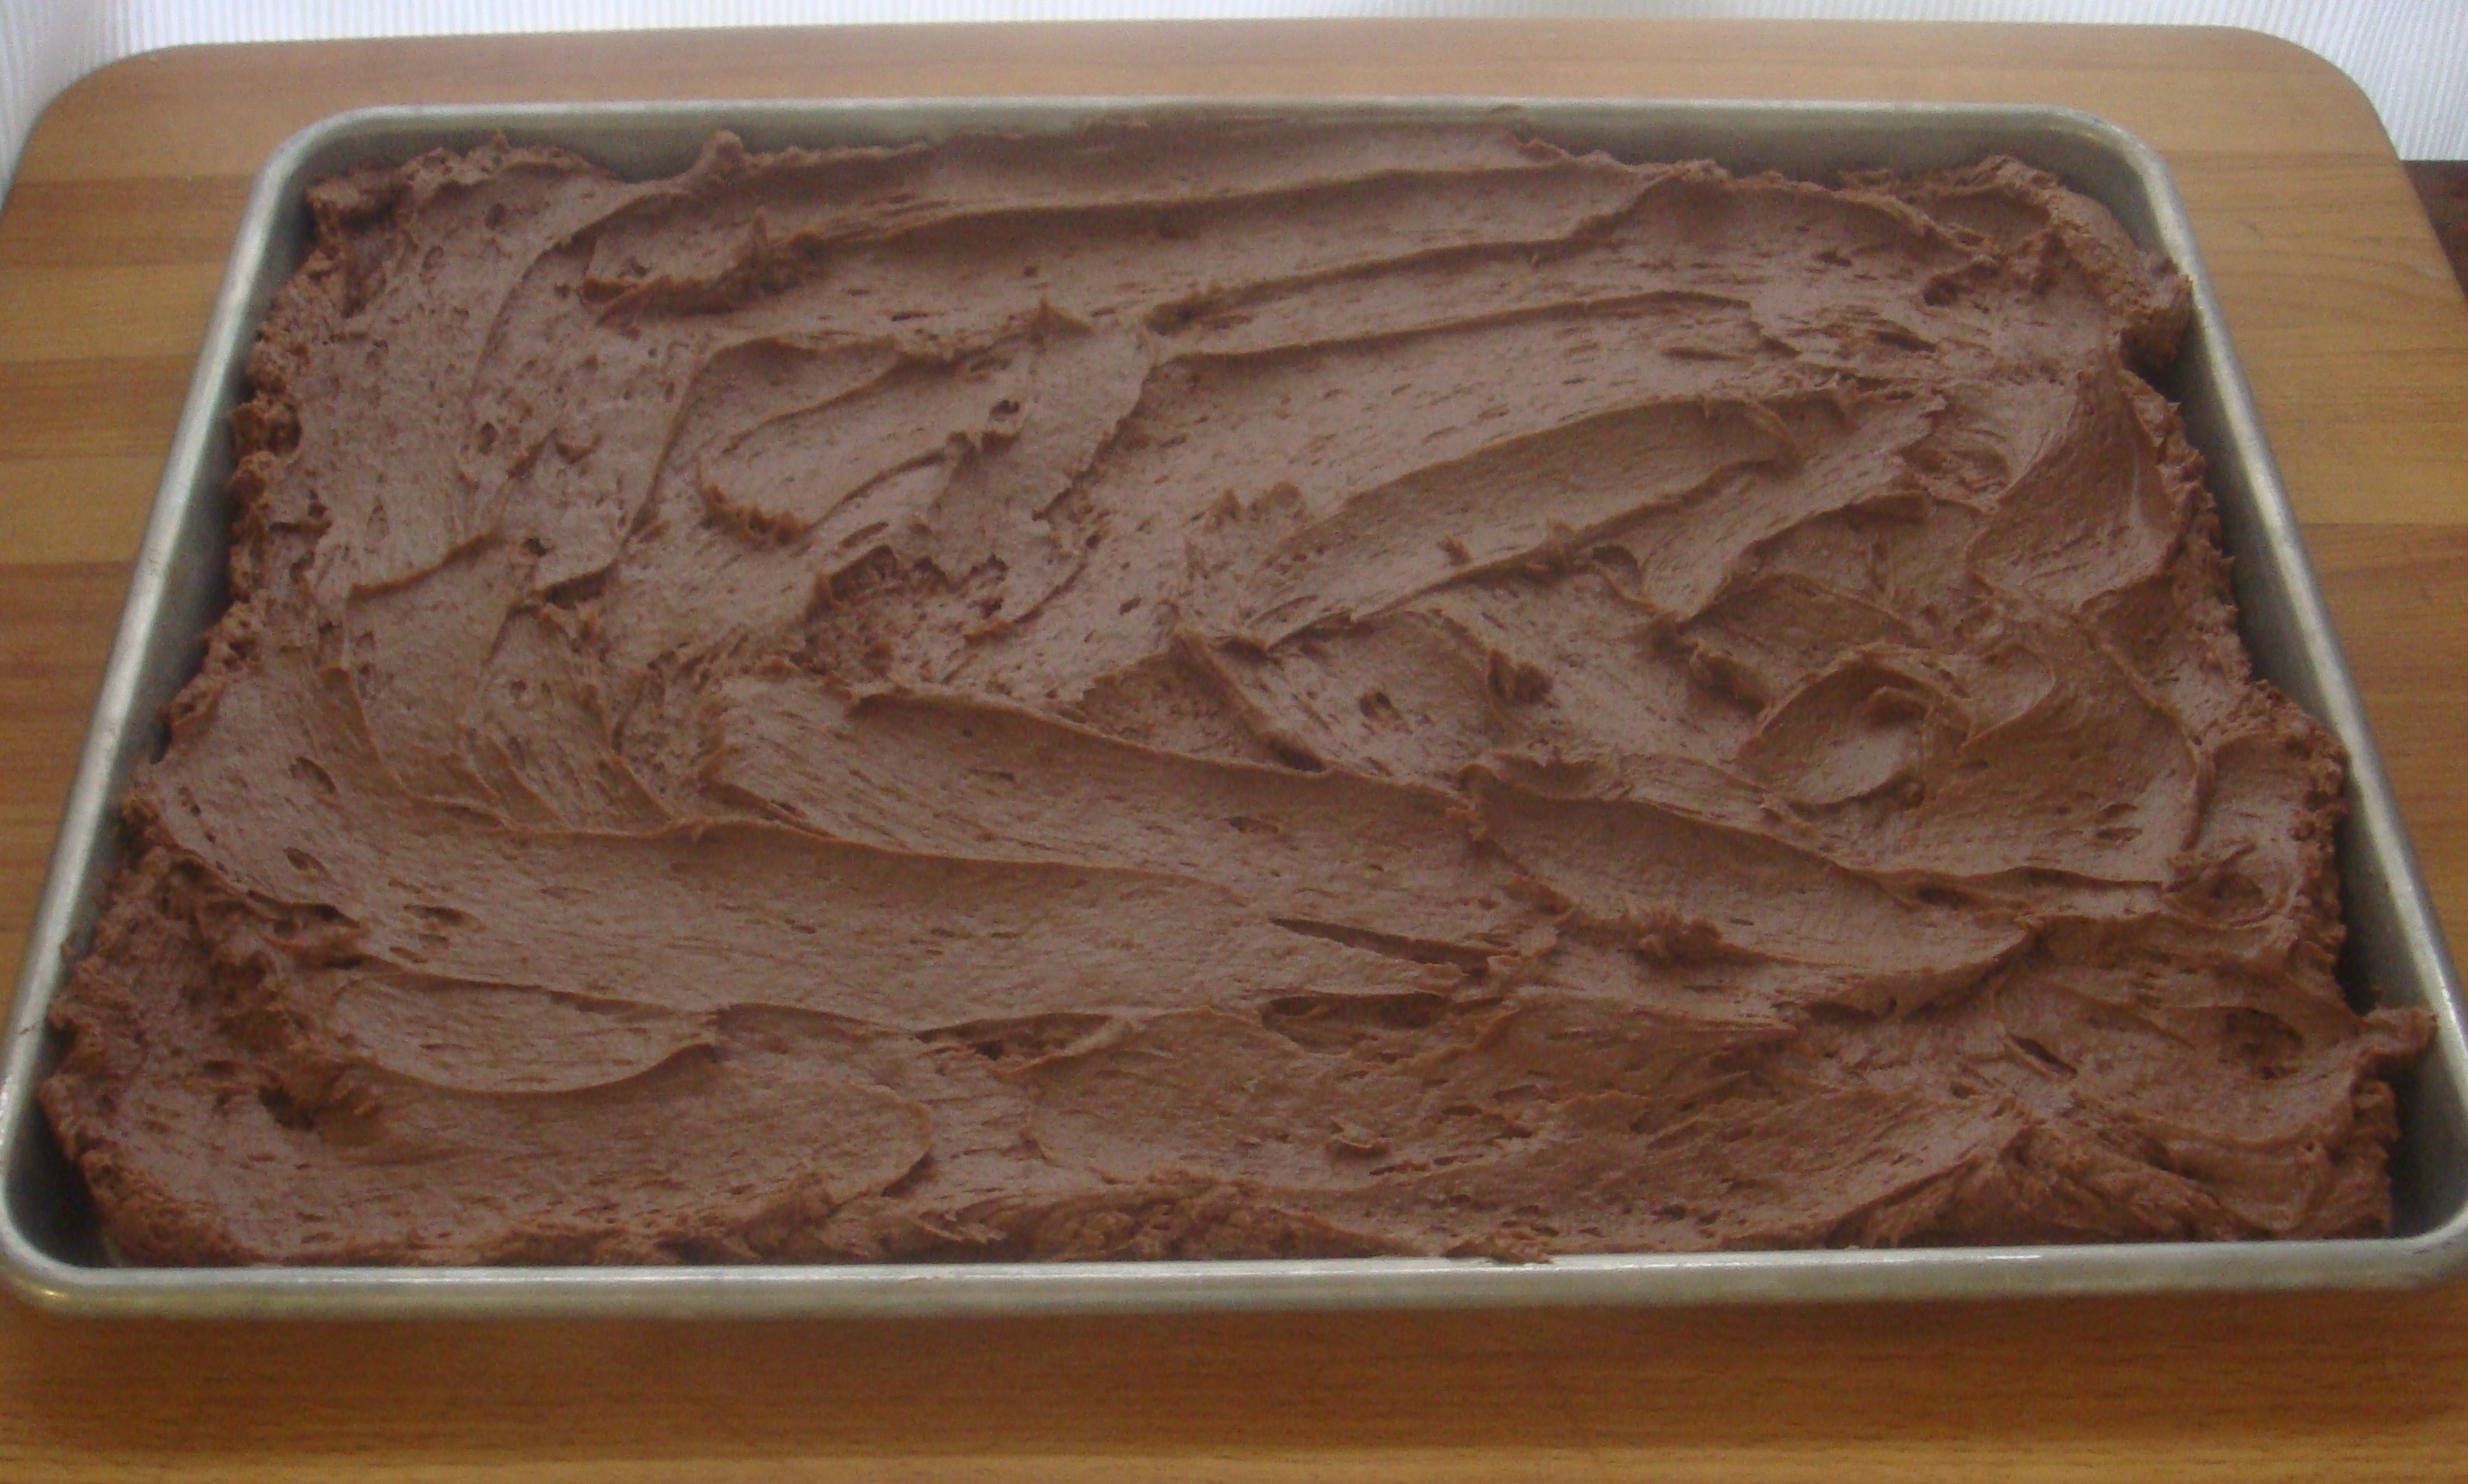
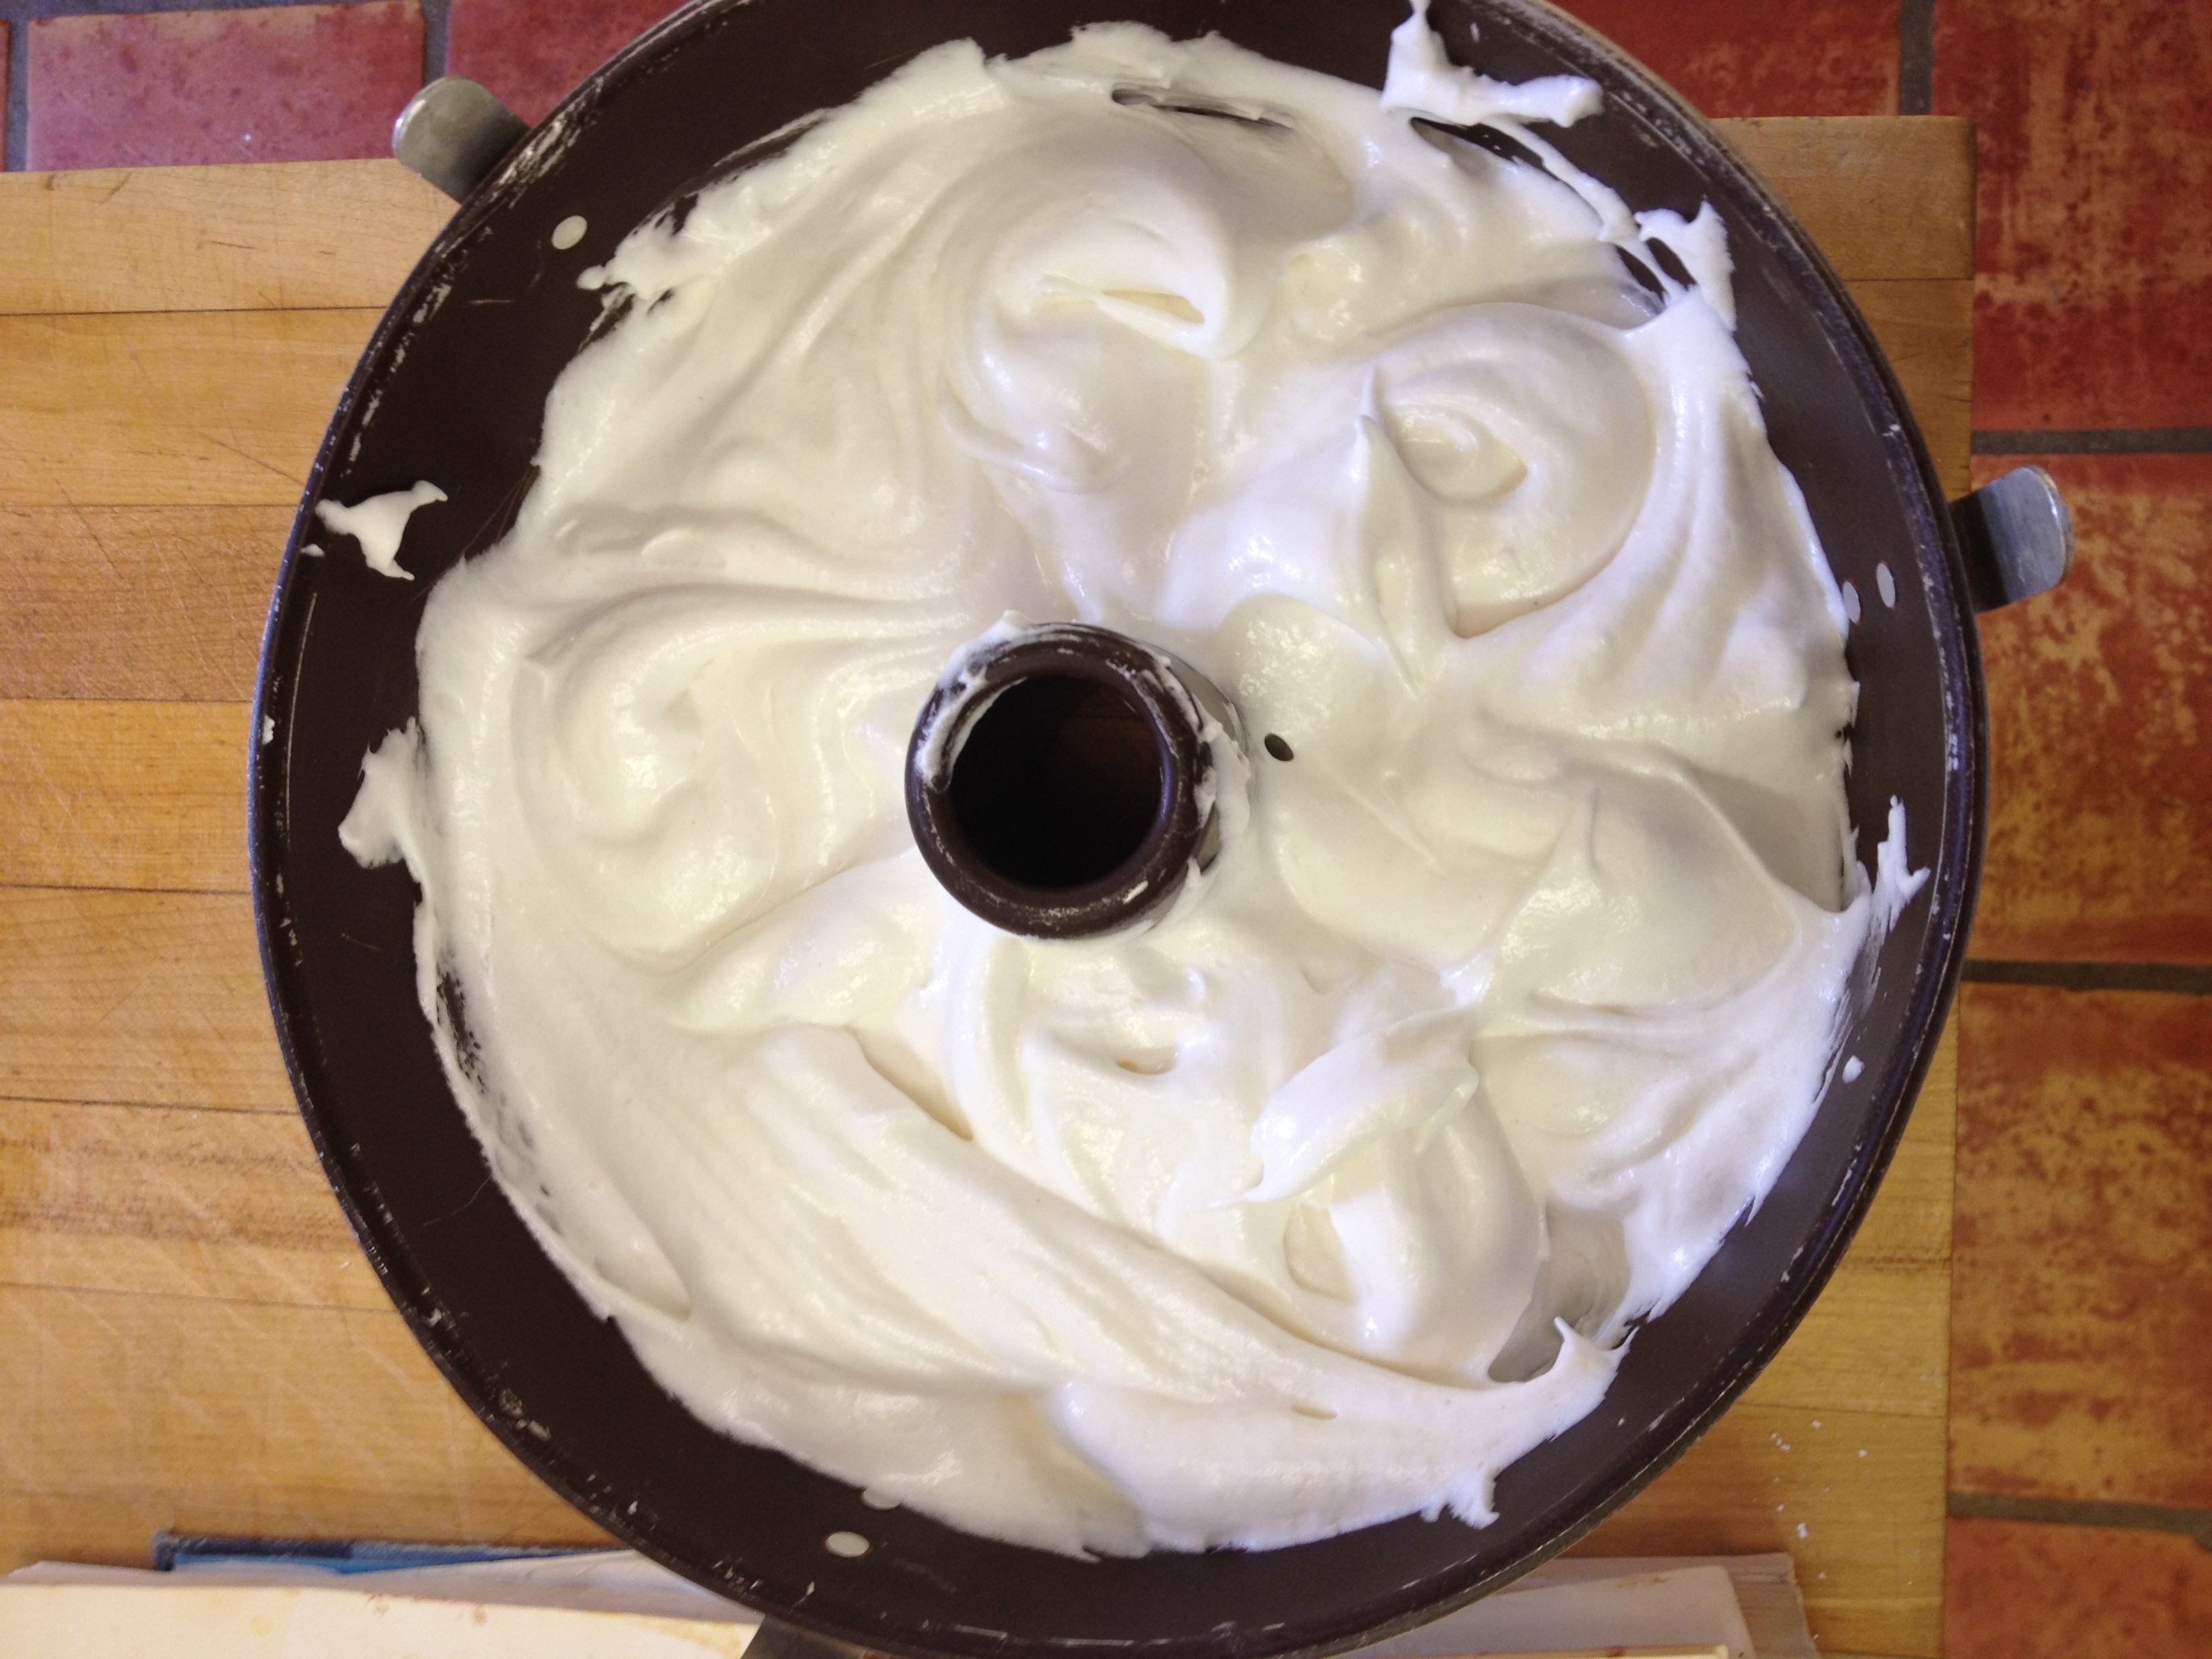
Sift flour mixture, one quarter at a time, over meringue; fold in.  Push batter into ungreased 10×14 inch tube pan.  Cut through batter gently with knife or spatula to prevent air pockets.

photo-2

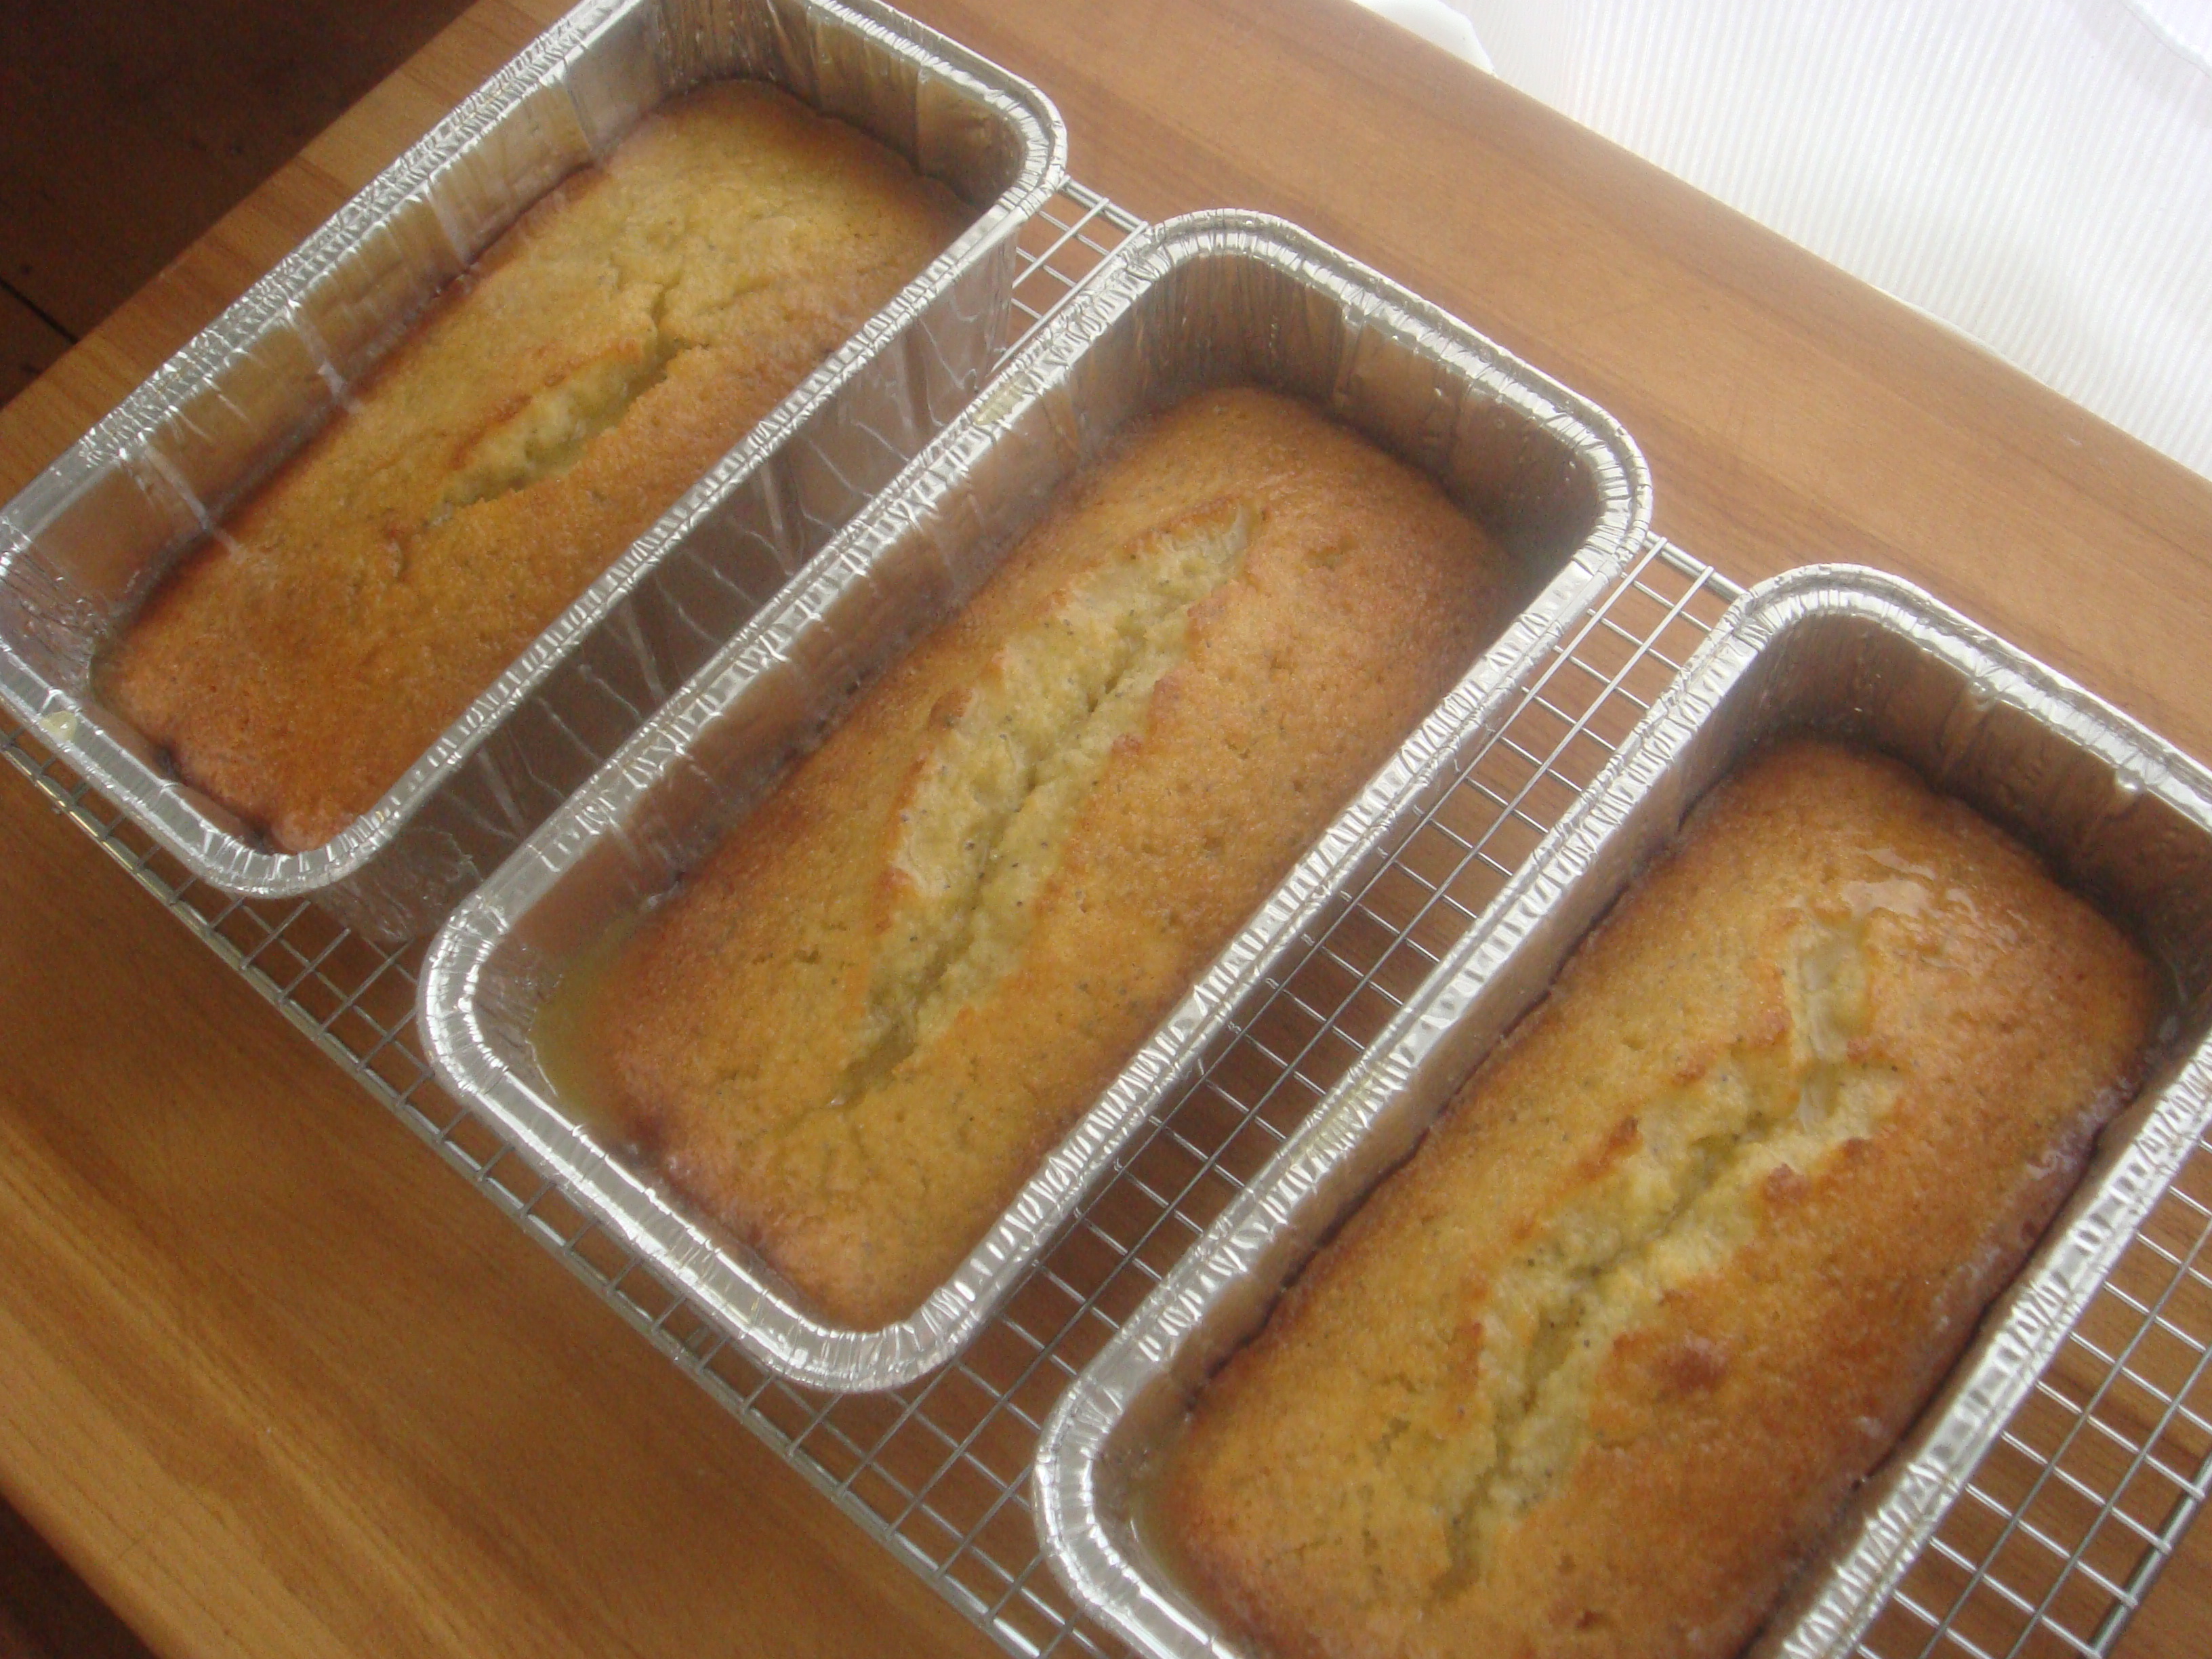
Bake 30-35 minutes (35 in my oven) or until cake tests done when you poke it with a toothpick.

angel food cake after baking

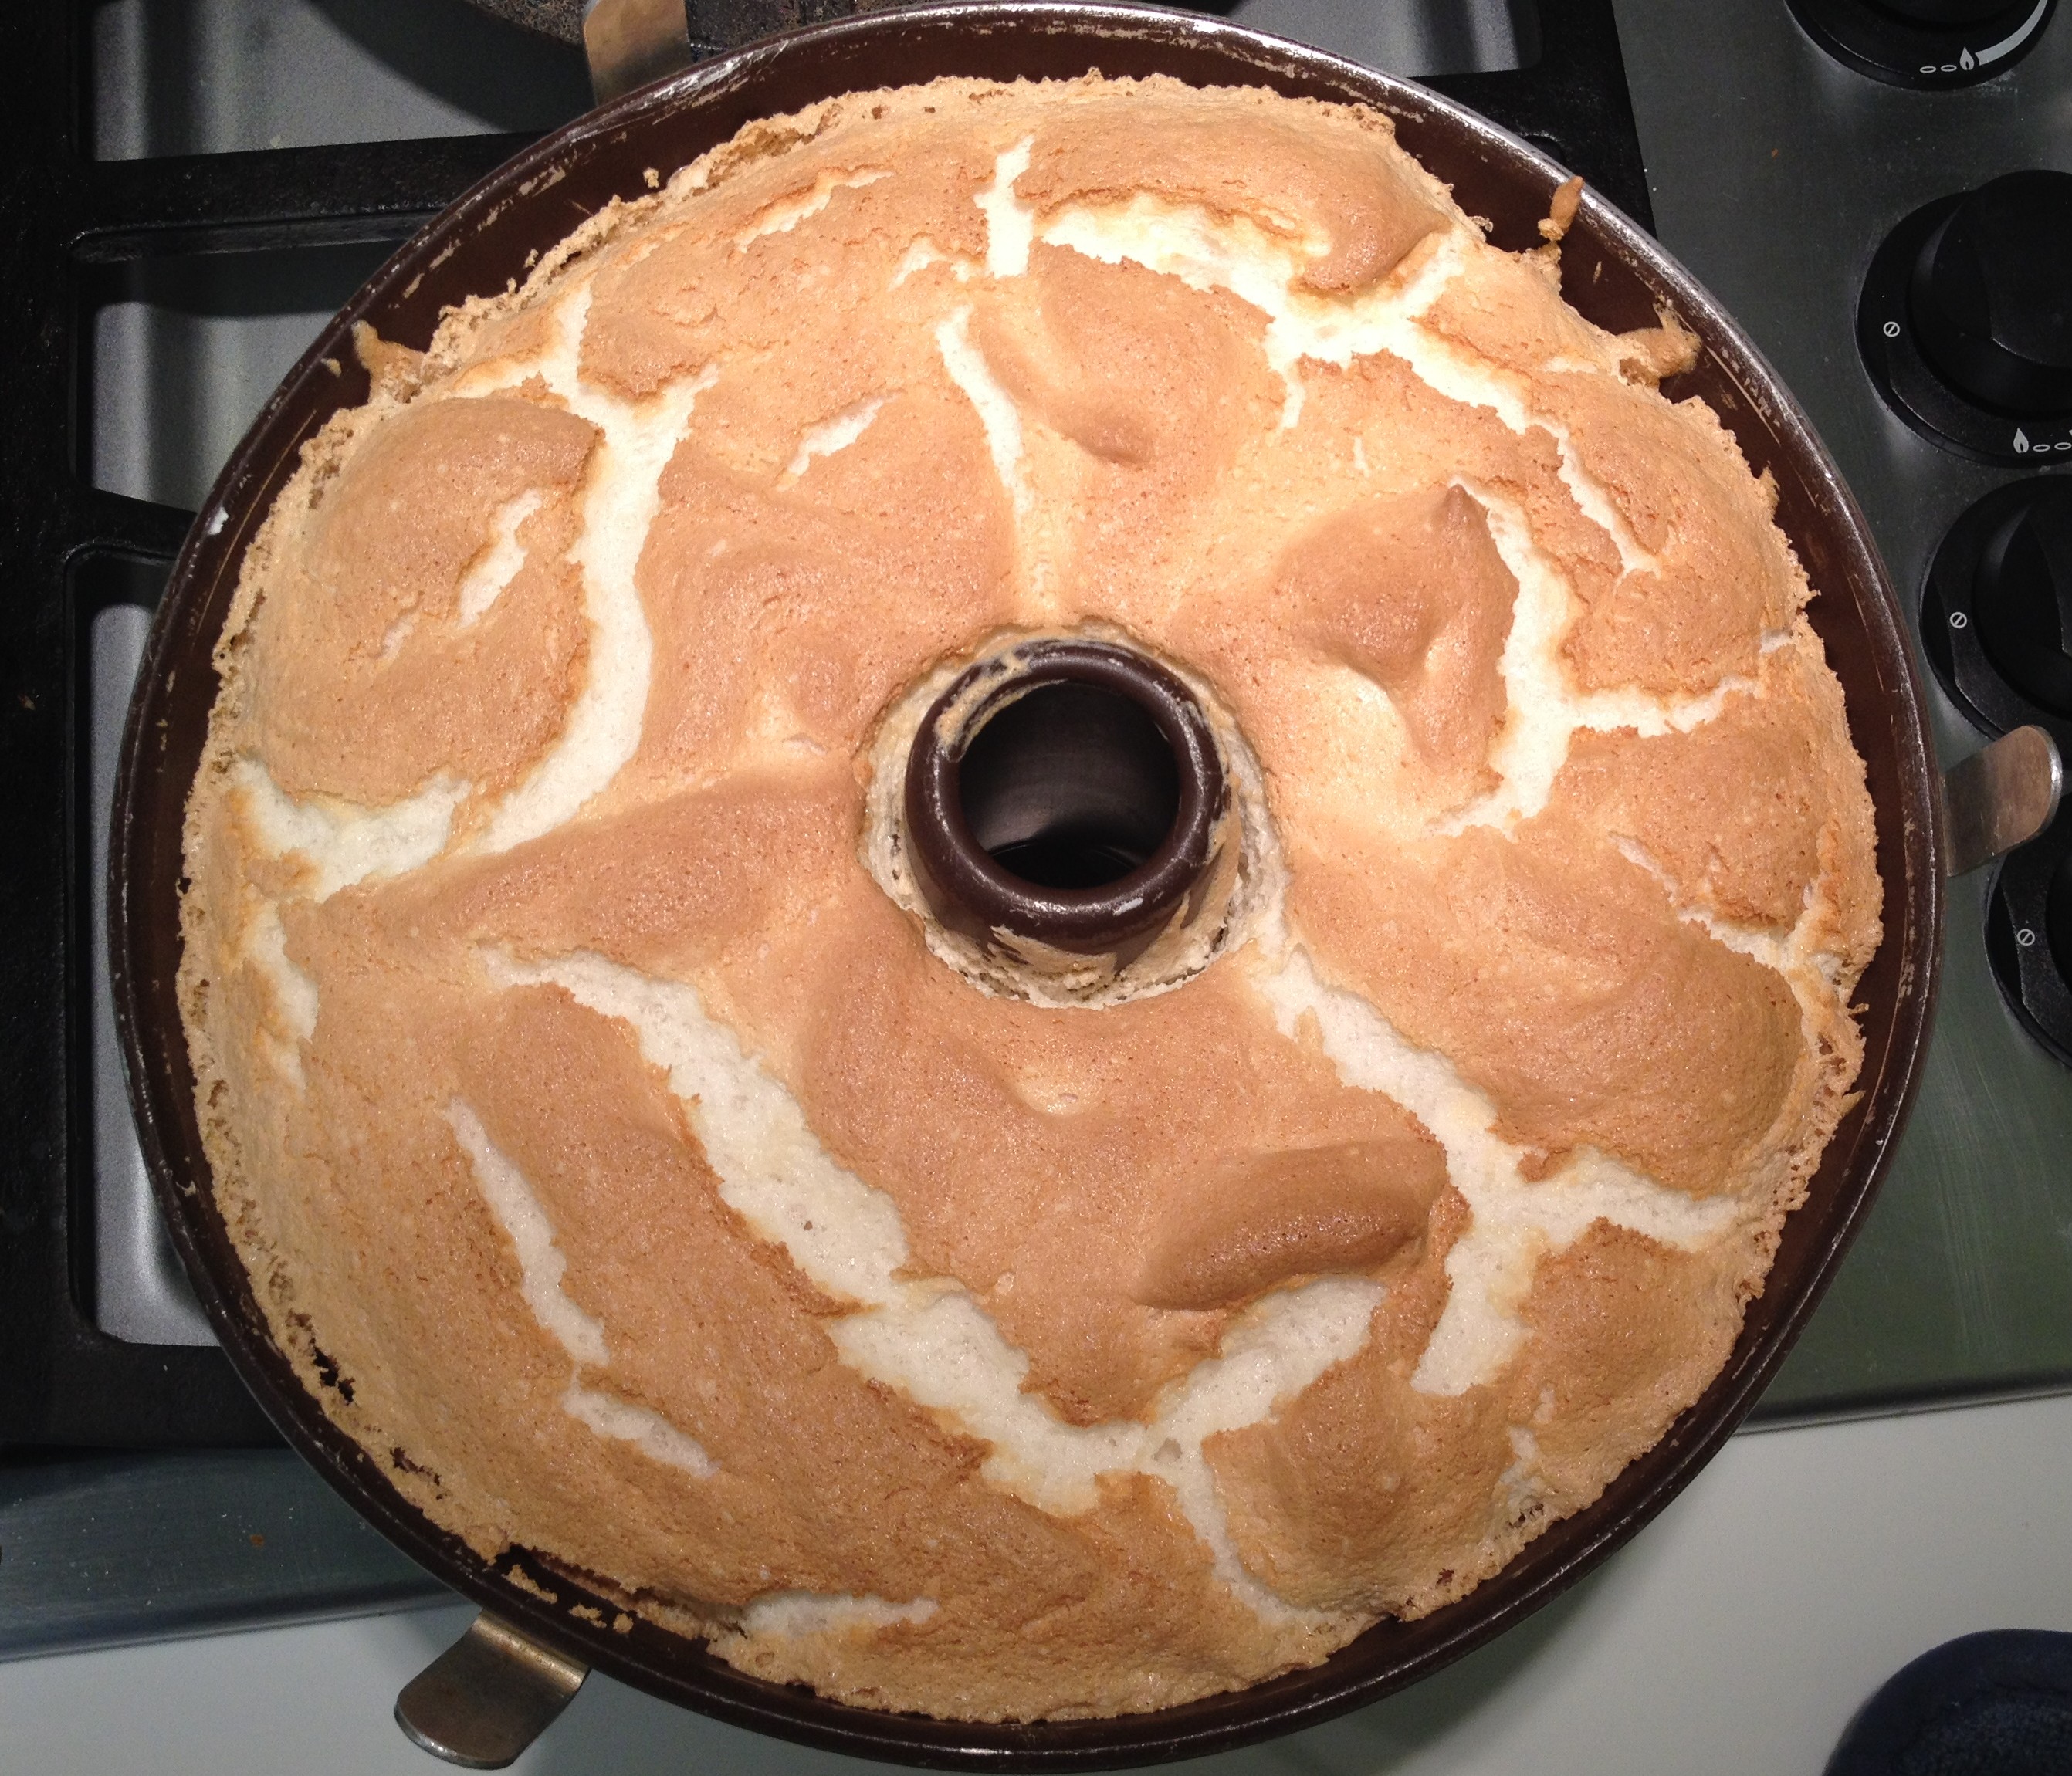
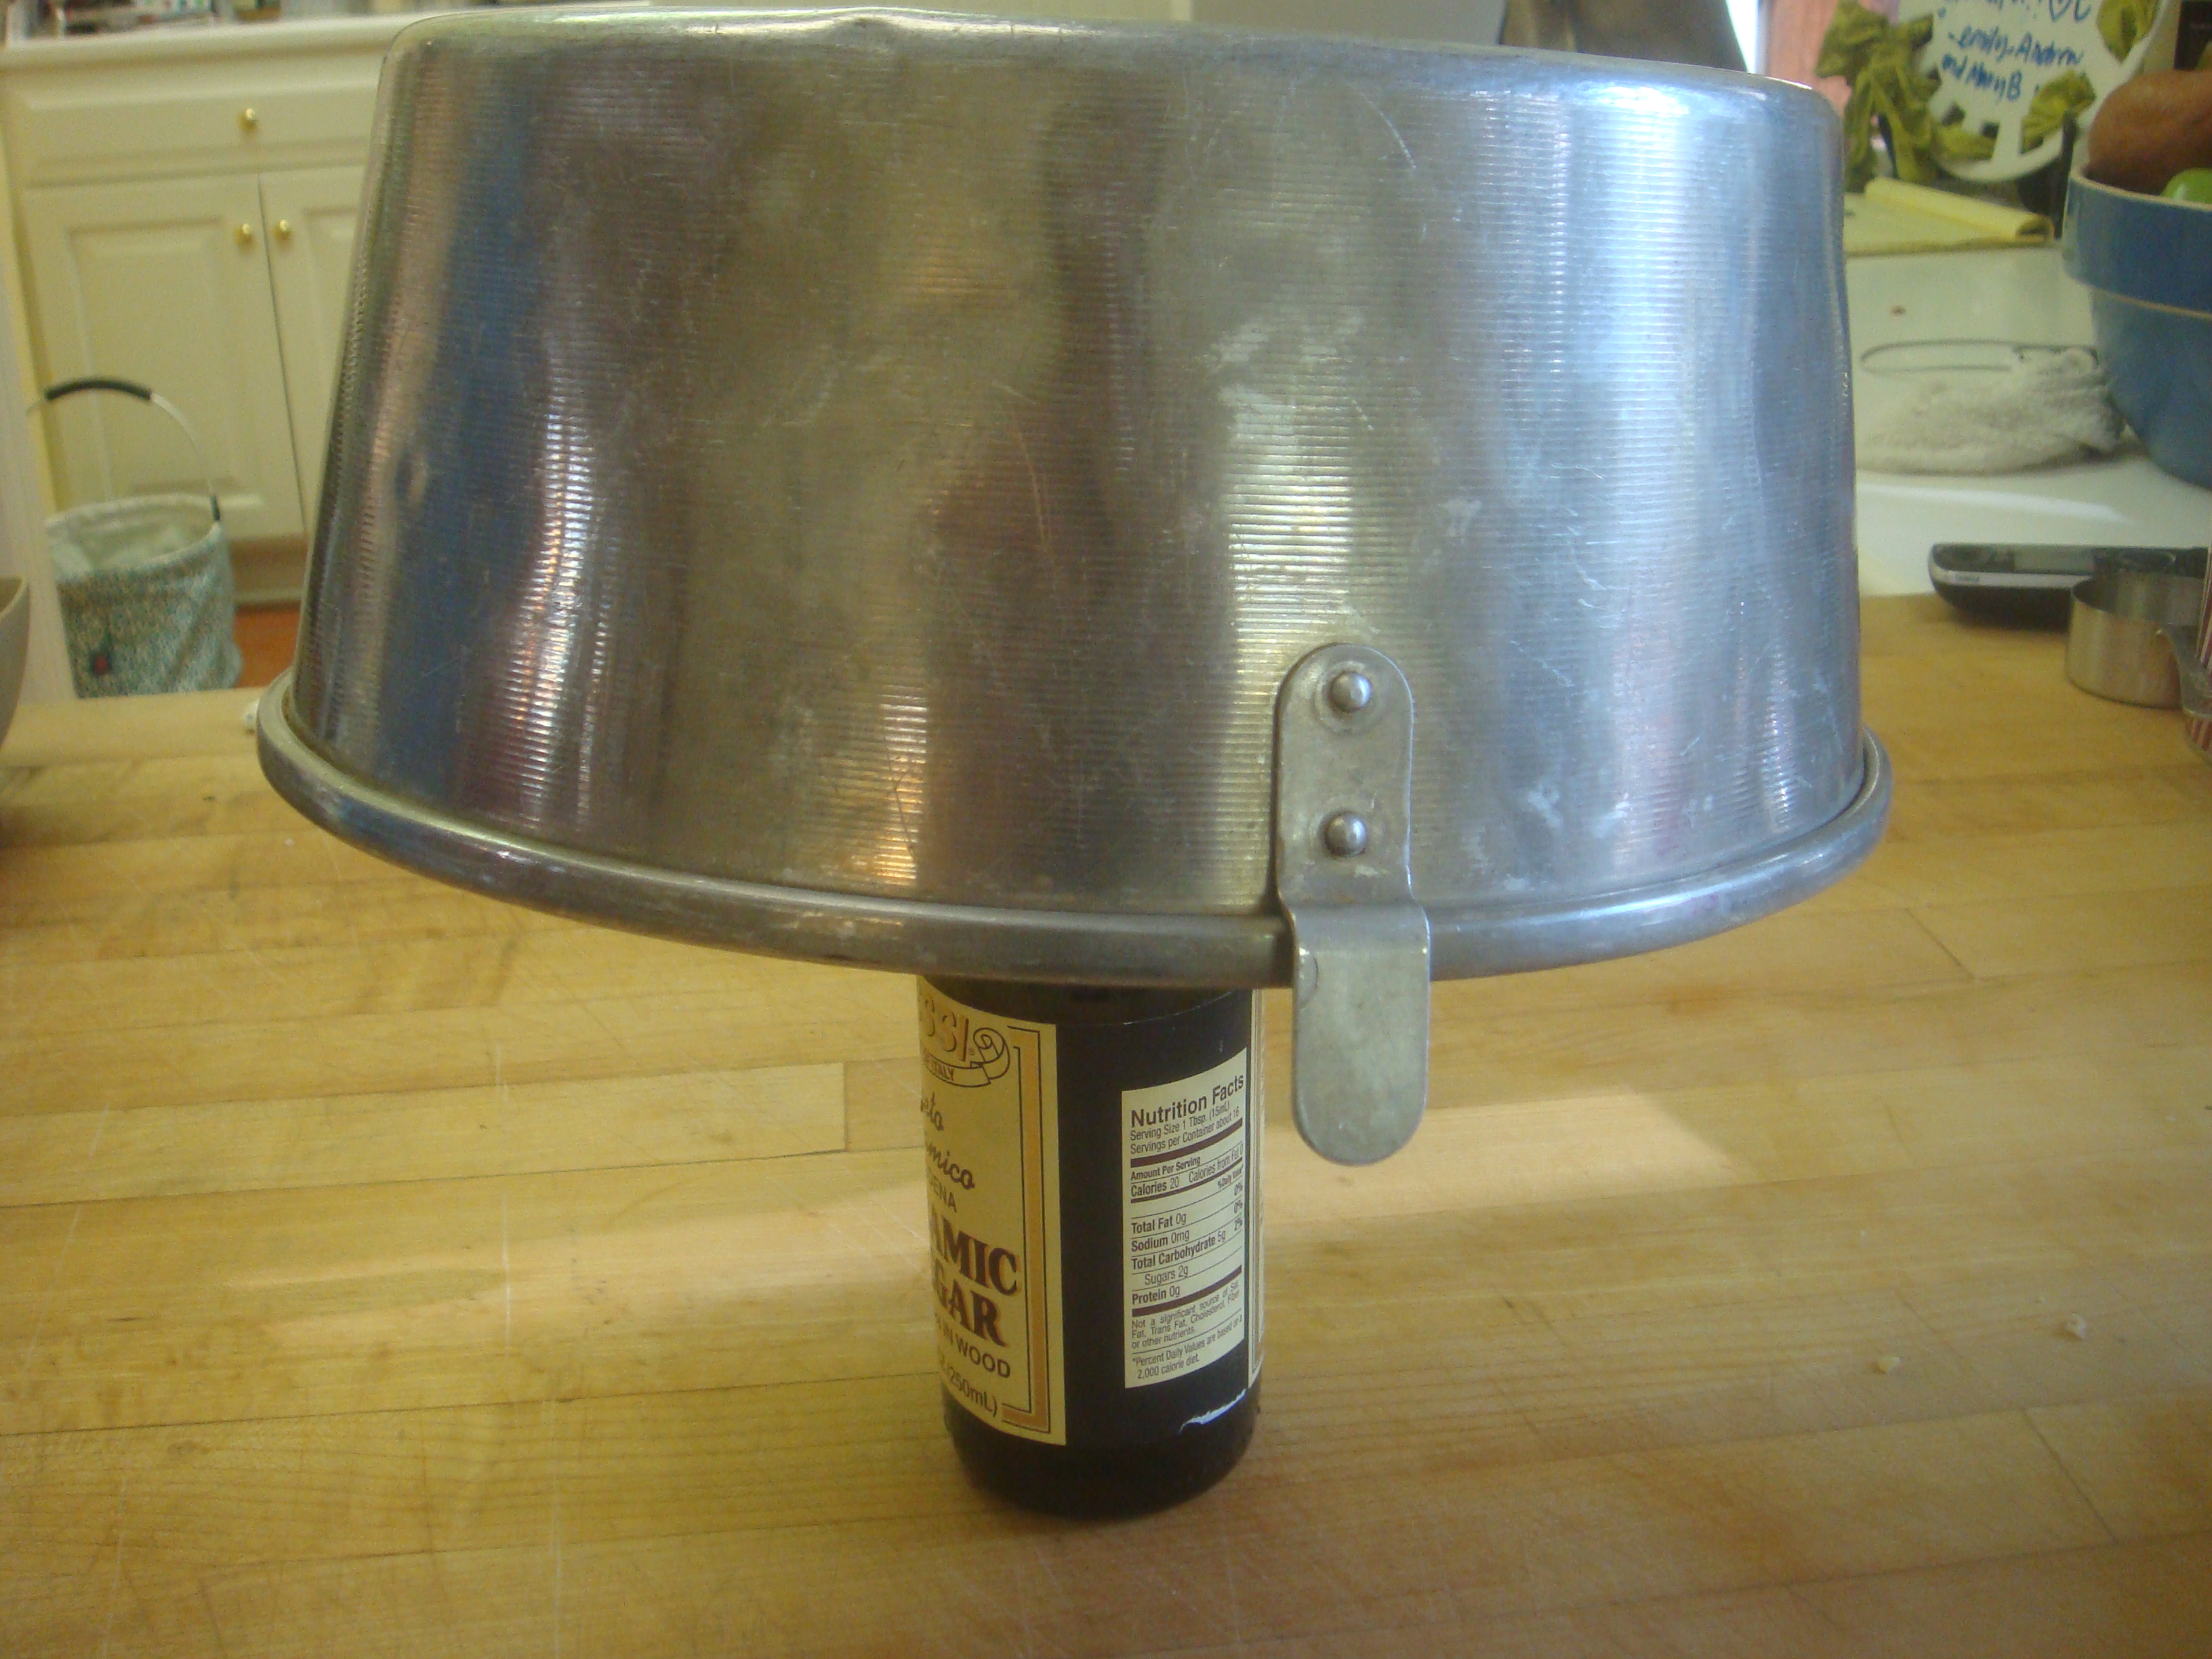
Invert pan.  If your pan does not have feet to keep the cake from touching the counter, place inverted on a bottle for cooling.

DSC01572

Let stand until cold.  Run a knife around the edge of the cake to loosen the cake from the pan.  Remove cake from cake pan by turning it upside down over your cake plate and hitting the sides of the pan.  It may take some hitting and shaking for awhile to work the cake loose.  Serve plain, with strawberries and whipped cream, or with fudge sauce (see link below) and ice cream.

http://notjustanotherfoodblogger.com/really-fudgy-hot-fudge-sauce/

DSC01584

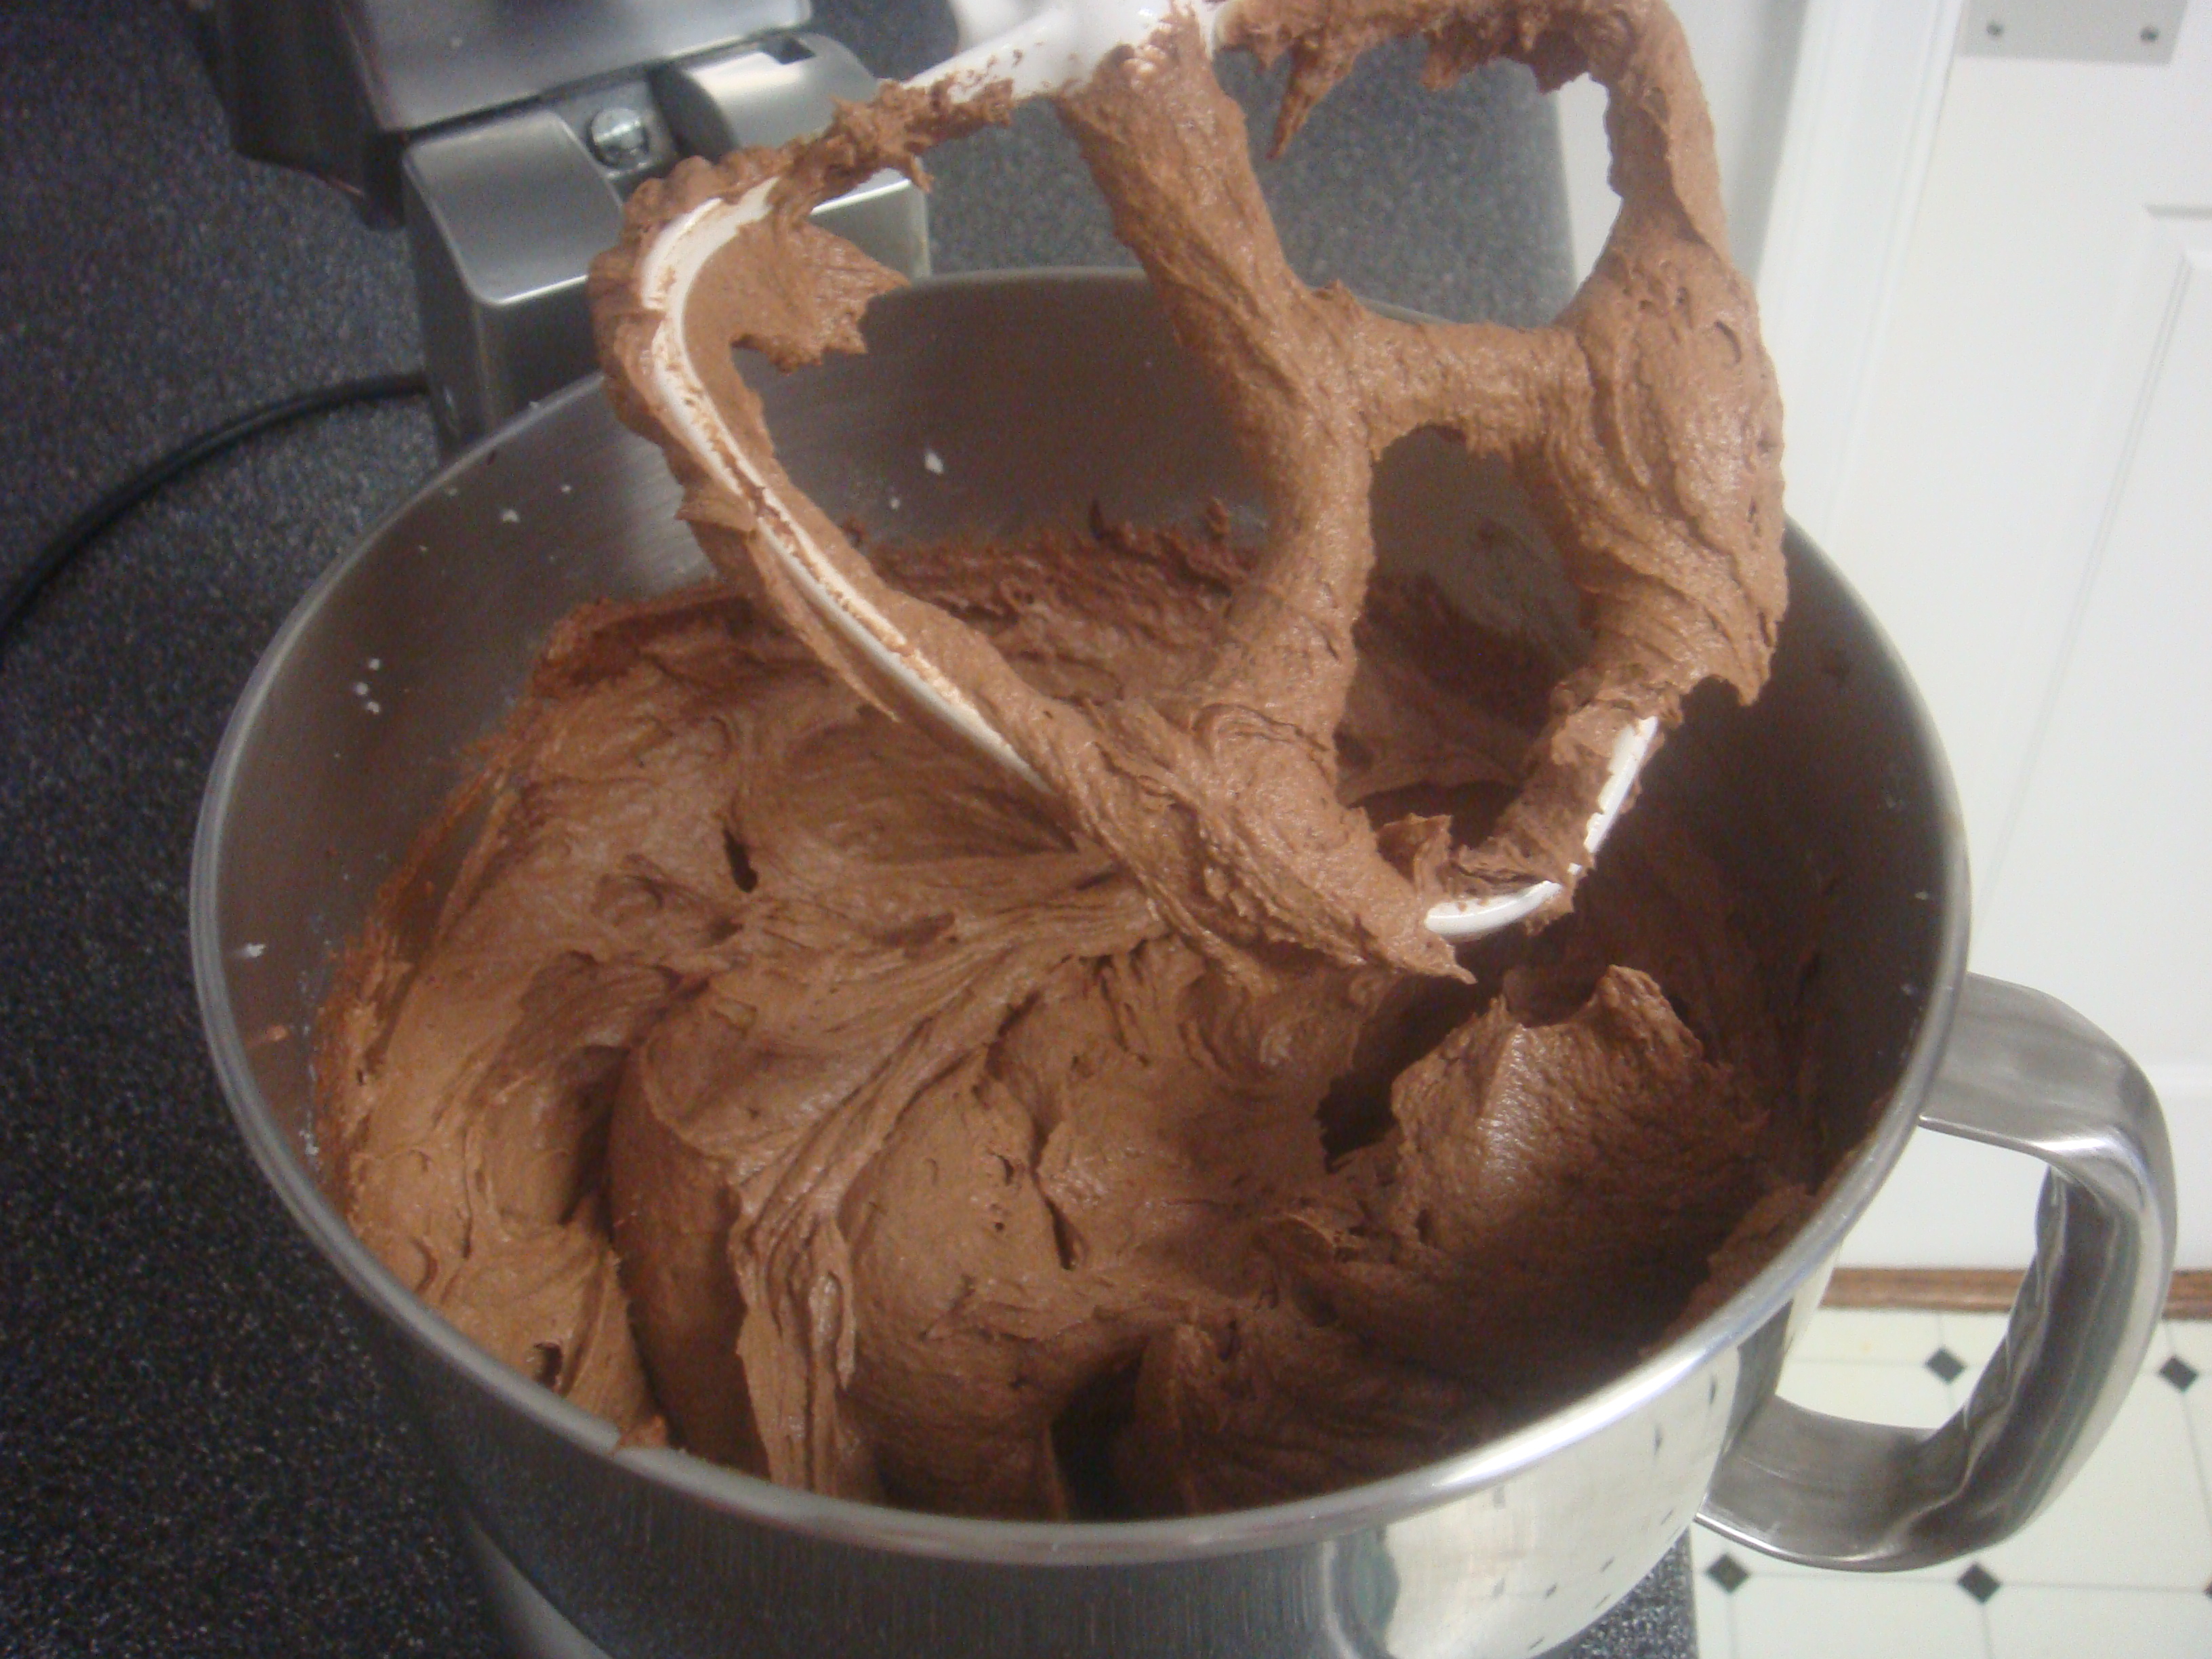
 Variation:  For a chocolate version, sift about 1/3 cup cocoa into sugar and flour mixture.

Share Button

Grinch Cookies

Grinch Cookies are a great Christmas treat paired with a reading of Dr. Seuss’s How the Grinch Stole Christmas!  These Grinch-colored mint sugar cookies with semisweet and white chocolate chips are simple (made with sugar cookie mix!) and surprisingly delicious. 

Source:  http://www.flickr.com/photos/bettycrockerrecipes/4595758178/ (scroll down for recipe)

I changed the recipe a little since I could not find crème de menthe chips.  Here’s my version:

1 package (1 lb 1.5 oz)Betty Crocker Sugar Cookie mix

1/2 cup butter, softened

1 egg

1/2 teaspoon peppermint extract (original recipe calls for mint, but I only have peppermint)

6-8 drops green food coloring (I used 7 in the pics below)

1 cup semisweet chocolate chips (original recipe calls for chunks, which I also did not have)

1 cup white chocolate chips (I could not find crème de menthe chips anywhere – this is why I used the higher end of the range of peppermint extract)

DSC01440

Preheat oven to 350 degrees (or 325 convection).  Stir cookie mix, butter, and egg together.  Then add peppermint extract and food coloring.  Add more peppermint extract to taste and more green food coloring to get the color you want.

DSC01443

Add the chocolate and white chocolate chips and mix well.  Place dough balls on cookie sheet.  It will help if you flatten them a little, as this dough doesn’t fall much while baking.  I did not flatten the dough before I put it in the oven and reached in the oven with a spatula and pressed them down a little while they baked.

DSC01446

Bake for 8-10 minutes or until set.  I take them out of the oven when I see the first hint of browning of the dough.  Let cool on baking rack for a few minutes before serving.

DSC01452

DSC01459

The Story:  I saw this on Pinterest a few years ago and took it to my godson and his brothers for a Christmas treat while we read How the Grinch Stole Christmas!  It quickly became a much anticipated Christmas tradition.  Oh, and of course the reading of the Grinch book is by no means limited to Christmastime.

Share Button

Poppy Seed Bread

Poppy Seed Bread makes a great Christmas or hostess gift.  It’s dense, moist, and very sweet.  The only complaint I’ve ever heard about this recipe is that the name is misleading – it’s better described as Poppy Seed Cake!  It’s great served warm or buttered and toasted. 

Difficulty:  Easy (This is a batter bread, so it’s as simple as making pancake batter.)

Batter

3 cups flour

2 1/3 cups sugar

1 1/2 teaspoons salt

1 1/2 teaspoons baking powder

1 1/2 teaspoons poppy seeds

3 eggs

1 1/2 cups milk

1 1/8 cups oil

1 1/2 teaspoons almond extract

1 1/2 teaspoons butter flavoring

1 1/2 teaspoons vanilla extract

Glaze

1/2 teaspoon butter flavoring

1/2 teaspoon vanilla extract

1/2 teaspoon almond extract

1/4 cup orange juice

3/4 cup sugar

DSC01413

Batter:  Mix all ingredients from flour through the first listing of extracts and flavorings.  Just stir with a big spoon or whisk, and allow some lumps to remain.

DSC01414
The purpose of this pic is to show you this super whisk. It has a whisk inside a whisk and a ball inside that for extra whisking power. If you ever run across one, get one for every cook in your family.
DSC01416
Not a great pic, but it’s really that easy – dump ingredients in bowl and stir

Pour into two greased loaf pans or three smaller foil pans.  These are 8.5″ x 4.5″ x 2.5″.

DSC01418

Bake at 350 degrees for 40-45 minutes.  If you’re using smaller loaf pans, check to see if the bread is done after 35 minutes.  The loaves are done when a fork or toothpick comes out clean when poked into the top.  Cool in pan for 10 minutes.  Poke holes in bread with a toothpick, pour on glaze (recipe below), and let sit awhile.  Remove from pans and slice to serve.

Glaze:  As soon as you put the loaves into the oven to bake, stir the second set of flavorings together with the orange juice and 3/4 cup sugar.  Let rest until time to pour it over the loaves after baking.

DSC01422      DSC01428

  Poppy Seed Bread makes a great gift – I give it out as Christmas gifts every year.

DSC01431


Share Button

Kahlua Brownies (aka Shower Brownies)

Kahlua Brownies are great for serving at parties because they’re pretty and delicious and in a completely different league than your traditional brownie.  They gained the nickname “Shower Brownies” because our friend who gave us the recipe served them at so many wedding and baby showers.  This recipe makes a half sheet pan worth of brownies, which, cut in 1+ inch squares, yields 88 brownies.  If you serve them, you will get requests for the recipe!

Source:  Jane Hyde gave the recipe to my family, and she found it in Mississippi magazine.  It was Jane’s daughter who dubbed them Shower Brownies.

Difficulty:  Medium (just because it has 3 layers so it’s more time consuming than your regular brownie)

Brownies

1 ½ cups butter

3 cups sugar

6 eggs

6 ounces unsweetened chocolate, melted and cooled

1 ½ teaspoon vanilla extract

1 ½ cups flour

¾ teaspoon salt

Kahlua Brownies Ingredients

Cream butter and sugar.  Add melted chocolate.

Shower Brownies Step 1

Add eggs, one at a time.

After all the eggs have been added

Add vanilla.  Stir salt and flour together and then add to mixture.  Pour into greased 12×17 jelly roll pan (“half sheet pan”).

 Kahlua Brownies Step 3

Bake about 20 minutes at 350, or until just done. Remove from oven and sprinkle with a little Kahlua.  Don’t you hate it when recipes are vague?  I use a half tablespoon or a little more.  The variation in color of the chocolate in the picture below shows streaks and drops of Kahlua.

DSC01401

Icing

6 tablespoons butter

4 ½ cups powdered sugar

6 tablespoons milk

1 ½ teaspoons vanilla extract

1 ½ teaspoons Kahlua

DSC01387

Beat until smooth.  Spread over cooled brownies.

DSC01407

Refrigerate or leave on the counter for awhile to let the icing set.

Glaze

2 ounces semi-sweet chocolate

2 tablespoons butter

Melt over low heat.

DSC01406


Once it has cooled a little, place in plastic bag.

DSC01408

Snip tiny bit off corner of bag and drizzle over frosted brownies in a criss cross pattern.  I like it to look a little messy, which is convenient since it’s difficult to be perfectly precise with the plastic bag method of drizzling.

DSC01409

If you want the lines to go straight all the way to the end of the pan, place the pan on a counter you can sprinkle with chocolate (or wax paper like I did in the picture), then drizzle past the edges of the pan so that your turnaround spot is on the counter, not the brownies.  Drizzle with a fast sweeping motion.  You can freeze these for a few weeks as long as they’re in an airtight container.  I use the plastic lids for my pans and then wrap tightly in foil.  Cut in 1 inch squares and serve room temperature or a little cool.

thanks to my mom for this photo!

Variation

One day I’m going to experiment with replacing the Kahlua with peppermint extract and tinting the frosting green or pink to show that it’s mint.  However, every time I start to make them, I think… but they’re SO tasty with Kahlua, why mess with a great thing?  So I haven’t done it yet, but I will, and then I’ll blog about it.

The Story:  The trees are covered with ice, and the temperature is dropping dropping dropping, so i’m cooking cooking cooking today.  I’m making these for a Christmas party next weekend.  I’m freezing them tightly wrapped in foil until the day of the party to keep them as fresh as possible.

Share Button

Lemon Icebox Pie

Lemon Icebox pie is one of my favorite pies – and one of the only desserts I love that does not have chocolate in it!  Lemon icebox is about as close as I get to liking fruit desserts.

Difficulty:  Easy

Source:  you guessed it – my mom

1 14-ounce can sweetened condensed milk

2 egg yolks

1/2 cup lemon juice (fresh squeezed, may need to add more)

1 teaspoon lemon zest (I prefer to leave this out)

1 graham cracker crust – http://notjustanotherfoodblogger.com/graham-cracker-crust/

For anything bigger than a shallow 8 inch pie plate, you’ll probably want to double this recipe.  You may not end up using quite double, but you’ll want more than a single recipe.

lemon juicing
It really is important to use fresh squeezed lemon juice.

Mix sweetened condensed milk with egg yolks and 1/2 cup lemon juice. Add more lemon juice to taste.  Stir with whisk until completely mixed.  I’m making 2x the recipe here.

I don't worry if I get some lemon seeds in this part because I'm going to strain it  later.
I don’t worry if I get some lemon seeds in this part because I’m going to strain it later.

Pour through strainer into pie crust.  The straining gets rid of lemon pulp and bits of the egg yolk.  If you use lemon zest, you’ll want to pour through the strainer into a bowl before adding lemon zest, then stir in the zest and pour into crust.

Thanks to my mom and brother for helping with this pic!

Refrigerate for a few hours until set.  Serve with meringue topping or whipped cream.  I think it’s excellent without any topping.  This version of this pie isn’t as firm as what you’ll generally find in restaurants, but I like the taste of this version best.  More lemon juice will make it a bit more firm.

Finished product!
Finished product!

Lemon Icebox Pie

The Story:  Growing up I wasn’t a huge fan of birthday cake, which required (can I say inspired?) some creativity on the part of my mom when it came to birthday party planning.  For my 6th birthday she made miniature lemon icebox pies for my party guests.  I’m not sure my guests were as excited about the lemon icebox as I was, but I loved it for sure!

Share Button

Southern Fried Corn Taste (Without the Mess) aka That CORN!

This creamed corn is amazingly easy and my favorite corn dish.  It’s so easy that it’s almost not worth posting… but it’s so delicious that I thought everybody should know about it!  Now that I have this recipe, I cannot imagine a need for shucking corn and cutting it off the cob.  This is a great side for Thanksgiving dinner – it may even win over your pickiest eater!

1 package Frozen white Silver Queen corn by Southern Farms (packaged like a roll of sausage)

1 12 ounce sack of frozen shoe peg corn, loose kernels

1/2 stick butter


DSC01266

Place one package of each type frozen corn in greased casserole pan with 1/2 stick of butter.

DSC01268

Cover with foil, and bake at 325 degrees for 30 minutes.  Take the dish out of the oven, stir the corn (getting rid of all lumps of creamed corn), and check for seasoning.  Add salt and pepper to taste, and cook for another 15-30 minutes, until the kernels are done.  It is easy to over-salt this dish, so salt lightly.  The recipe calls for adding lots of pepper, but I prefer to pepper lightly.  It will bubble around the edges when it’s done.

DSC01286

The Story:  Each year in the weeks leading up to Thanksgiving, my mom sends around her meal plan for Wednesday through Sunday and asks for any special requests.  One year my 9 yr old niece named a few desserts and then said, “that CORN!”  This recipe from then on became simply known as “that CORN!”


Share Button

Onion Souffle

This onion dip is another one of my go-to recipes, and I’m posting it by request.  It’s quick and easy to make.  If you’re looking for a hot, creamy onion dip that’s a crowd-pleaser, your search is over.

12 ounces frozen chopped onions

24 ounces cream cheese, softened

2 cups grated fresh Parmesan cheese

1/2 cup mayonnaise

Fritos Scoops for serving

onion souffle ingredients

I used Kraft parmesan cheese here, but if you can find fresh grated, it will be even better!  Thaw onion and dry, using a paper towel.

DSC01275

Mix all ingredients other than Fritos and transfer to a 2 quart souffle dish.

DSC01277

DSC01279

Bake at 425 degrees for 15-20 minutes.  Serve with Fritos Scoops for dipping.

onion souffle

Share Button

Graham Cracker Crust

Homemade Graham Cracker Crust is very easy (as long as you have a food processor) and SO much better than the bought version.  This crust is part of my cooking ahead for Thanksgiving, so be on the lookout for a future post with the lemon icebox pie filling.

1 package graham crackers + 1 sheet (i.e. 1 of the three packages that come in a box plus one rectangular graham cracker)*

3/4 stick butter, cut in pats

1/4 cup sugar

Break graham crackers into pieces.  Combine all ingredients in food processor and process until mixed and well ground but not as fine as sugar.

2013-11-17 15.10.57

Graham Cracker Crust in the food processor

Press gently into pie plate just enough to make it into a crust – don’t pack it tightly.  For a shallow 8-9 inch pie plate, I do not use all of the mixture and put the rest in a ramekin for a very small pie.

graham cracker crust

2013-11-17 15.33.11

Bake at 350 degrees (325 convection) for 5-10 minutes until just a little toasty brown.  Fill with pie filling (my favorites are lemon icebox <link below> and hot fudge) or wrap tightly in foil and freeze until needed.

http://notjustanotherfoodblogger.com/lemon-icebox-pie/

* The Story behind the extra graham cracker:  My sister has been a graham cracker aficionado ever since I can remember.  She once noticed that a box of graham crackers wasn’t up to par and called Nabisco to report a “bad batch.”  They sent her coupons, but that wasn’t her goal.  She just wanted them to know for quality control reasons.  So of course she noticed when they dropped the number of graham crackers in each package (3 packages to a box) by one graham cracker.  She called to confirm that Nabisco had in fact changed the number of sheets per pack and then let all of the family know that we needed to adjust our recipes.  Could you skip the extra graham cracker and still be fine?  Sure, but I stick with adding the graham cracker, partly because I get such a kick out of thinking of my sister (busy mom of three boys) on the phone with the people at Nabisco discussing graham crackers.  And of course, I like to be precise.


Share Button

Easy Caramel Sauce

This Easy Caramel Sauce is better than any I’ve found in stores, and it’s truly very easy.  It’s not technically “real” caramel sauce since you don’t have to caramelize the sugar, but that’s what makes it easy, and you’ll never get a complaint, even from serious caramel fanatics.

1 cup dark corn syrup

1/2 cup white sugar

1/2 cup light brown sugar, packed

1/4 teaspoon salt

1/2 cup cream

2 tablespoons butter

1 teaspoon vanilla

Combine all ingredients except vanilla.  Stir over medium heat until it comes to a boil.

2013-11-16 23.33.43

Boil for 5 minutes.

2013-11-16 23.40.18

Remove from heat and add vanilla.  Serve warm over ice cream.

DSC01258

This keeps well in the refrigerator for weeks…that is, if there is any left from people grabbing a spoonful here and there!

The Story:  A good friend of mine is a caramel fanatic, and I keep trying to find a bought caramel sauce that is as good as this one, but I haven’t found one yet.  She eats it by the spoonful straight out of the refrigerator “because you don’t lose any from dripping that way.”

Share Button

Go-To Sweet and Sour Salad Dressing

Sweet and Sour Dressing is a great dressing for Go-To Craisin and Feta salad, and the name pretty much says it.  It’s more sweet than sour, and it’s my favorite salad dressing.  That is to say that I don’t like salad all that much, and I really like this dressing!

Difficulty:  Easy

Source:  Come On In!, with an adjustment or two

1 cup vegetable oil (I use canola)

1 cup sugar

1/2 cup red wine vinegar

3 teaspoons soy sauce

splash or two of balsamic vinegar

salt and pepper to taste (I don’t think it needs any)

Stir sugar into red wine vinegar, whisking to dissolve the sugar.  Add other ingredients and blend.  Keep refrigerated.  The ingredients will separate, so be sure to shake/stir just before serving.

Serve with Go-To Salad with Craisins and Feta.

http://notjustanotherfoodblogger.com/go-salad/

IMG_1754

IMG_1757


Share Button