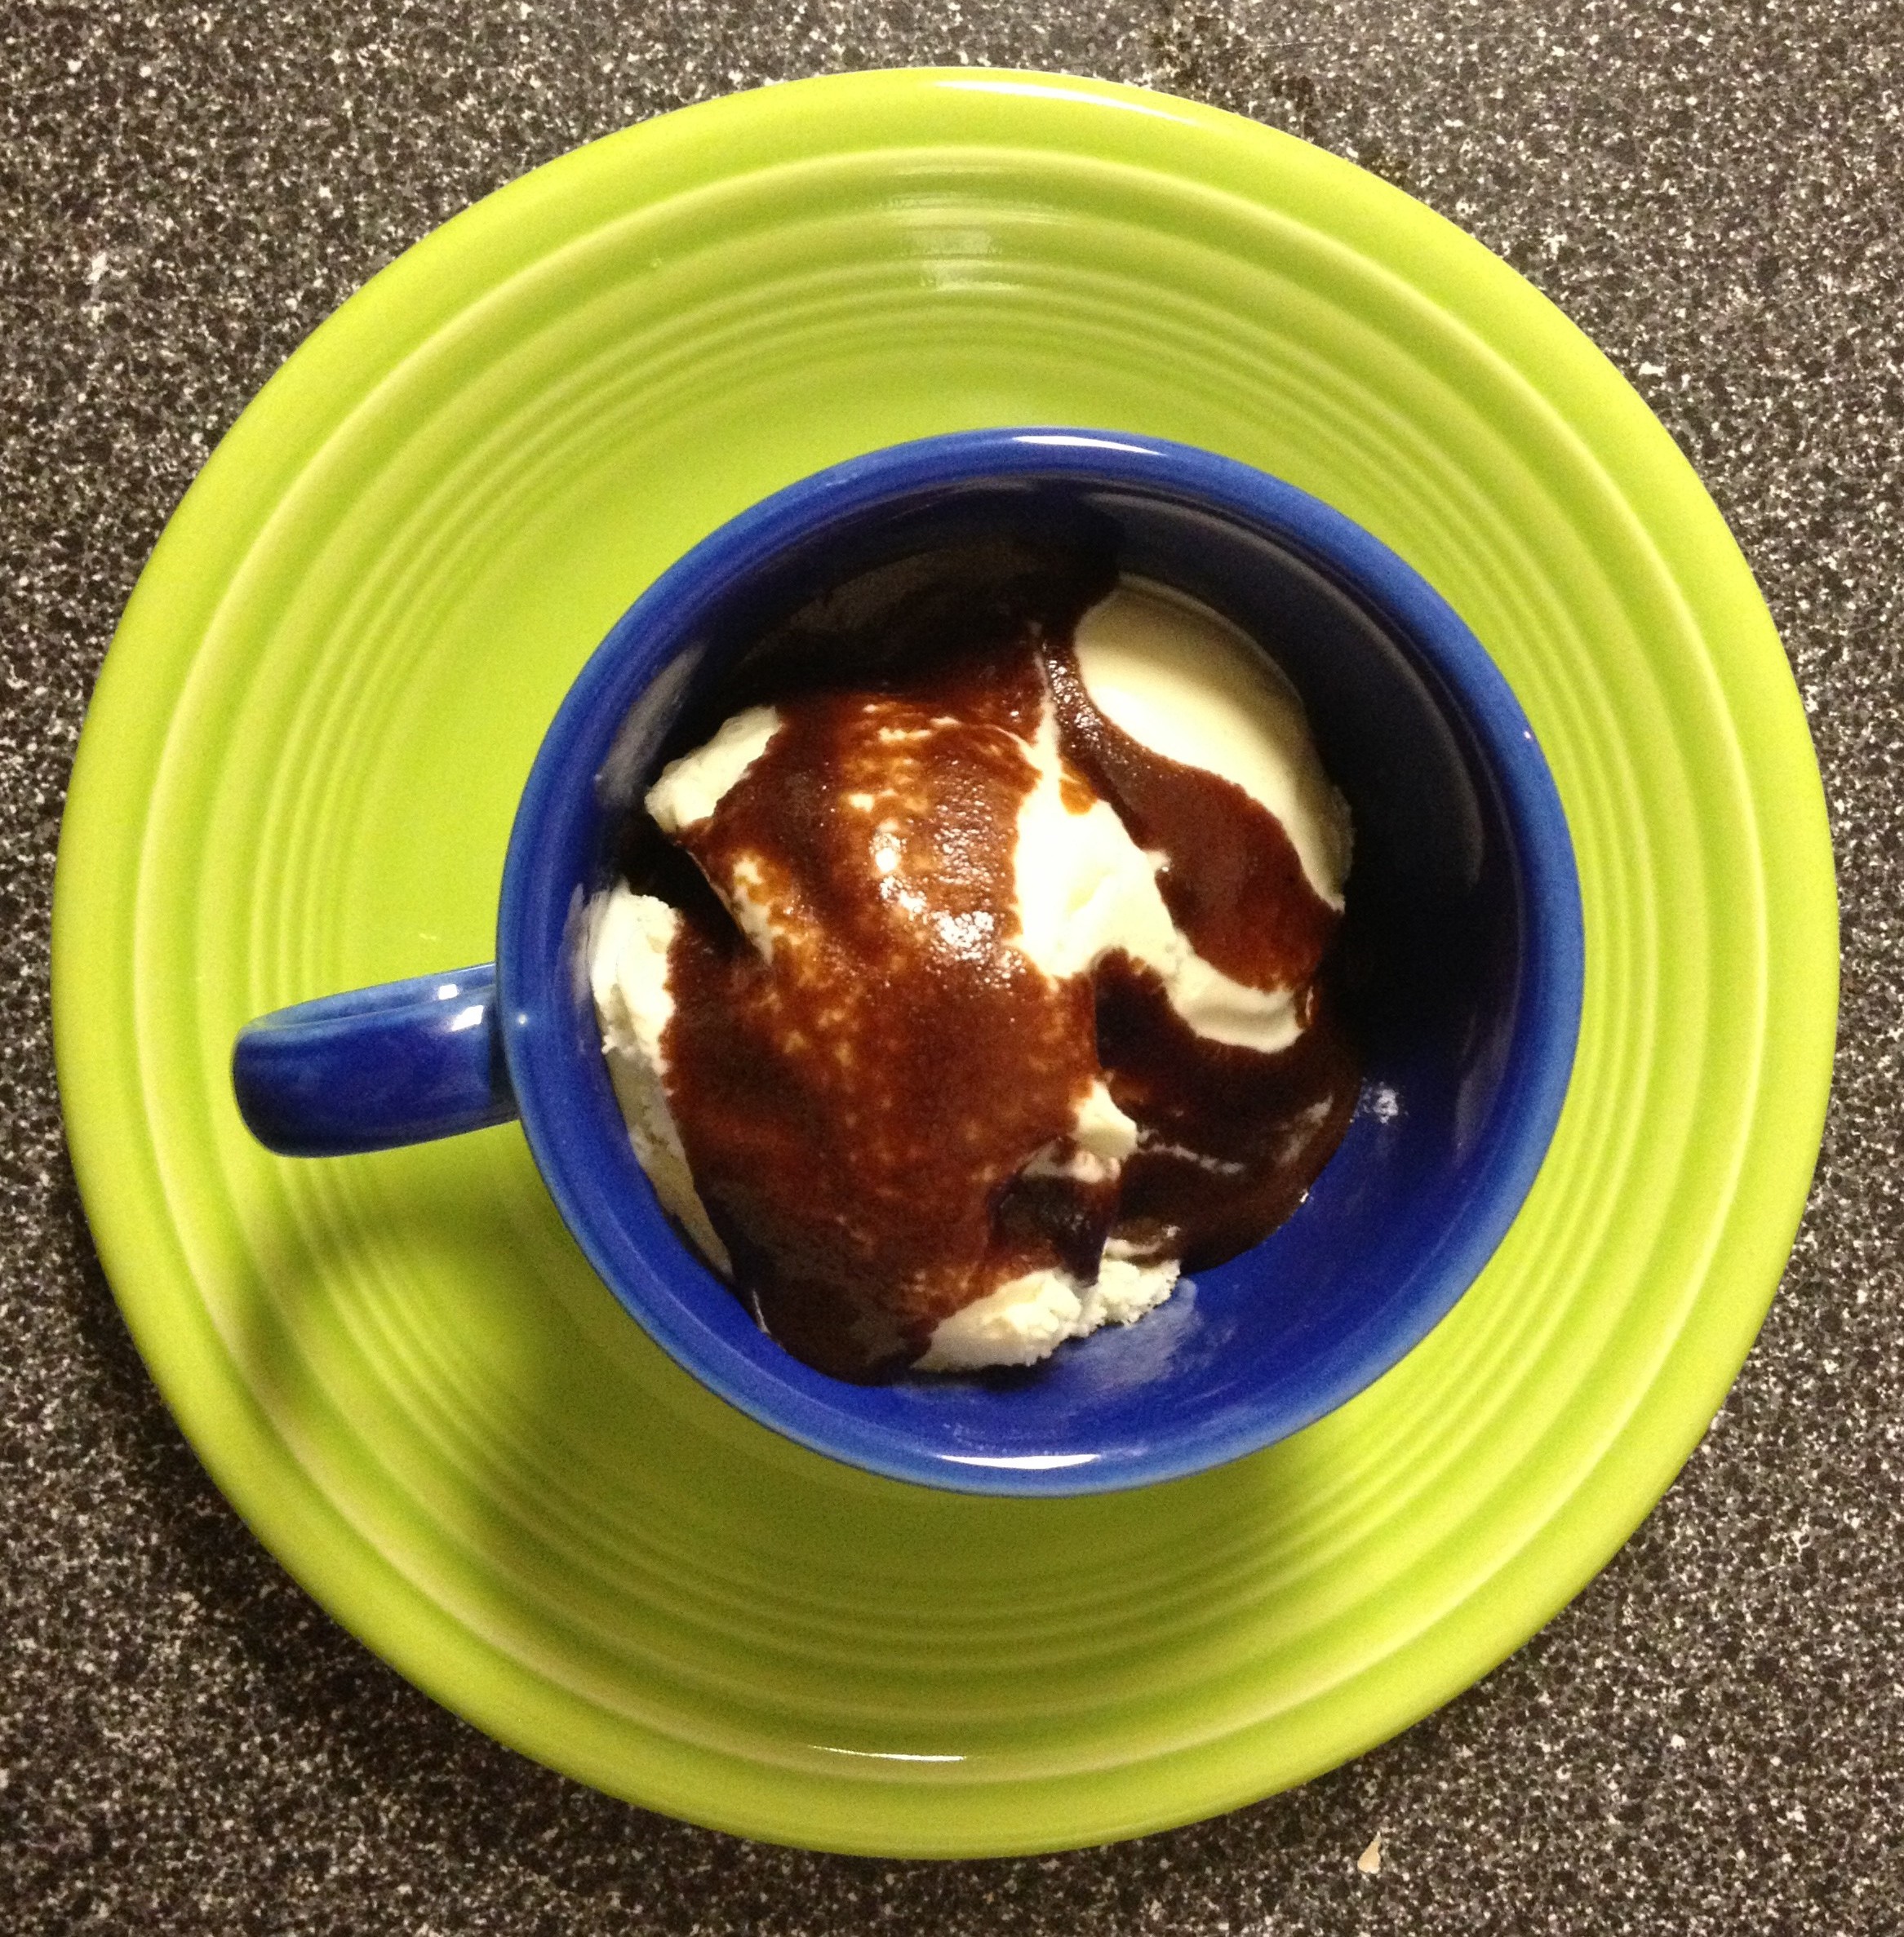
This fudge sauce is, as advertised, really fudgy as well as thick and smooth – just exactly what fudge sauce should be. It will make you wonder why you ever wasted any time with Hershey’s syrup. There is really no comparison.
Source: my mom, of course
Difficulty: Easy
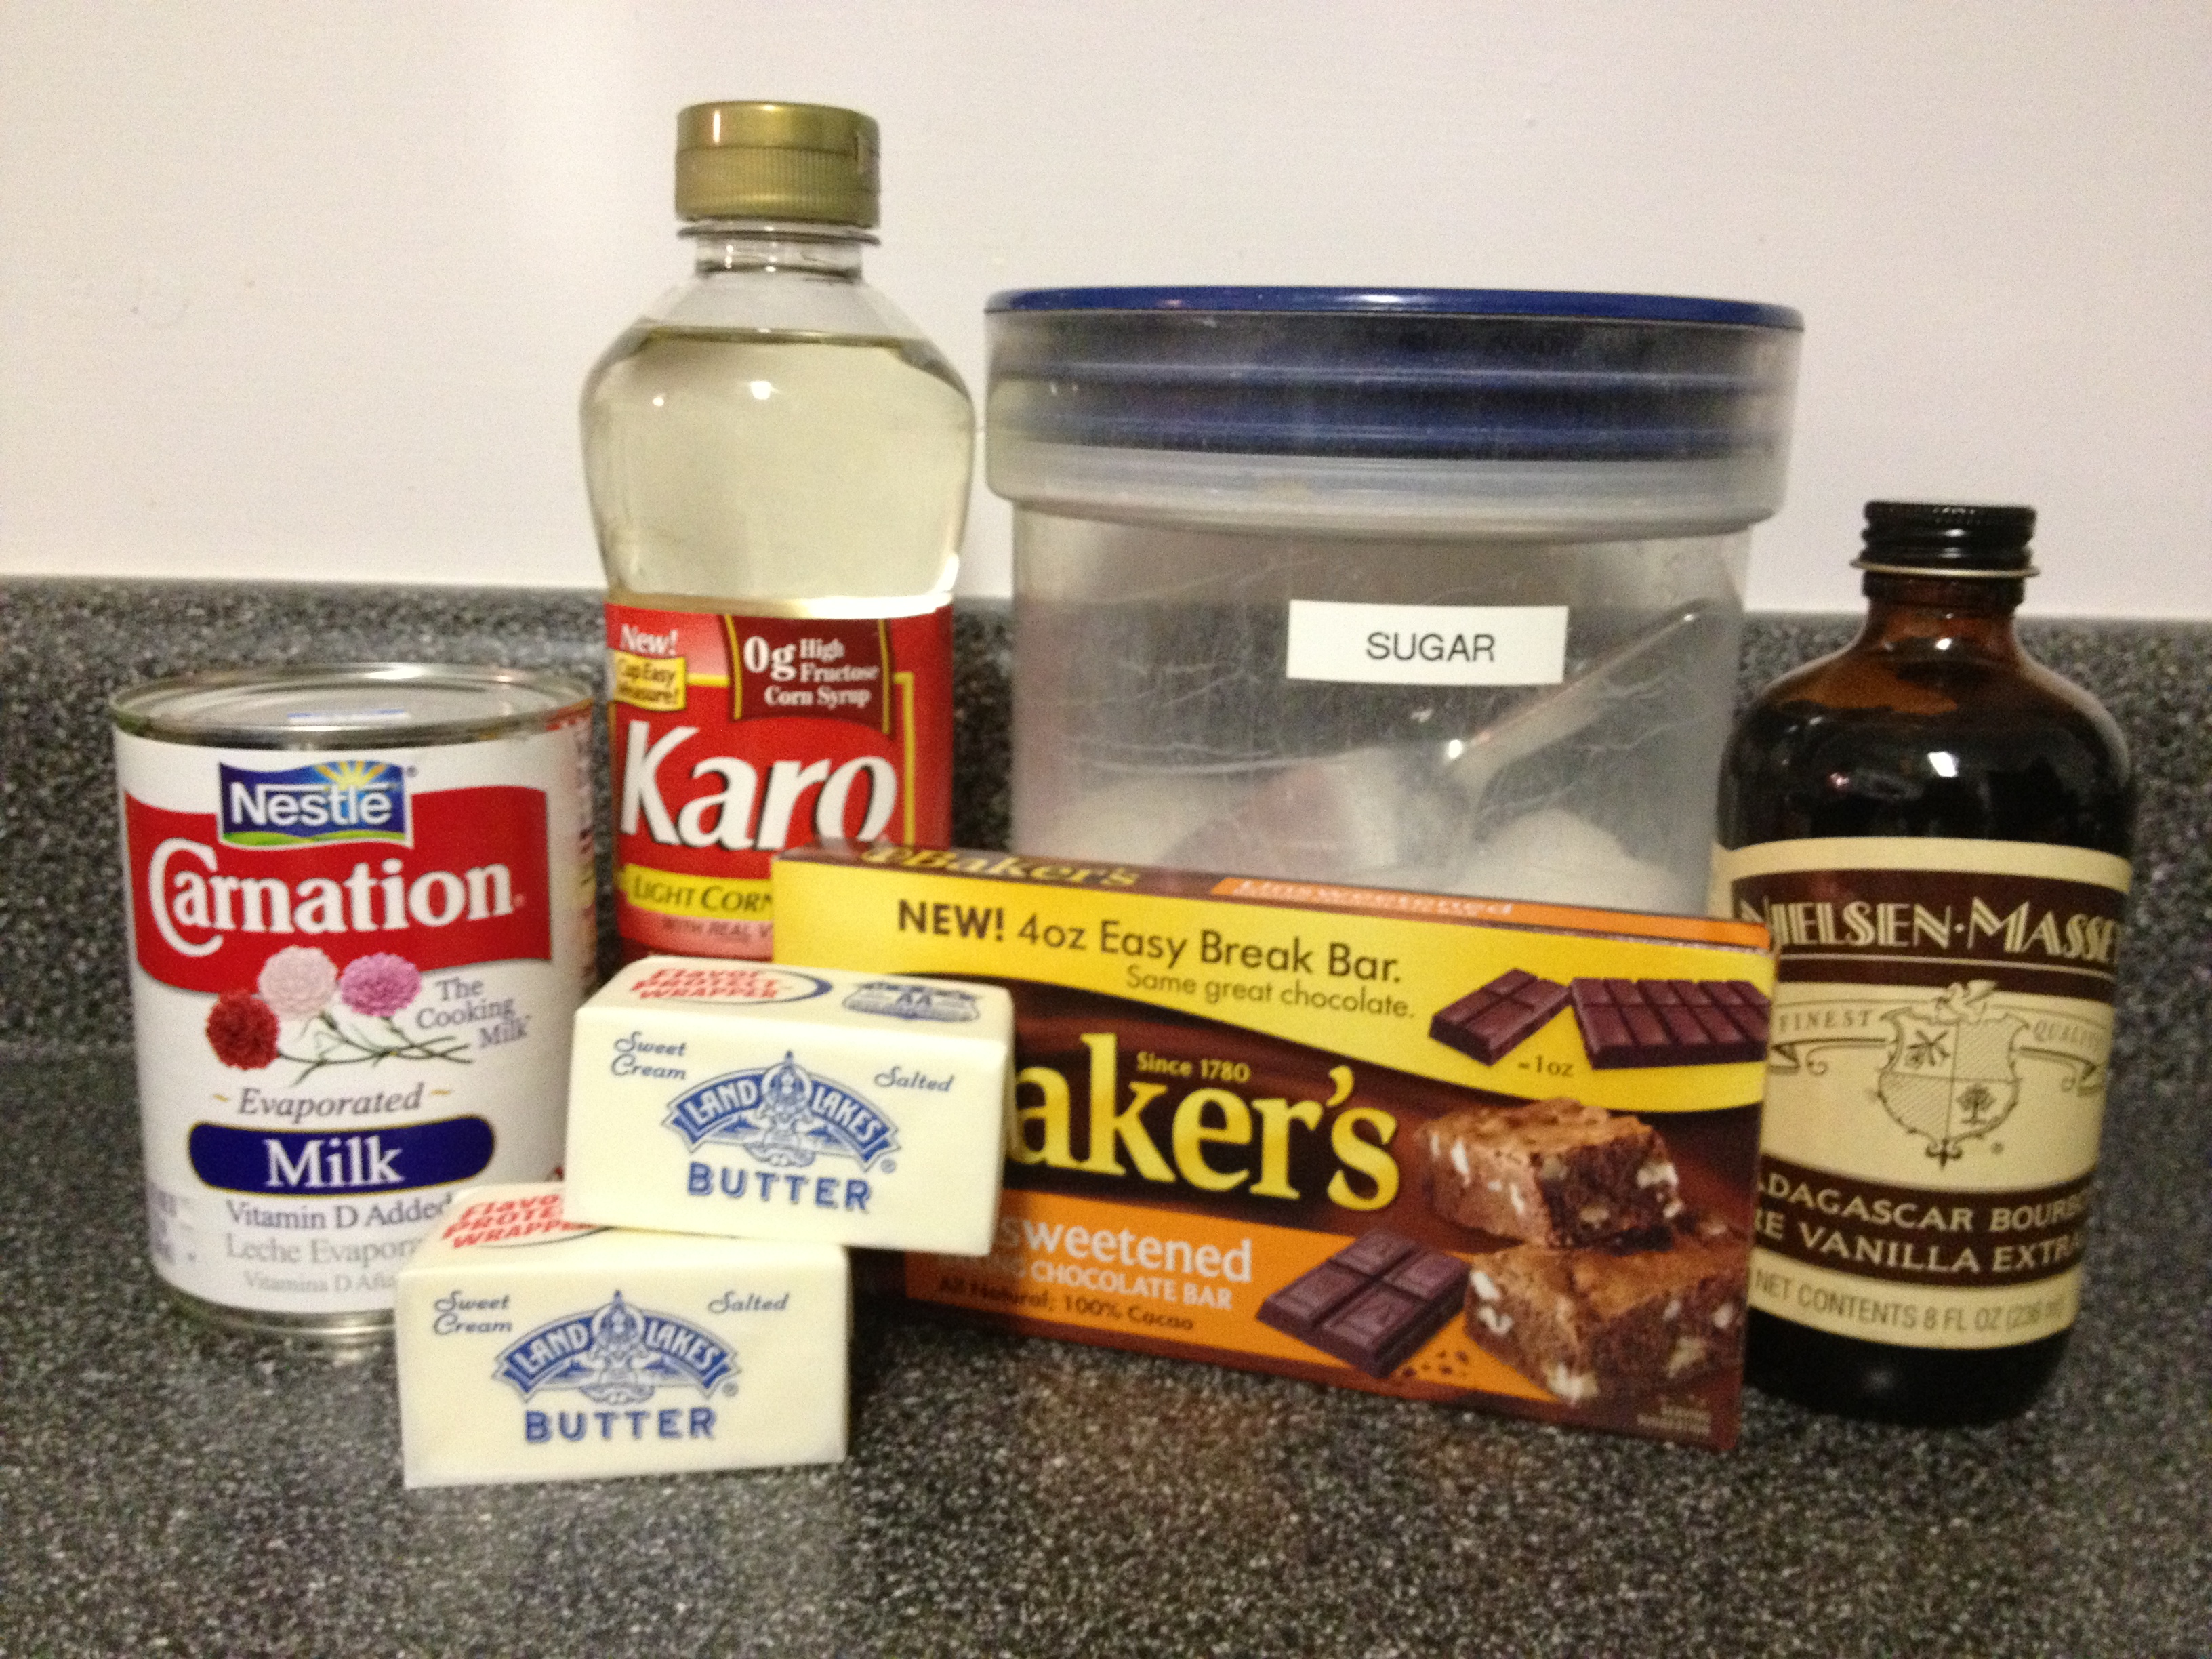
½ cup butter
2 ½ squares unsweetened chocolate
2 cups sugar
1 cup evaporated milk (use 3/4 cup evaporated milk and 1/4 cup whipping cream to really take it up a notch)
½ cup light corn syrup
1 teaspoon vanilla extract (or kahlua or other flavoring of choice)
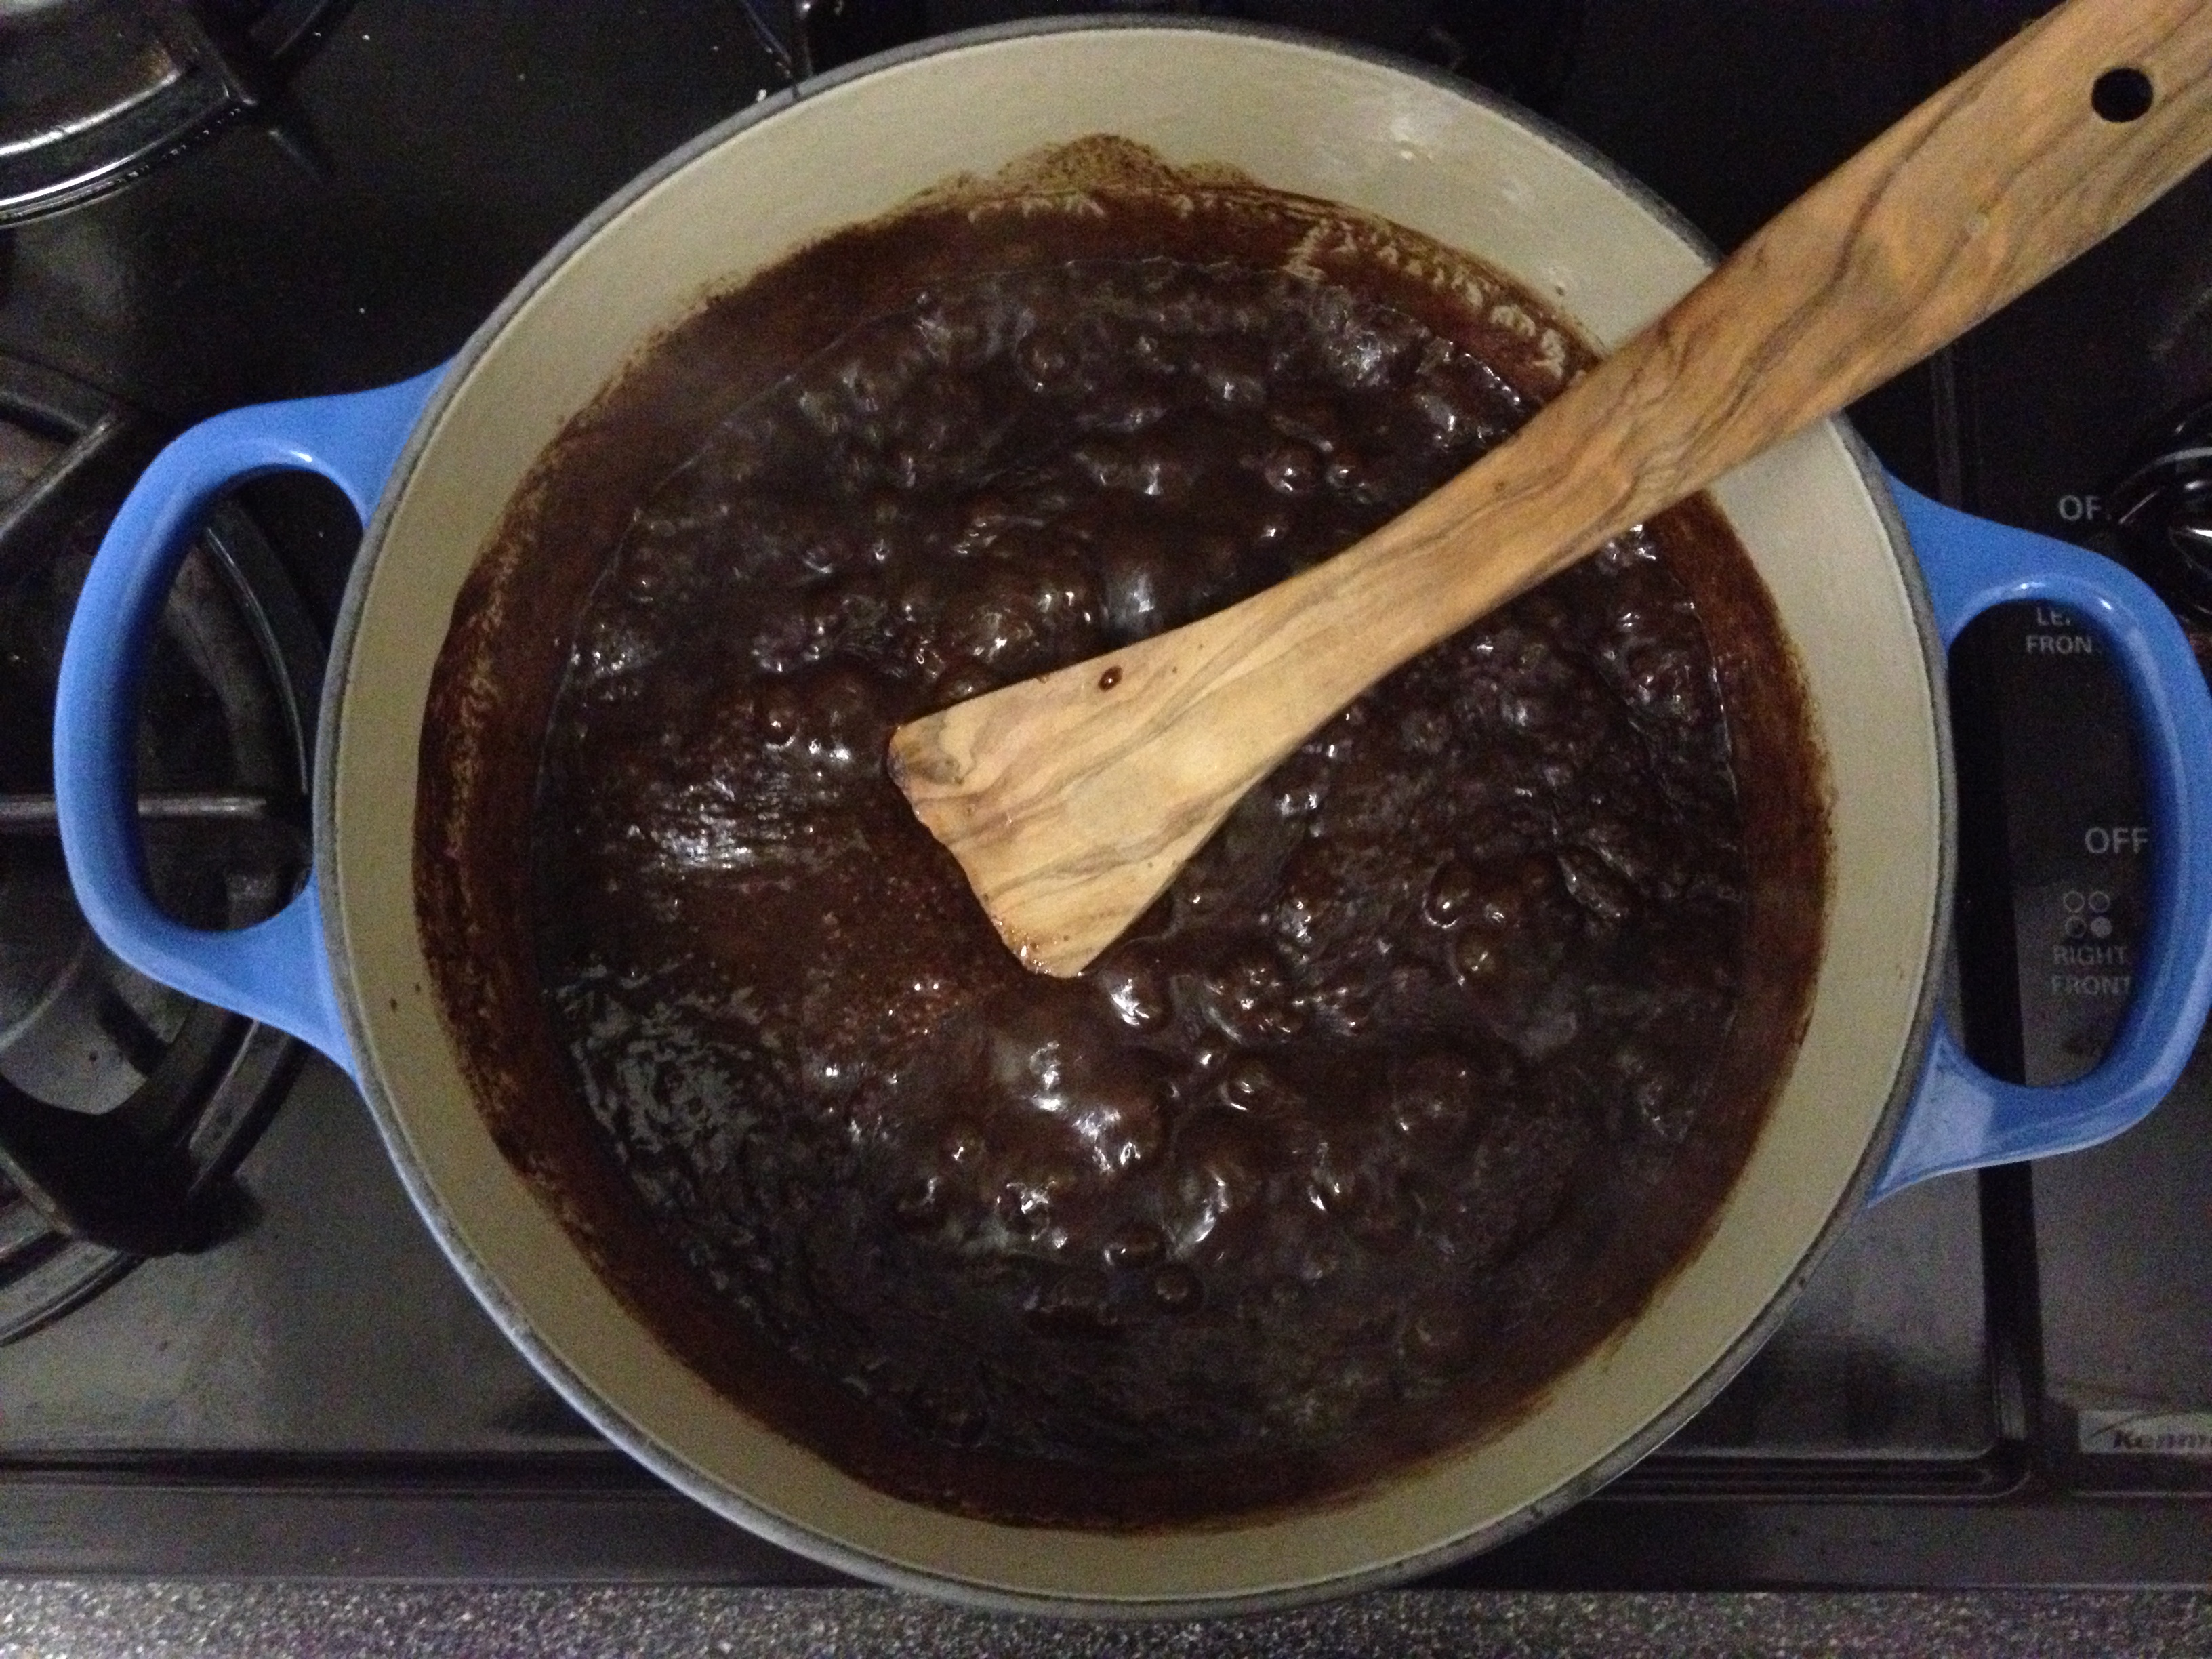
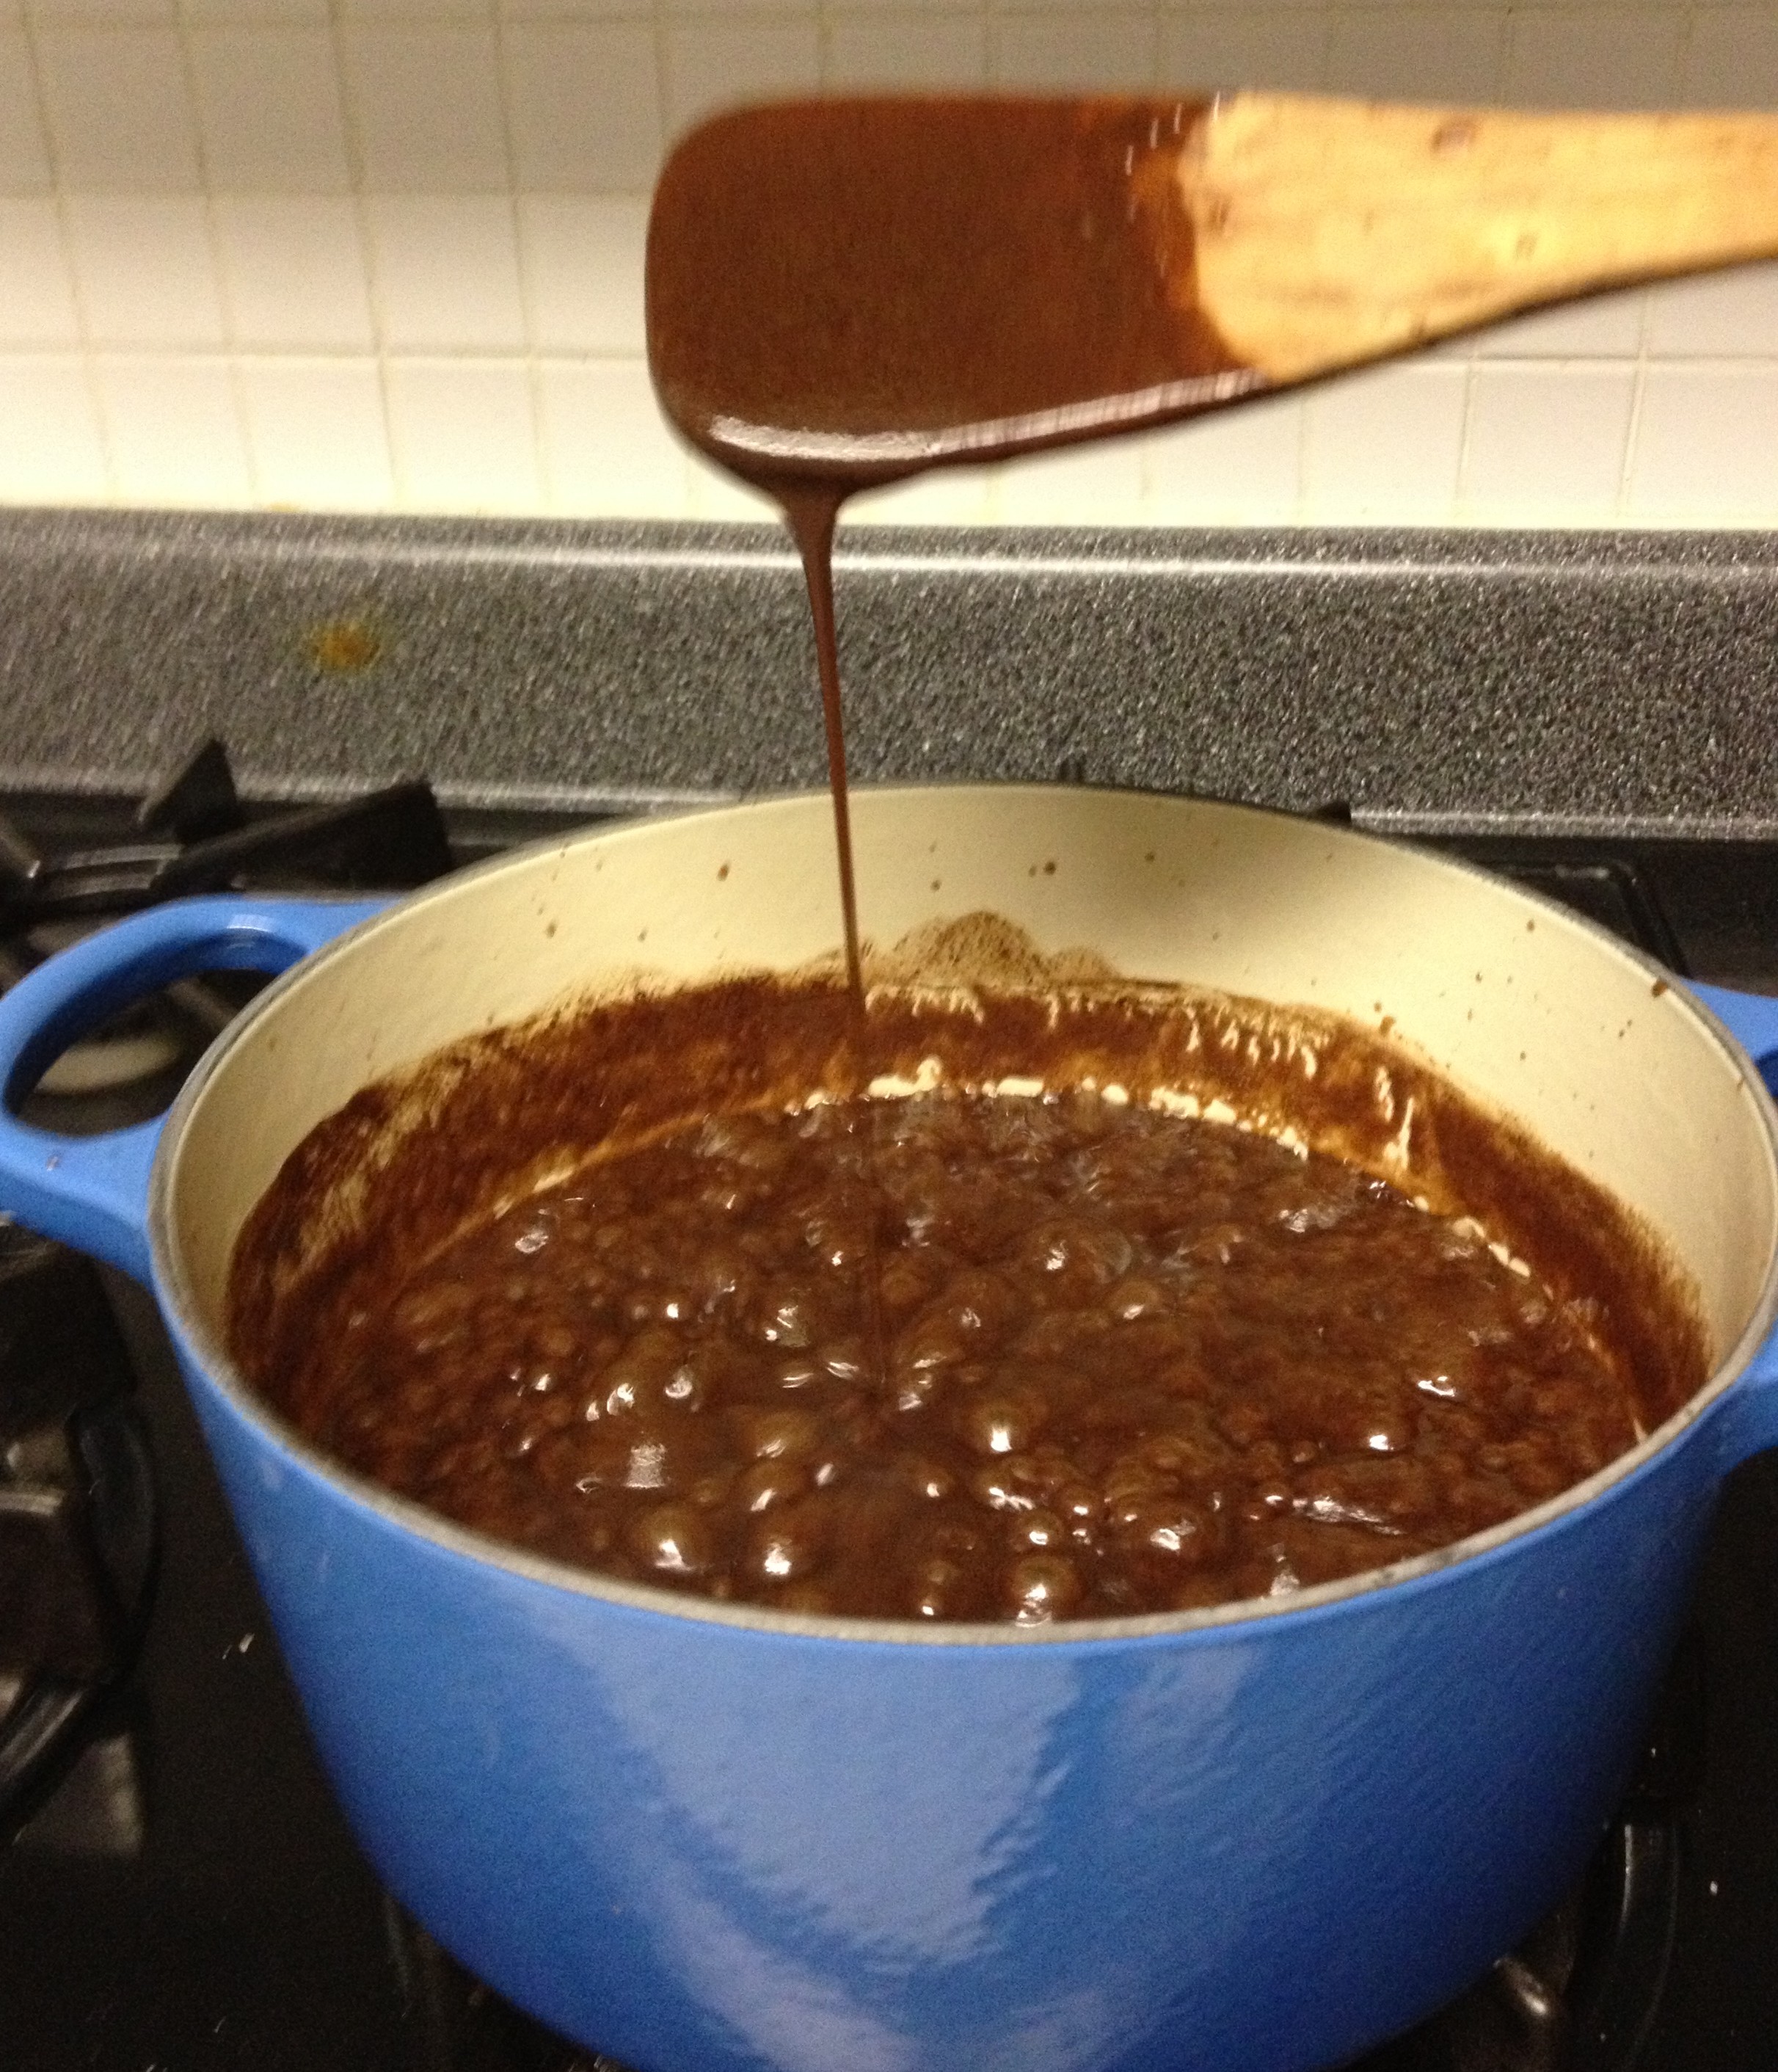
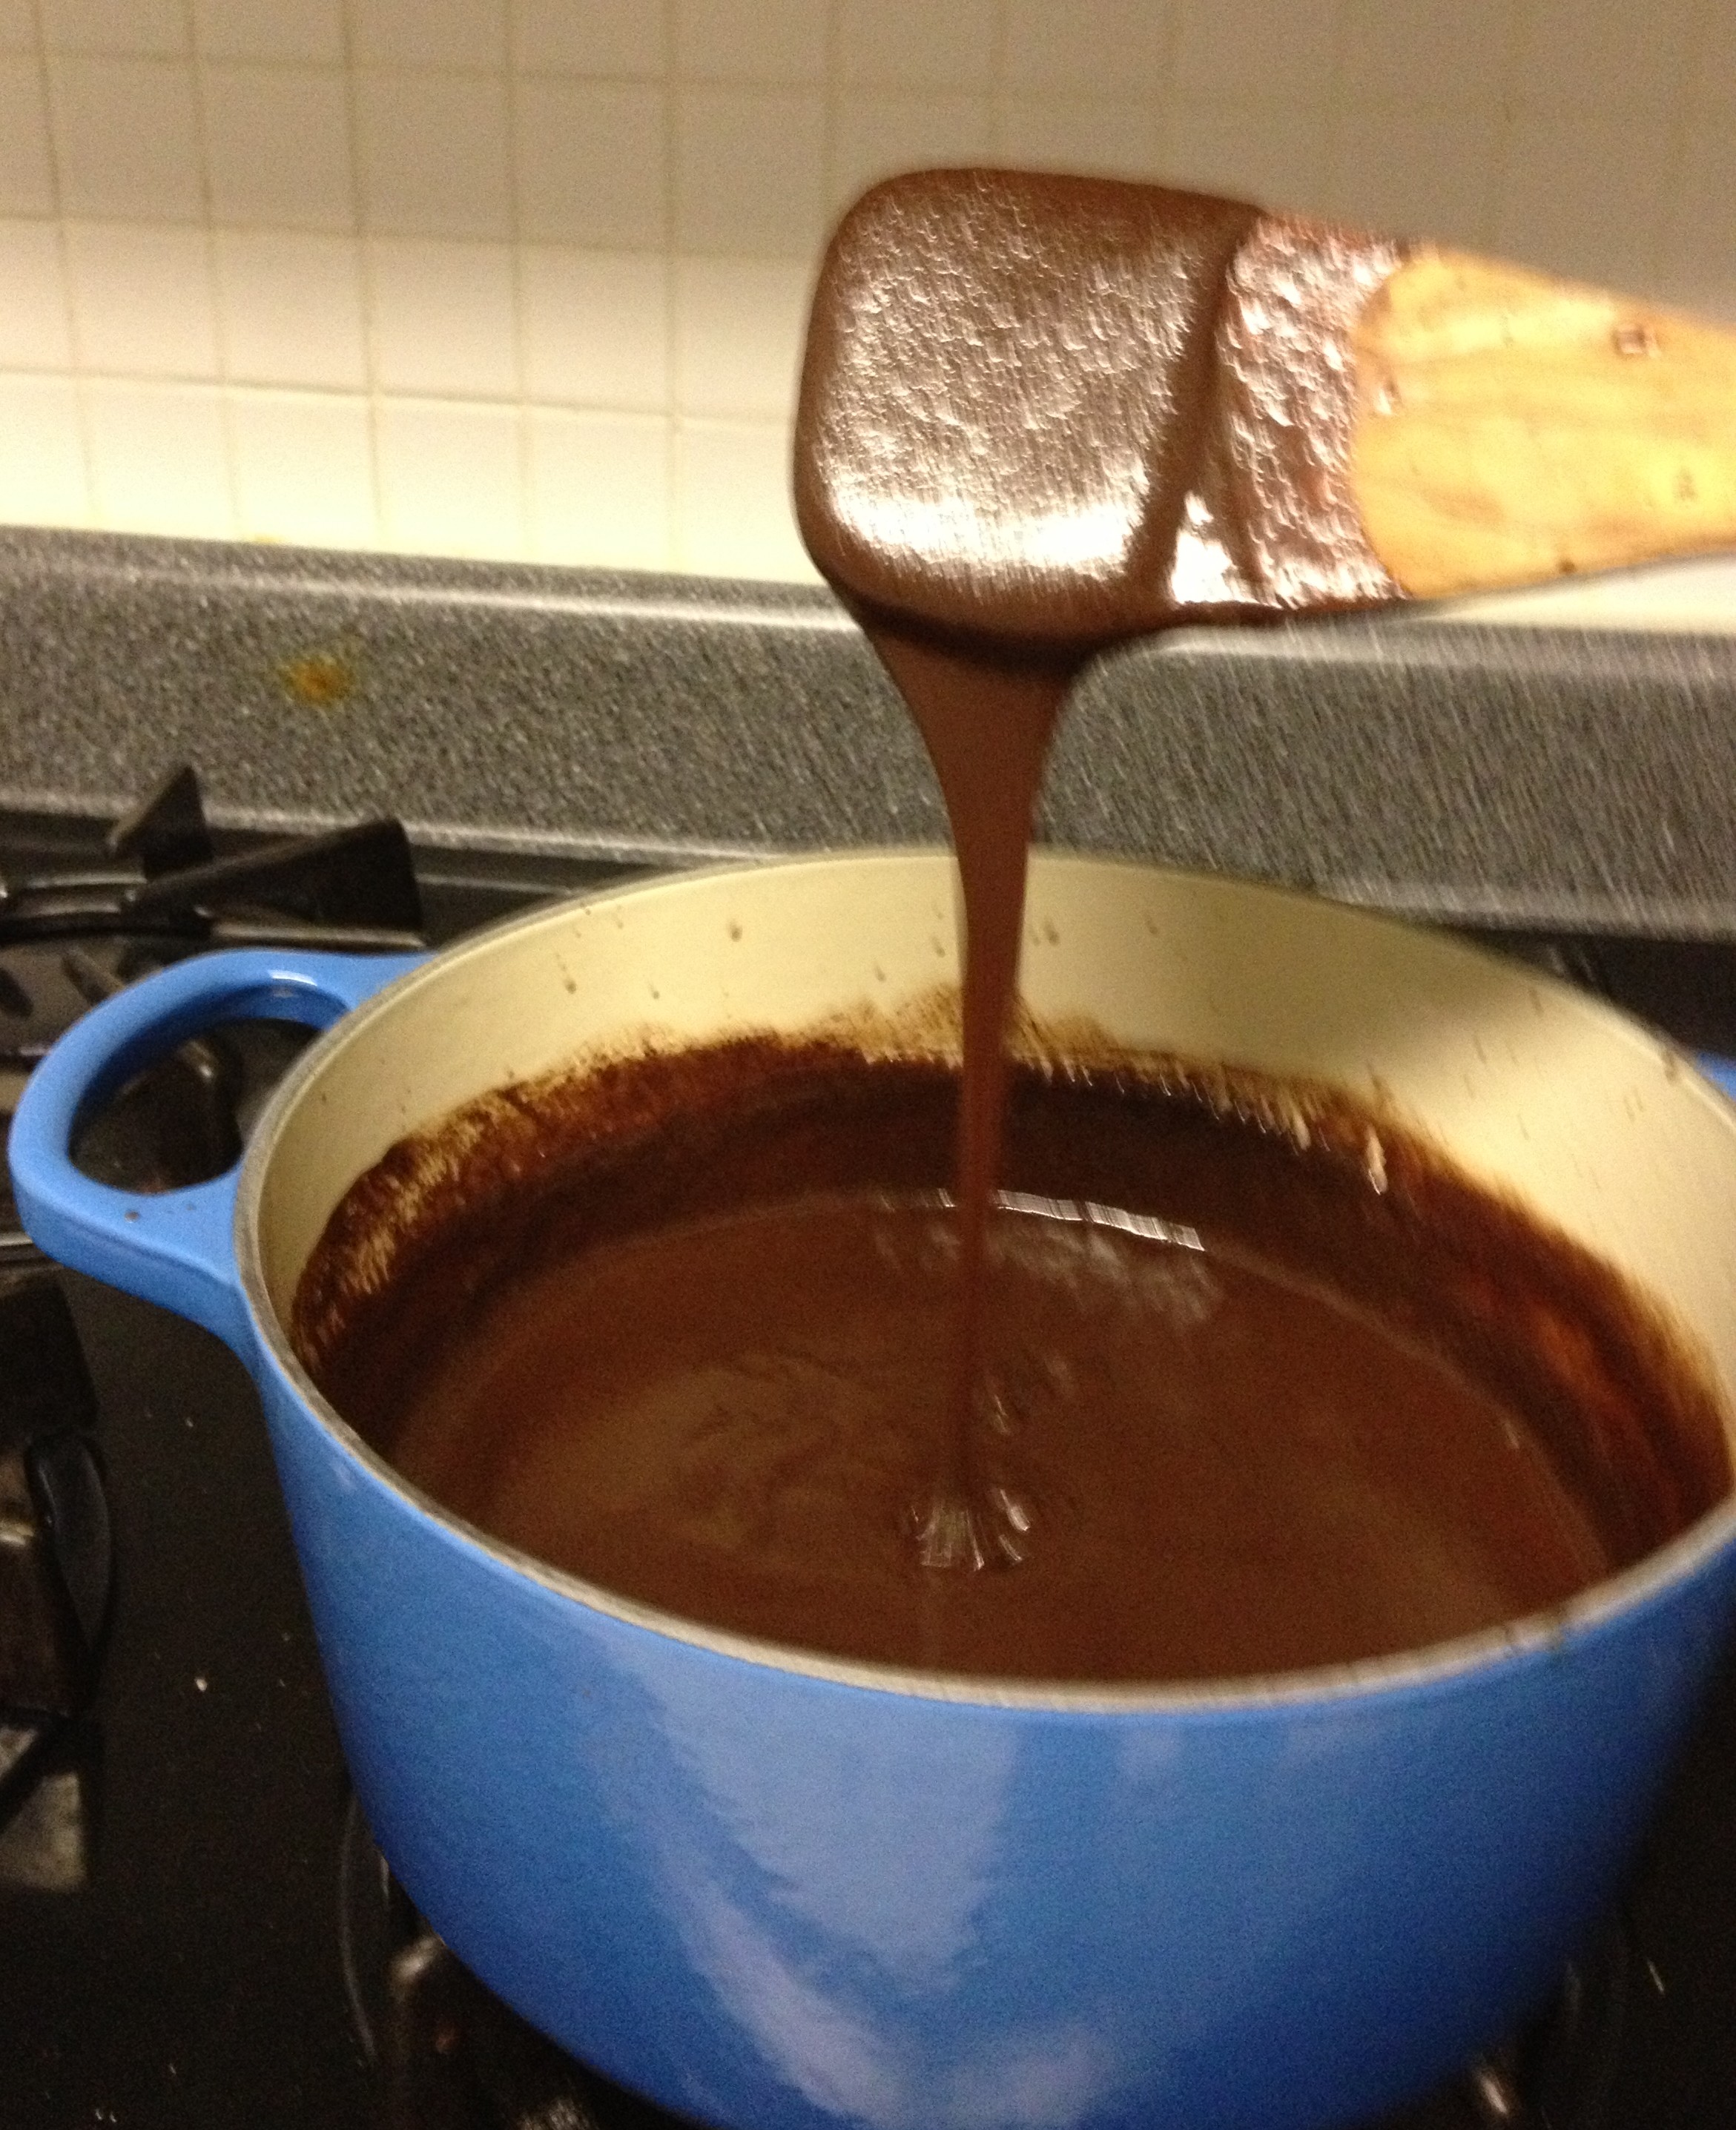
In a heavy saucepan, melt the butter and chocolate together. Add the sugar and stir until blended. Then add the corn syrup and evaporated milk gradually, stirring to incorporate. Continue stirring over low to medium heat until the sugar is dissolved. Then bring to a boil and let boil for 1 ½ to 2 minutes or until a little thinner than you want it to be. It thickens as it cools – see the difference between the hot and cooled fudge sauce as it runs off the spoon in the pics below. Remove from heat and add vanilla.
Serve warm over ice cream.

Recipe yields about 3 1/3 cups of fudge sauce. This fudge sauce can be made weeks ahead of time and kept in the refrigerator. Of course, it will likely suffer some attrition over time if you have a sweet tooth like mine!
The Story: When I was growing up my mom and her friend started the Christmas tradition of a fudge sauce and peppermint ice cream swap. My mom would make fudge sauce for both families, and her friend would make homemade peppermint ice cream for both families. This fudge sauce served warm over any ice cream is excellent, but it really takes it to another level to serve it over homemade peppermint ice cream.
I hesitated to even mention Hershey’s syrup in the description at the top, because really, it doesn’t belong in the same sentence with this fudge sauce. Let’s leave Hershey’s syrup to what it does best – flavor milk.