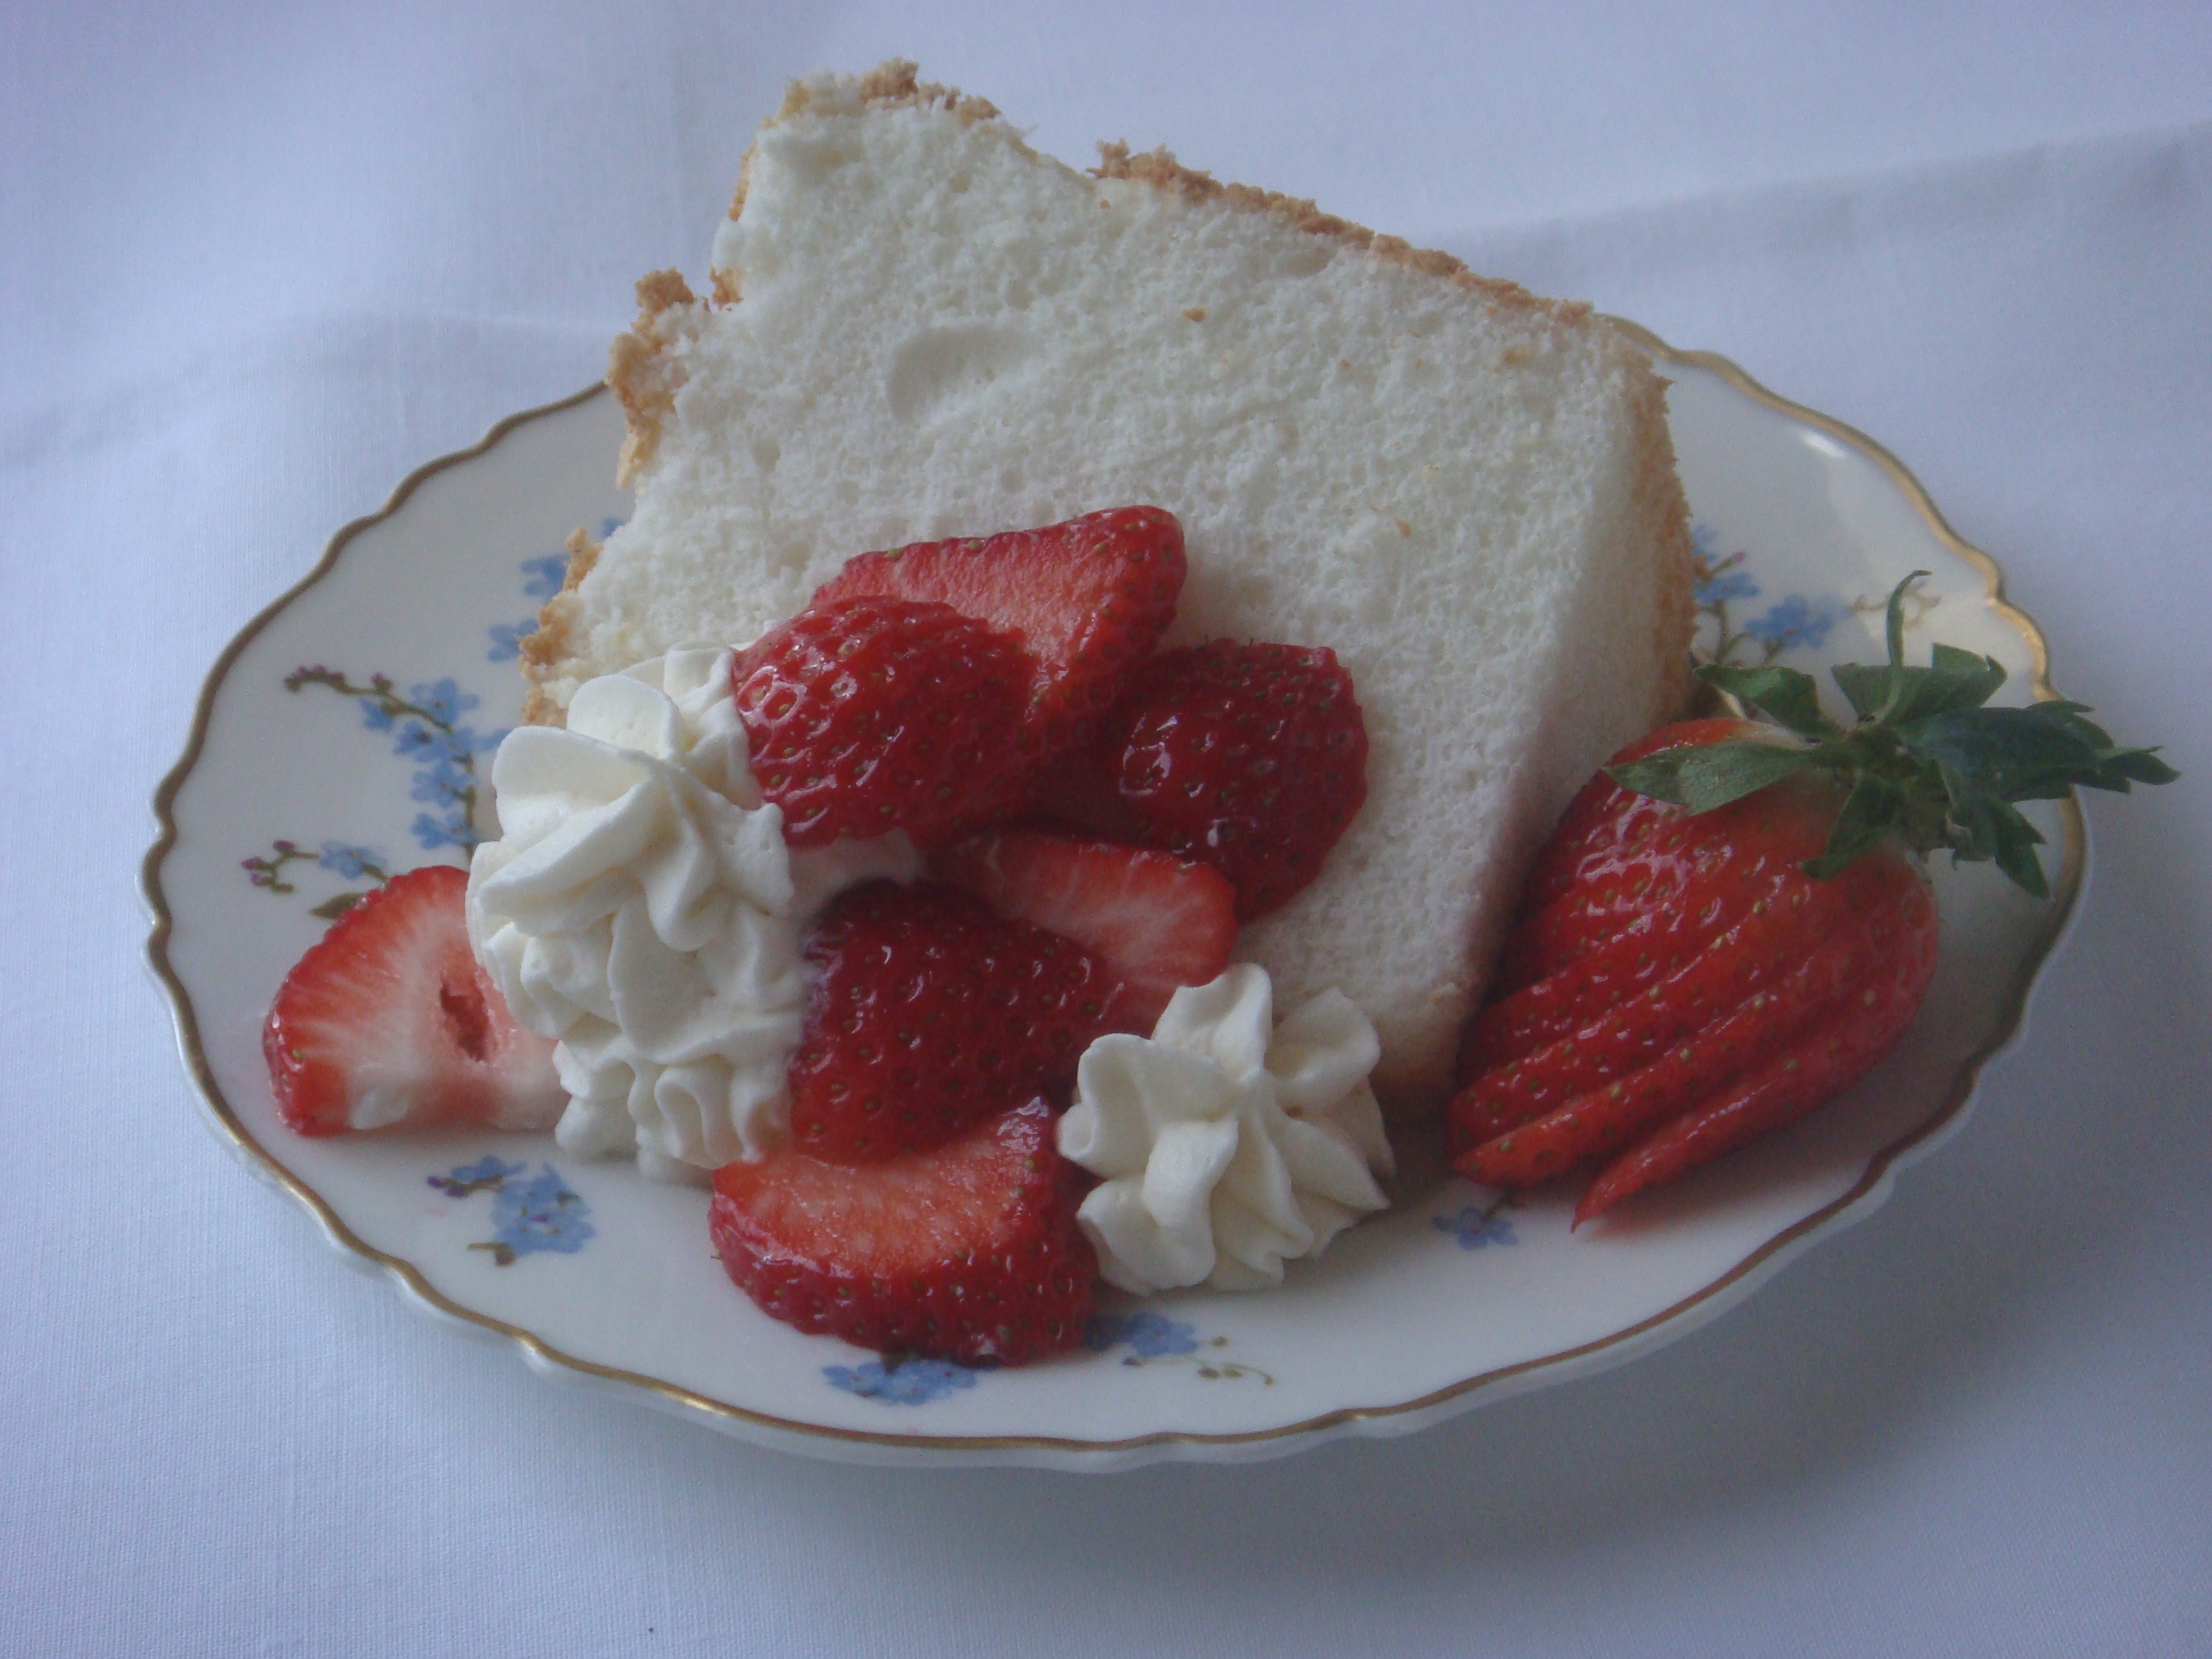
Nothing makes me want a fruit pizza like Memorial Day and July 4th! This is a great one, but be warned that it’s actually a little rich, so you really don’t need a huge piece.
Ingredients
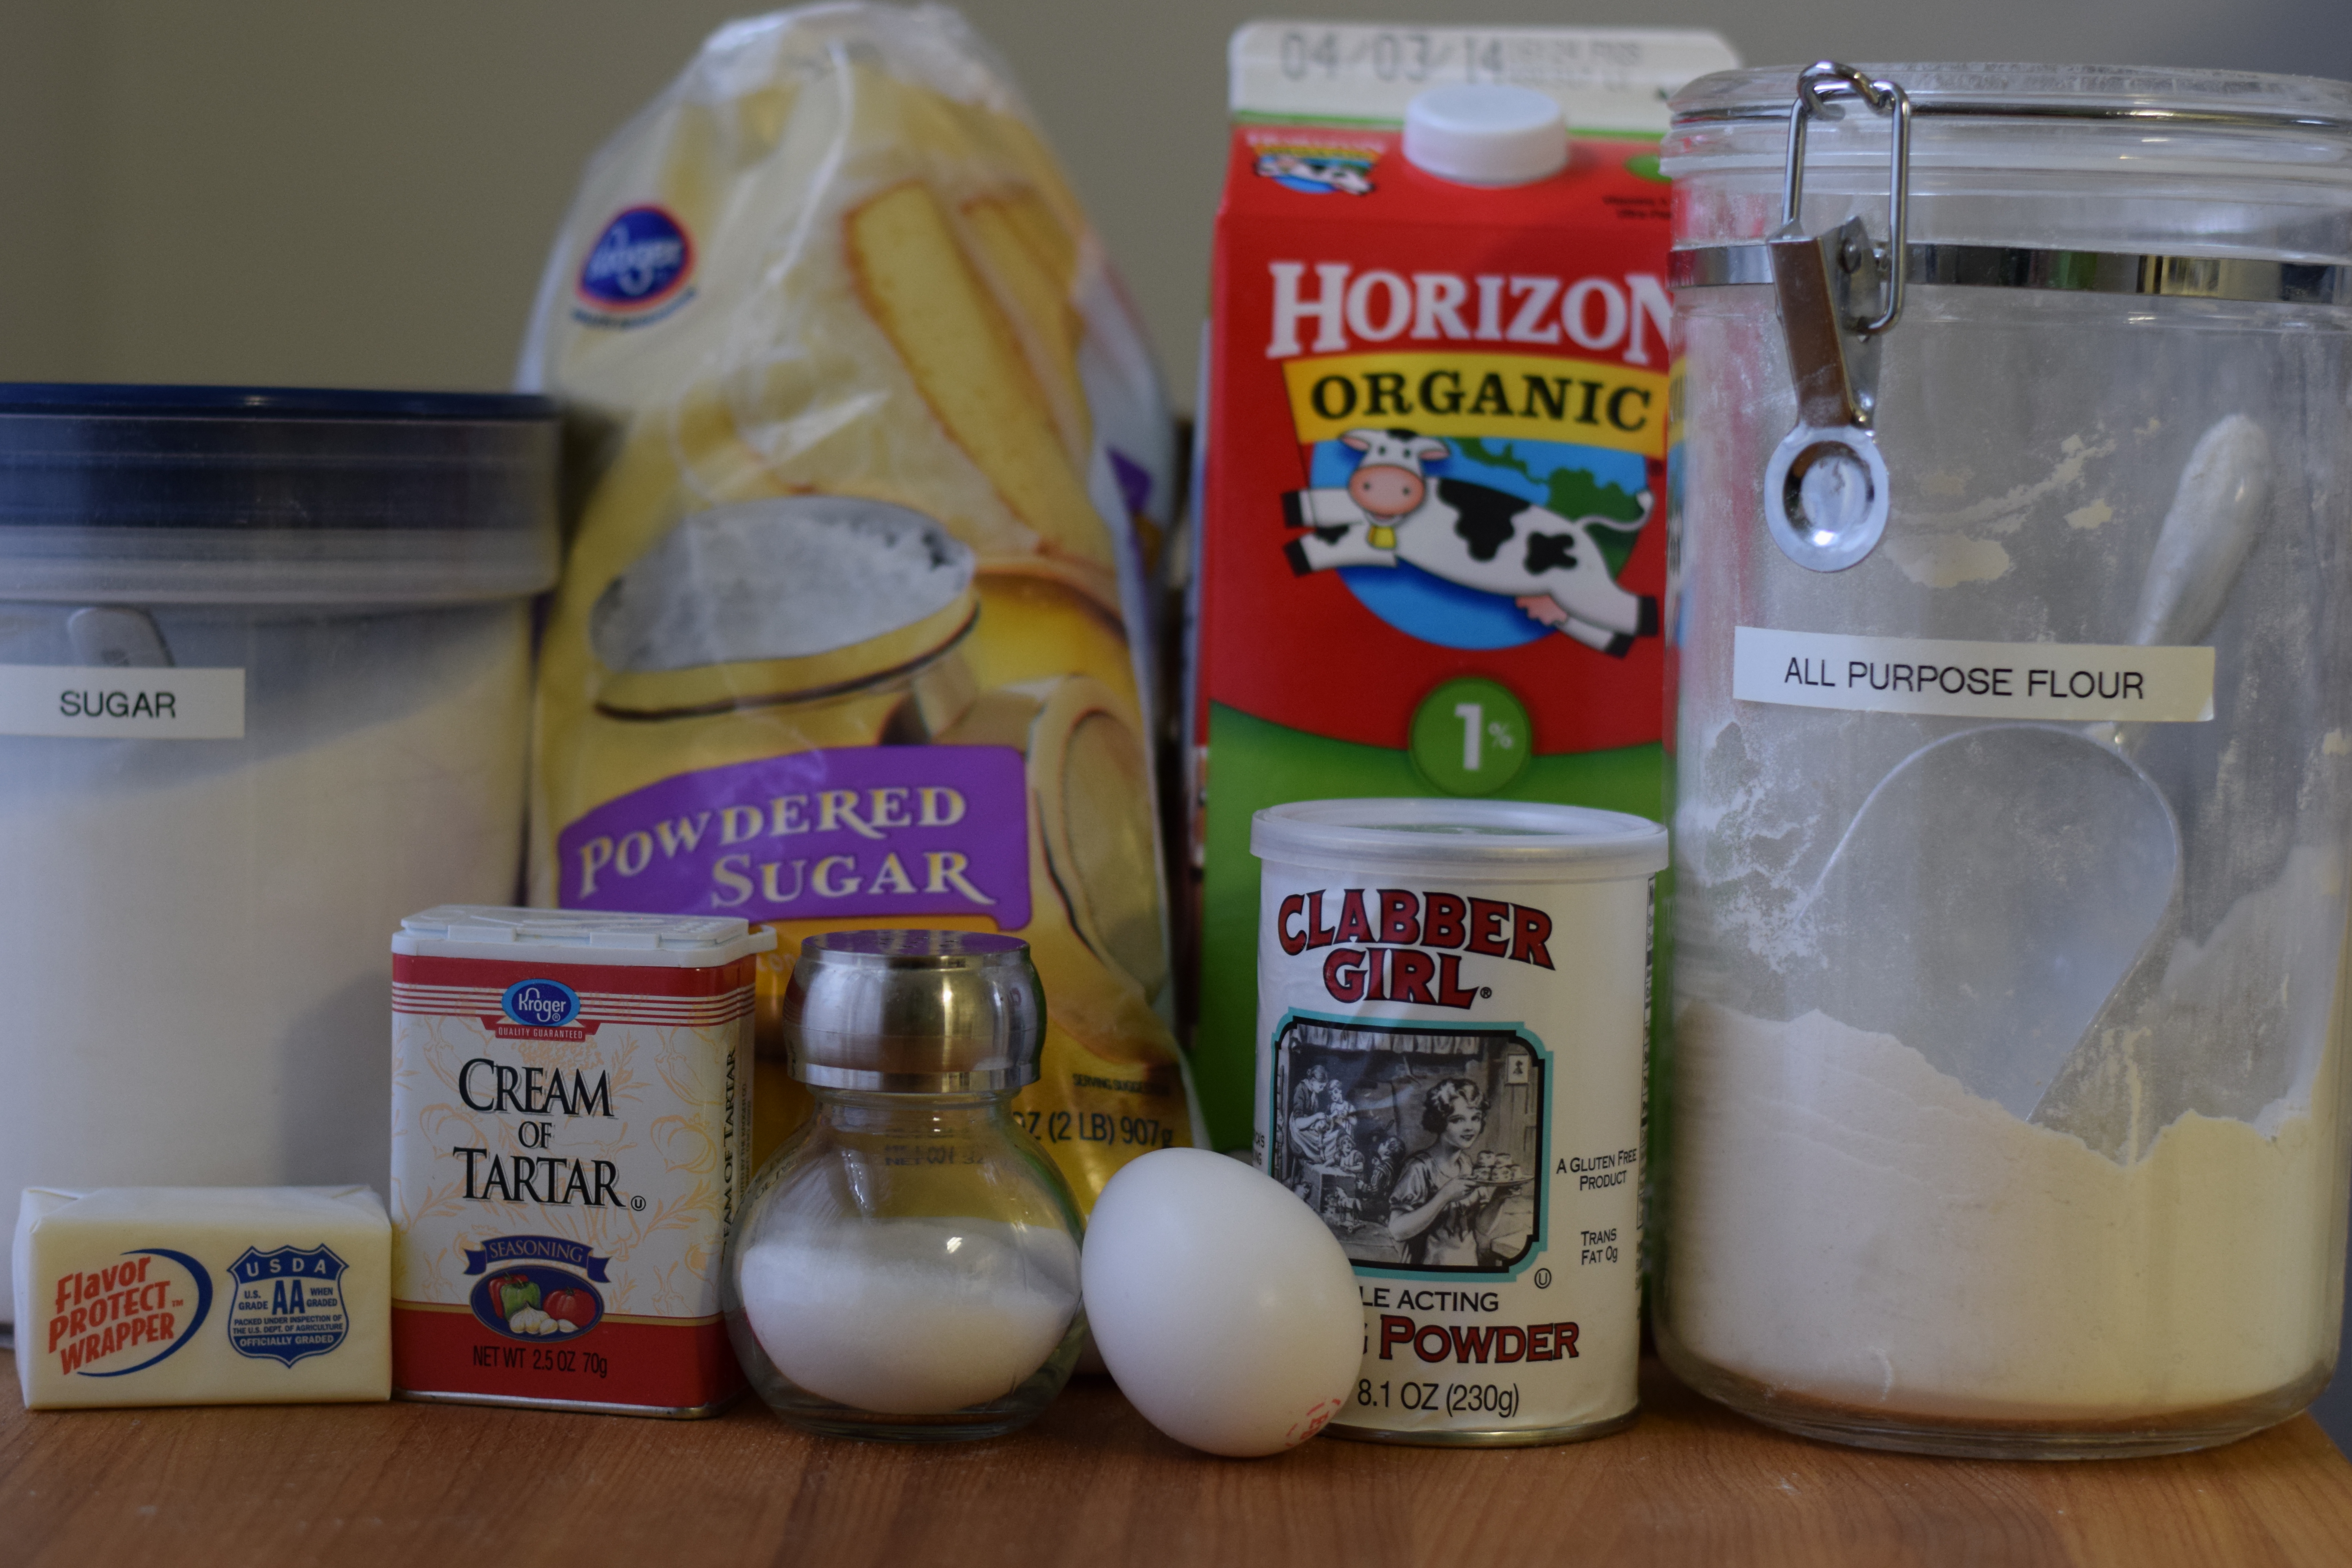
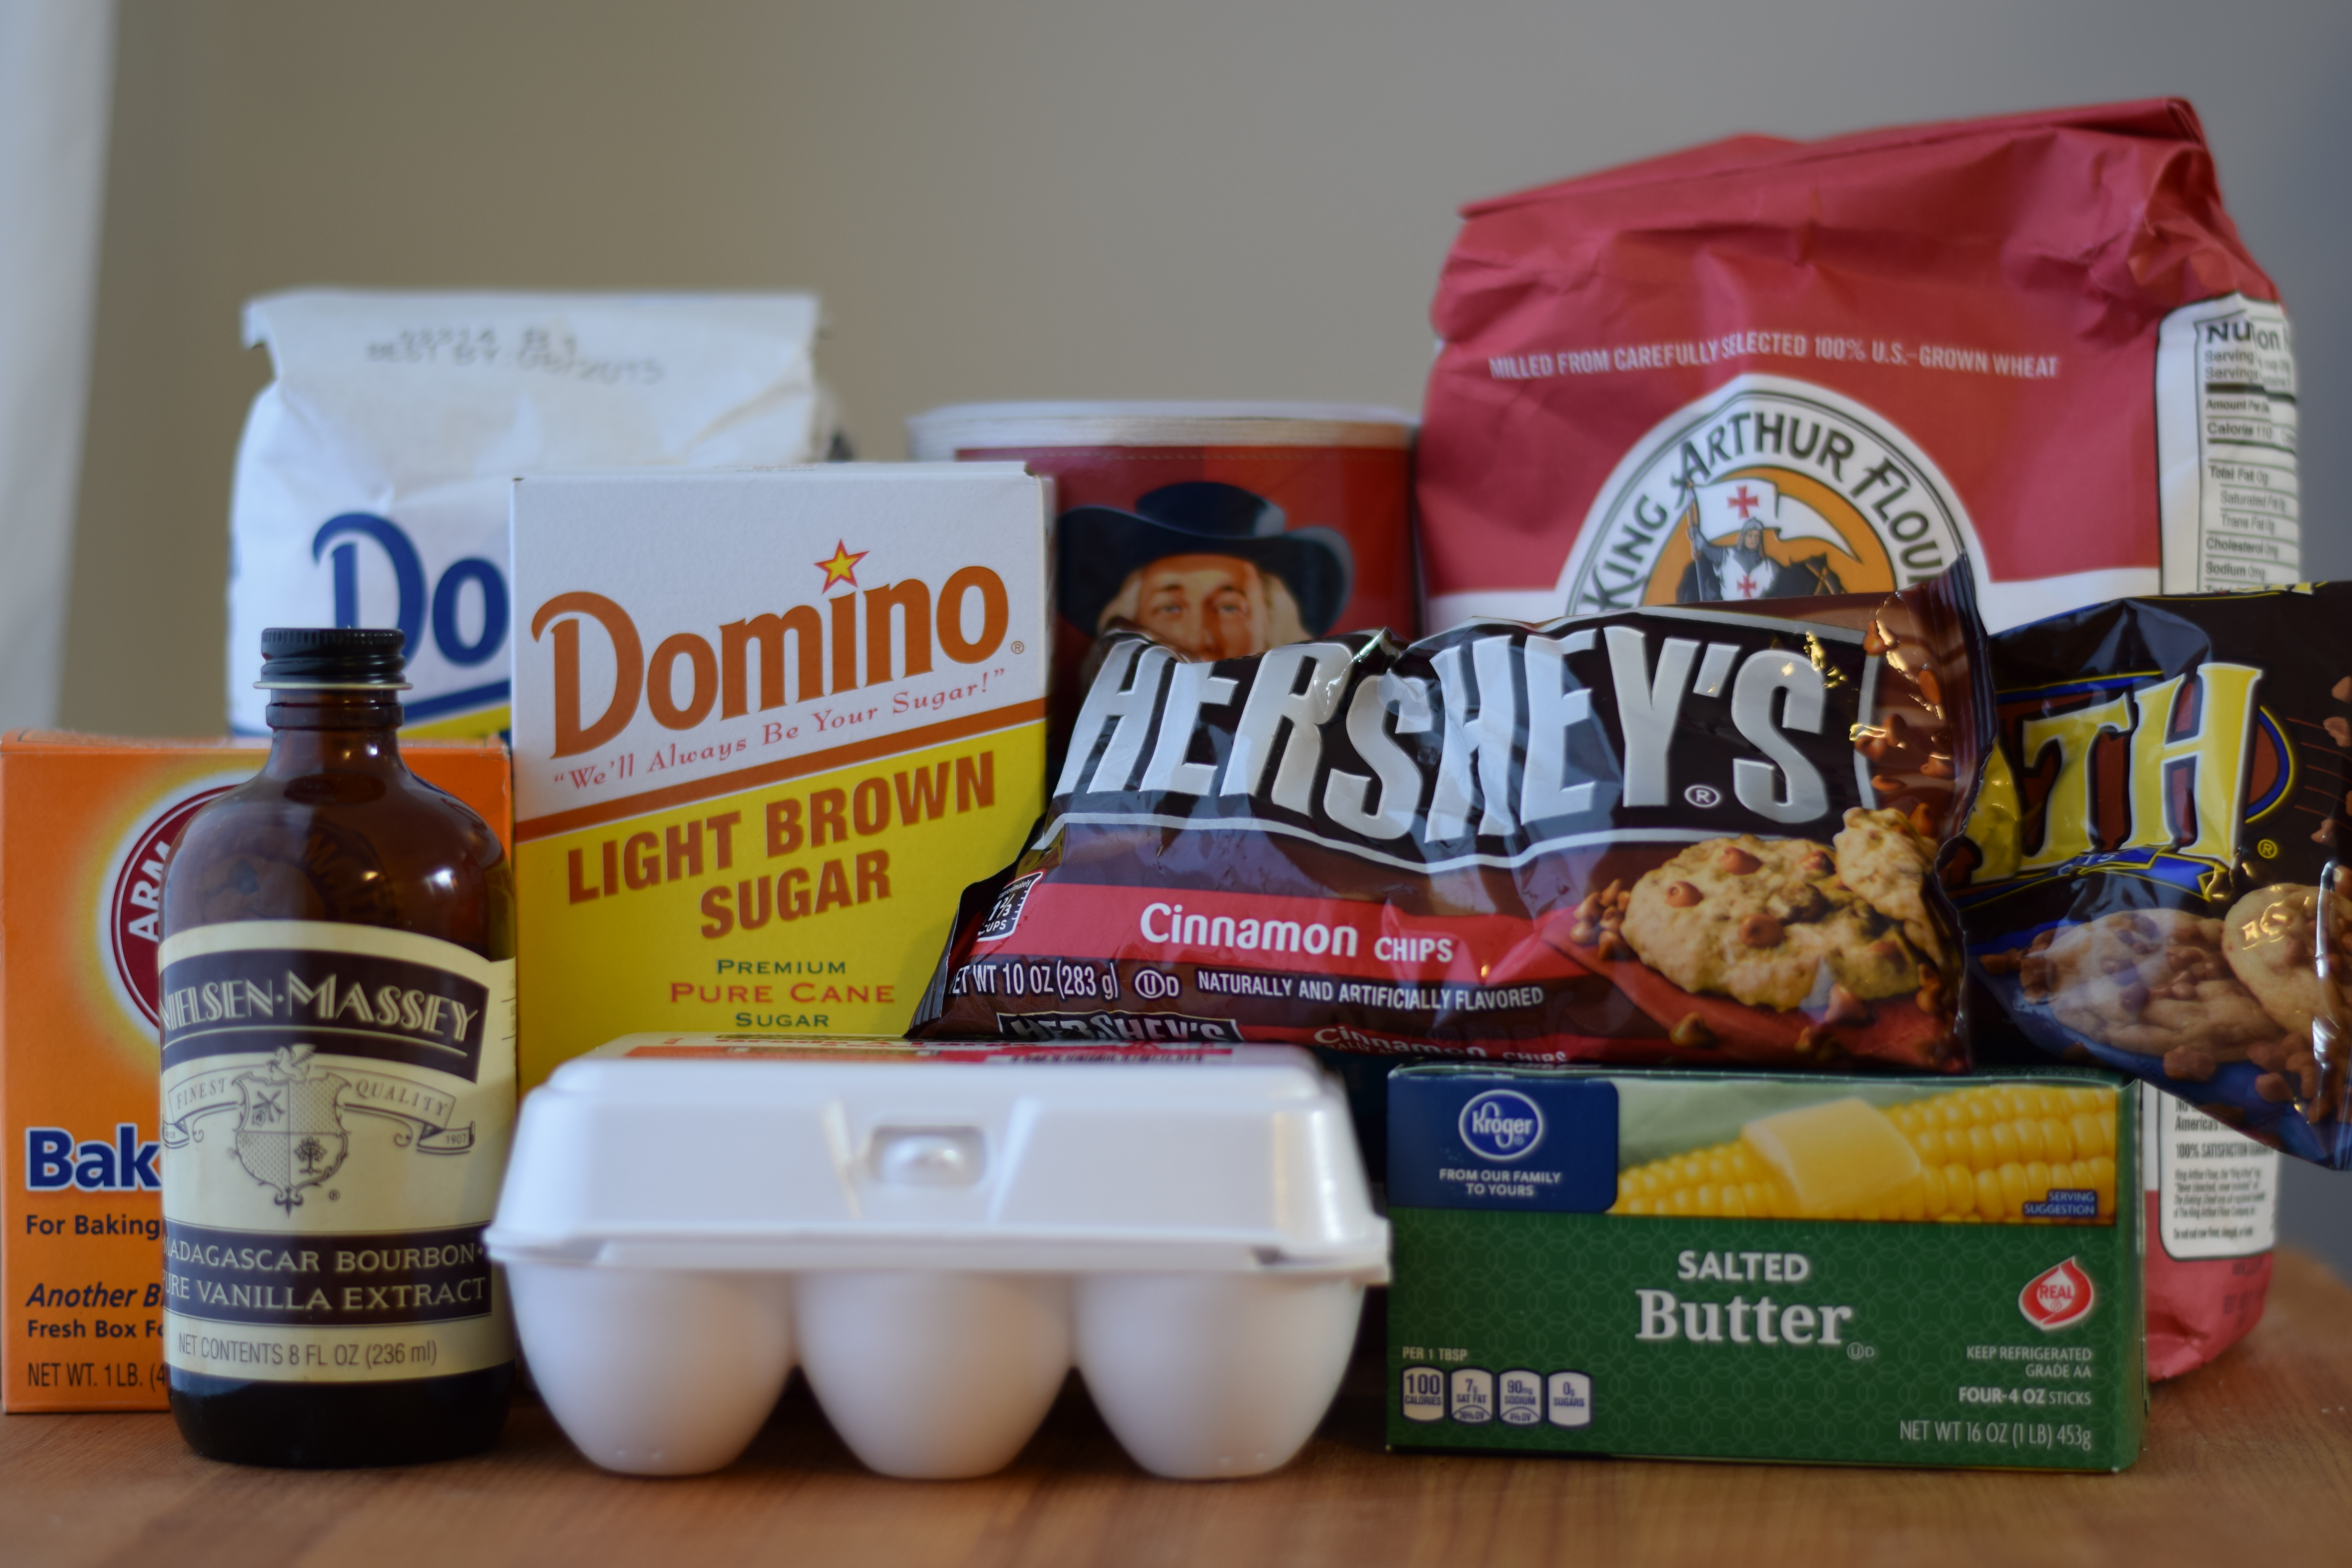
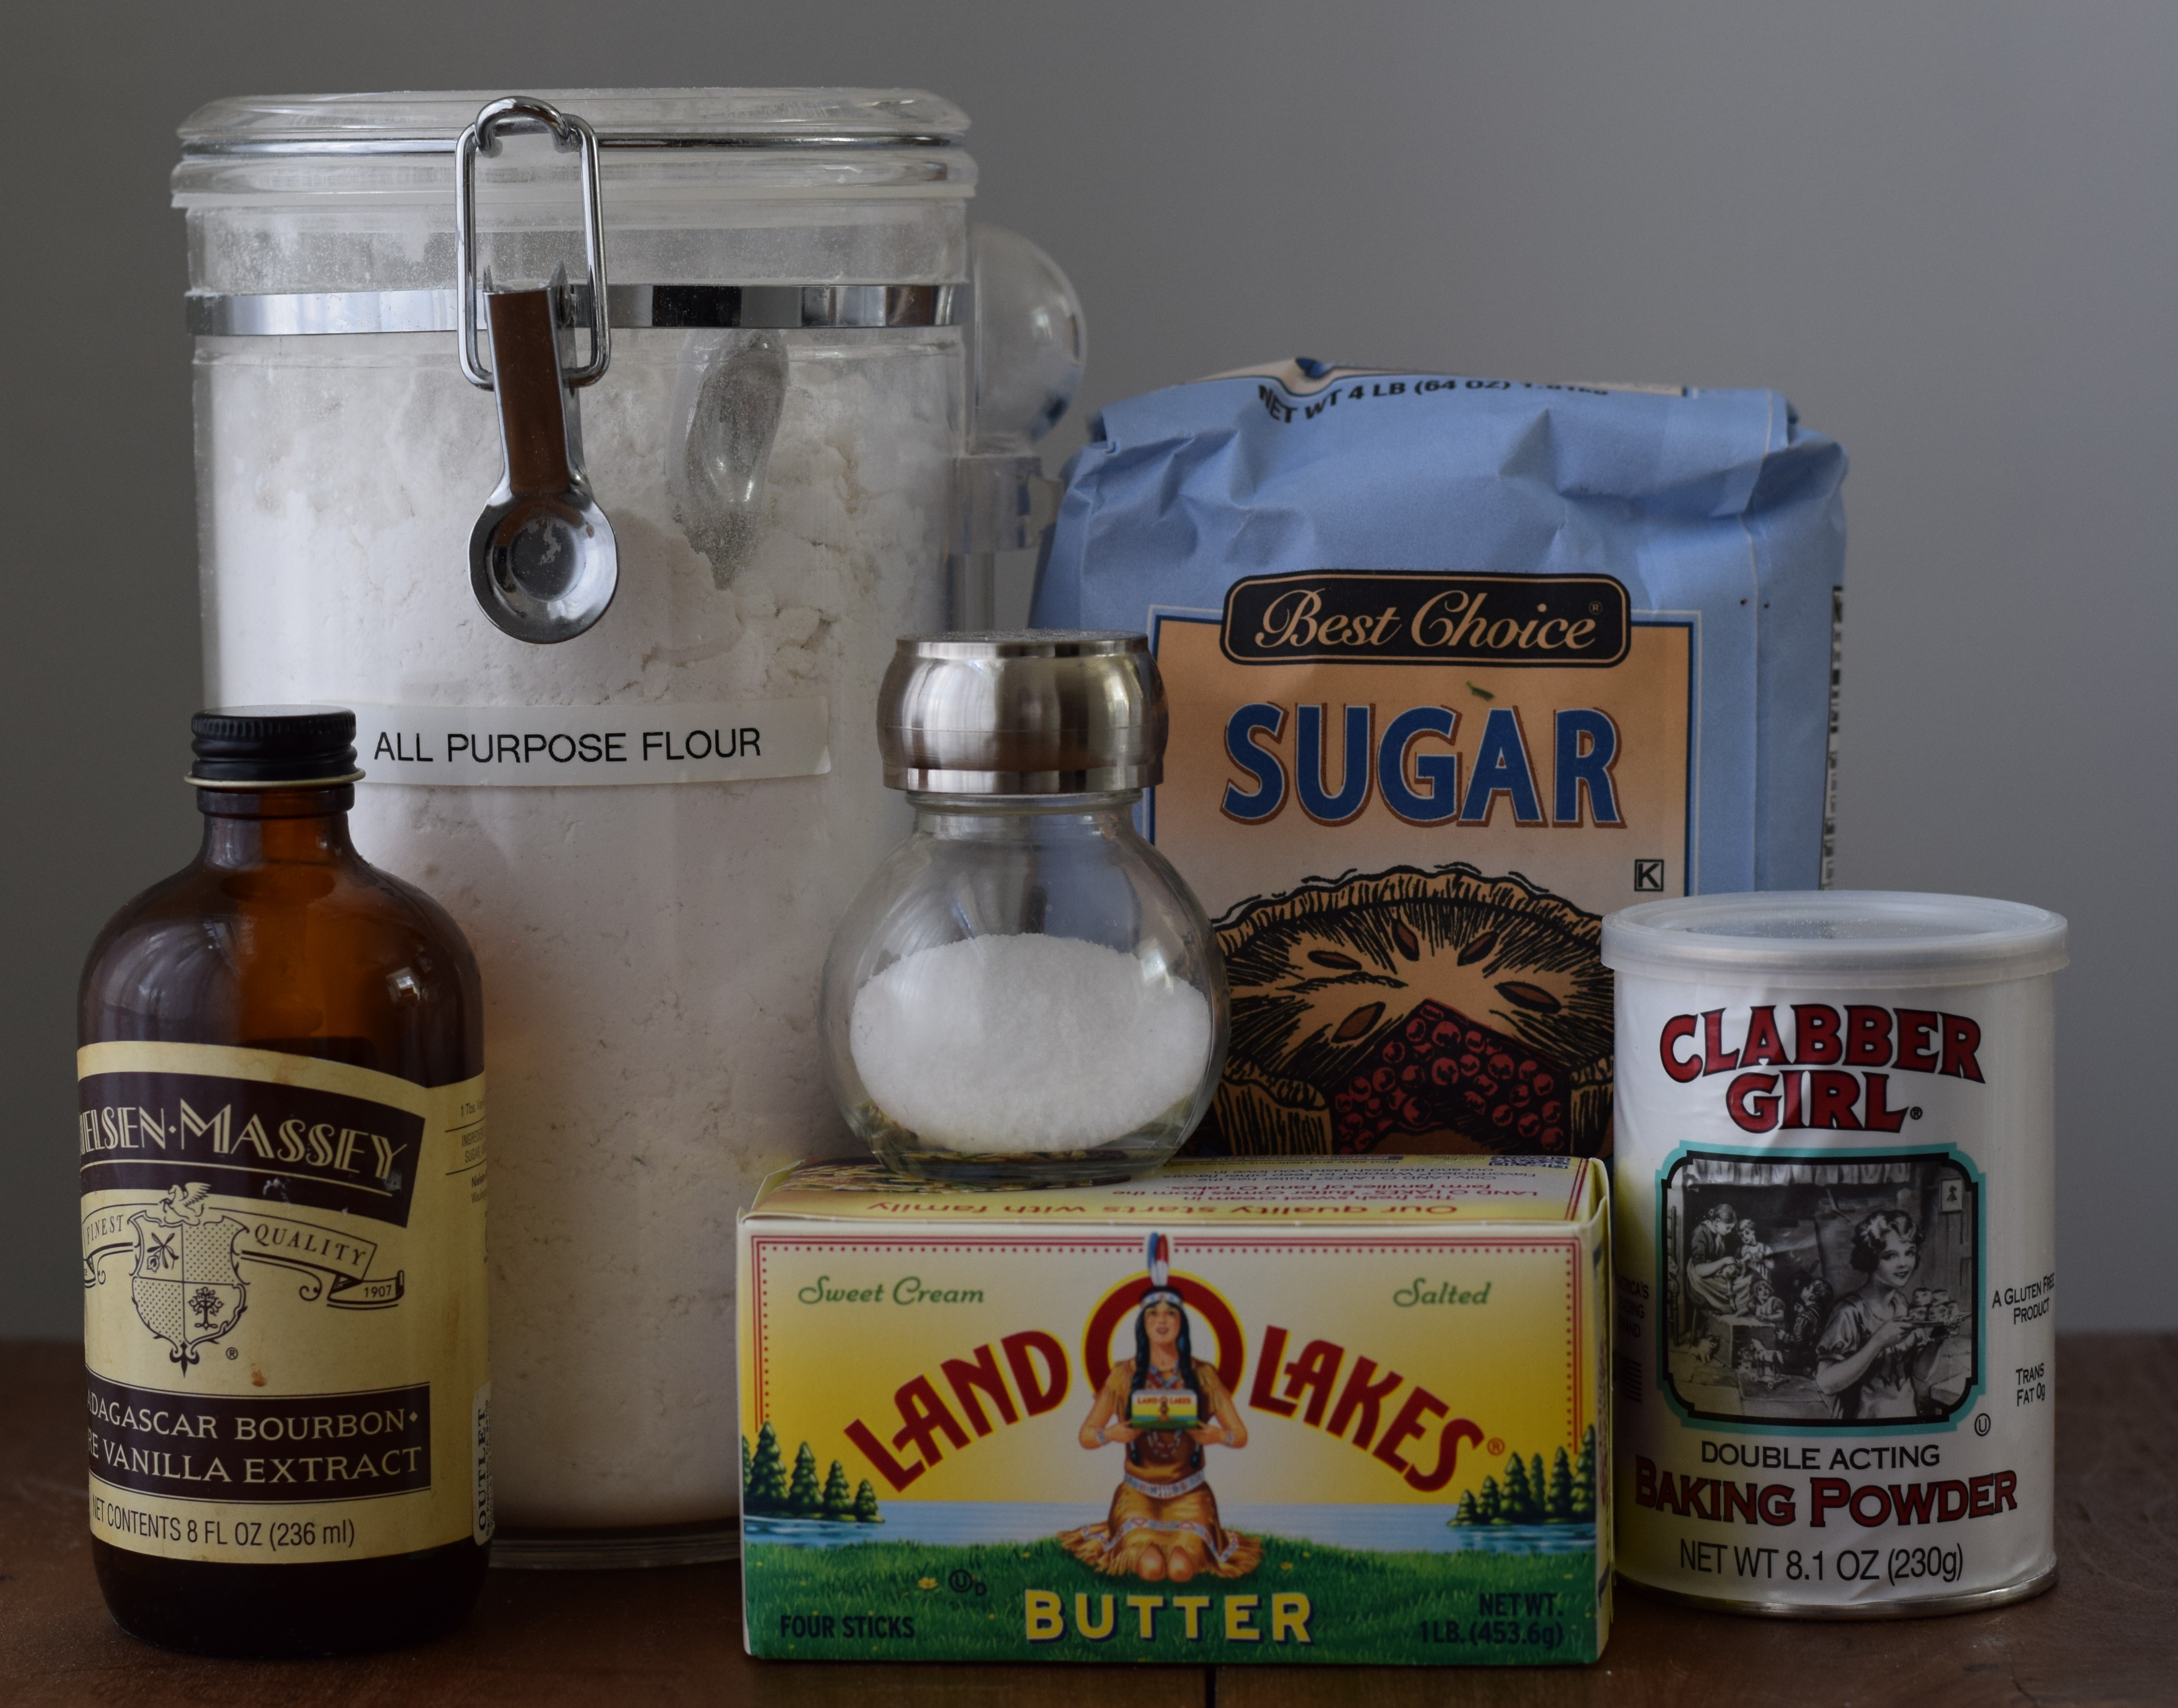
Crust
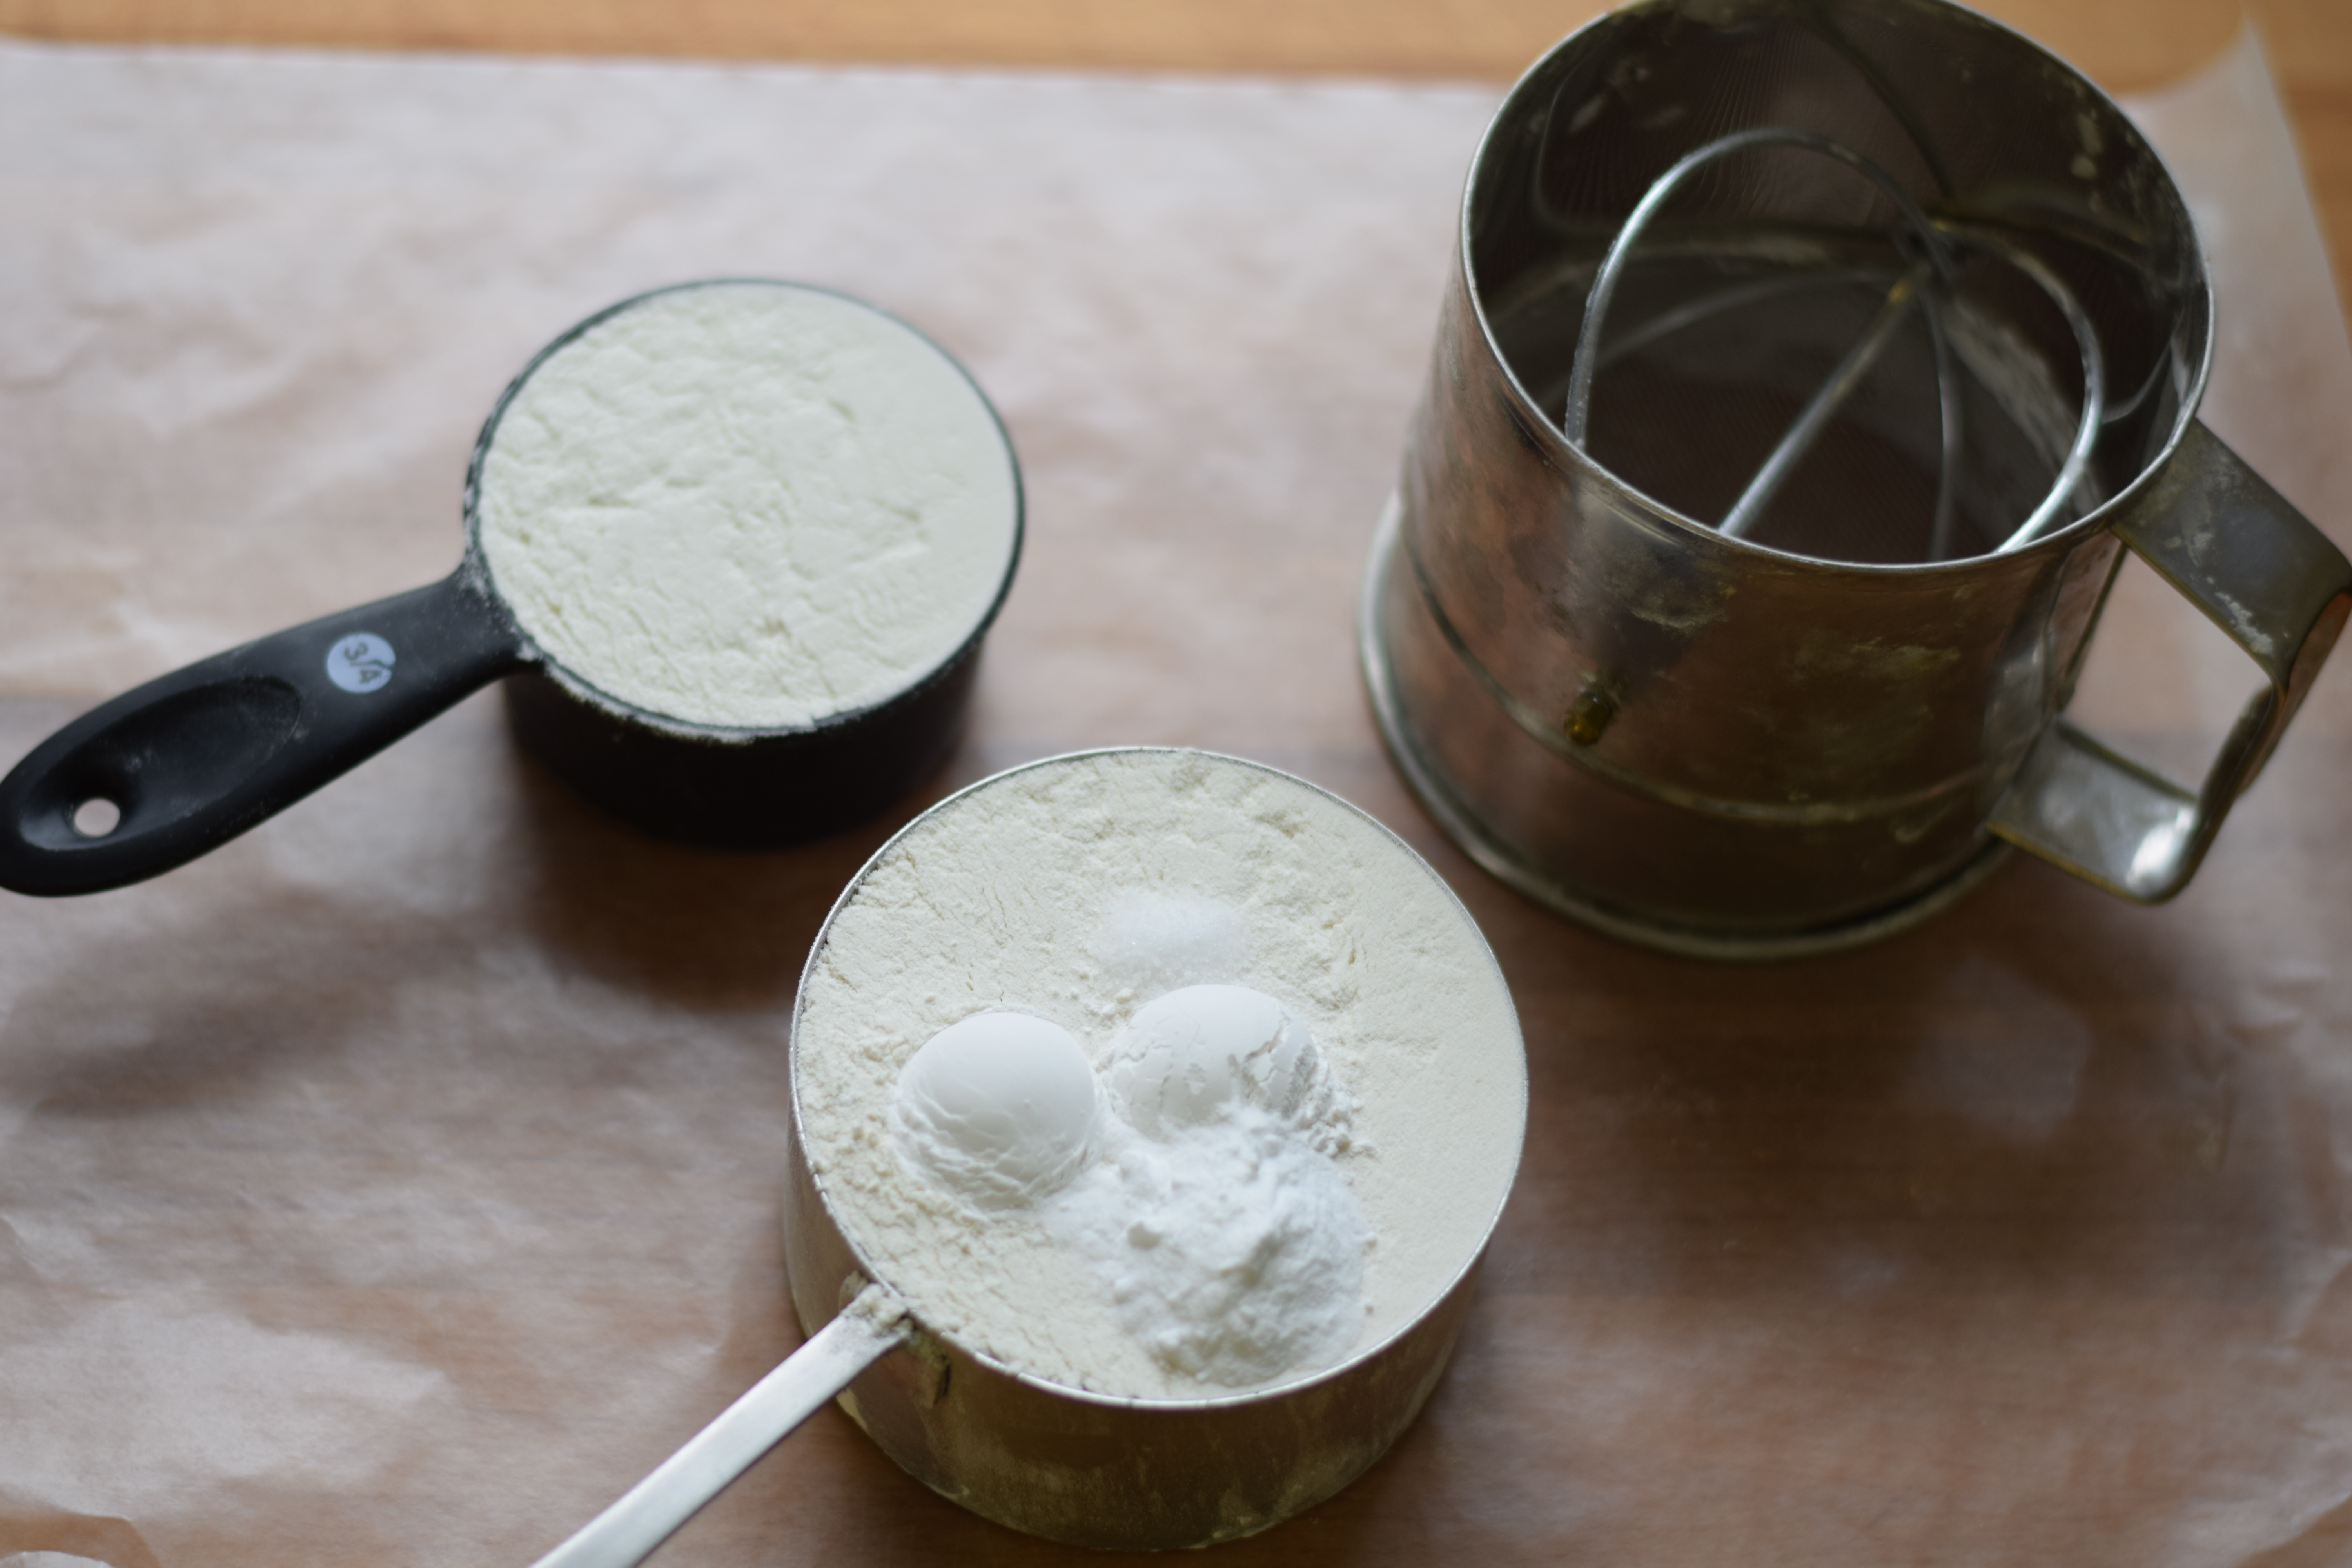
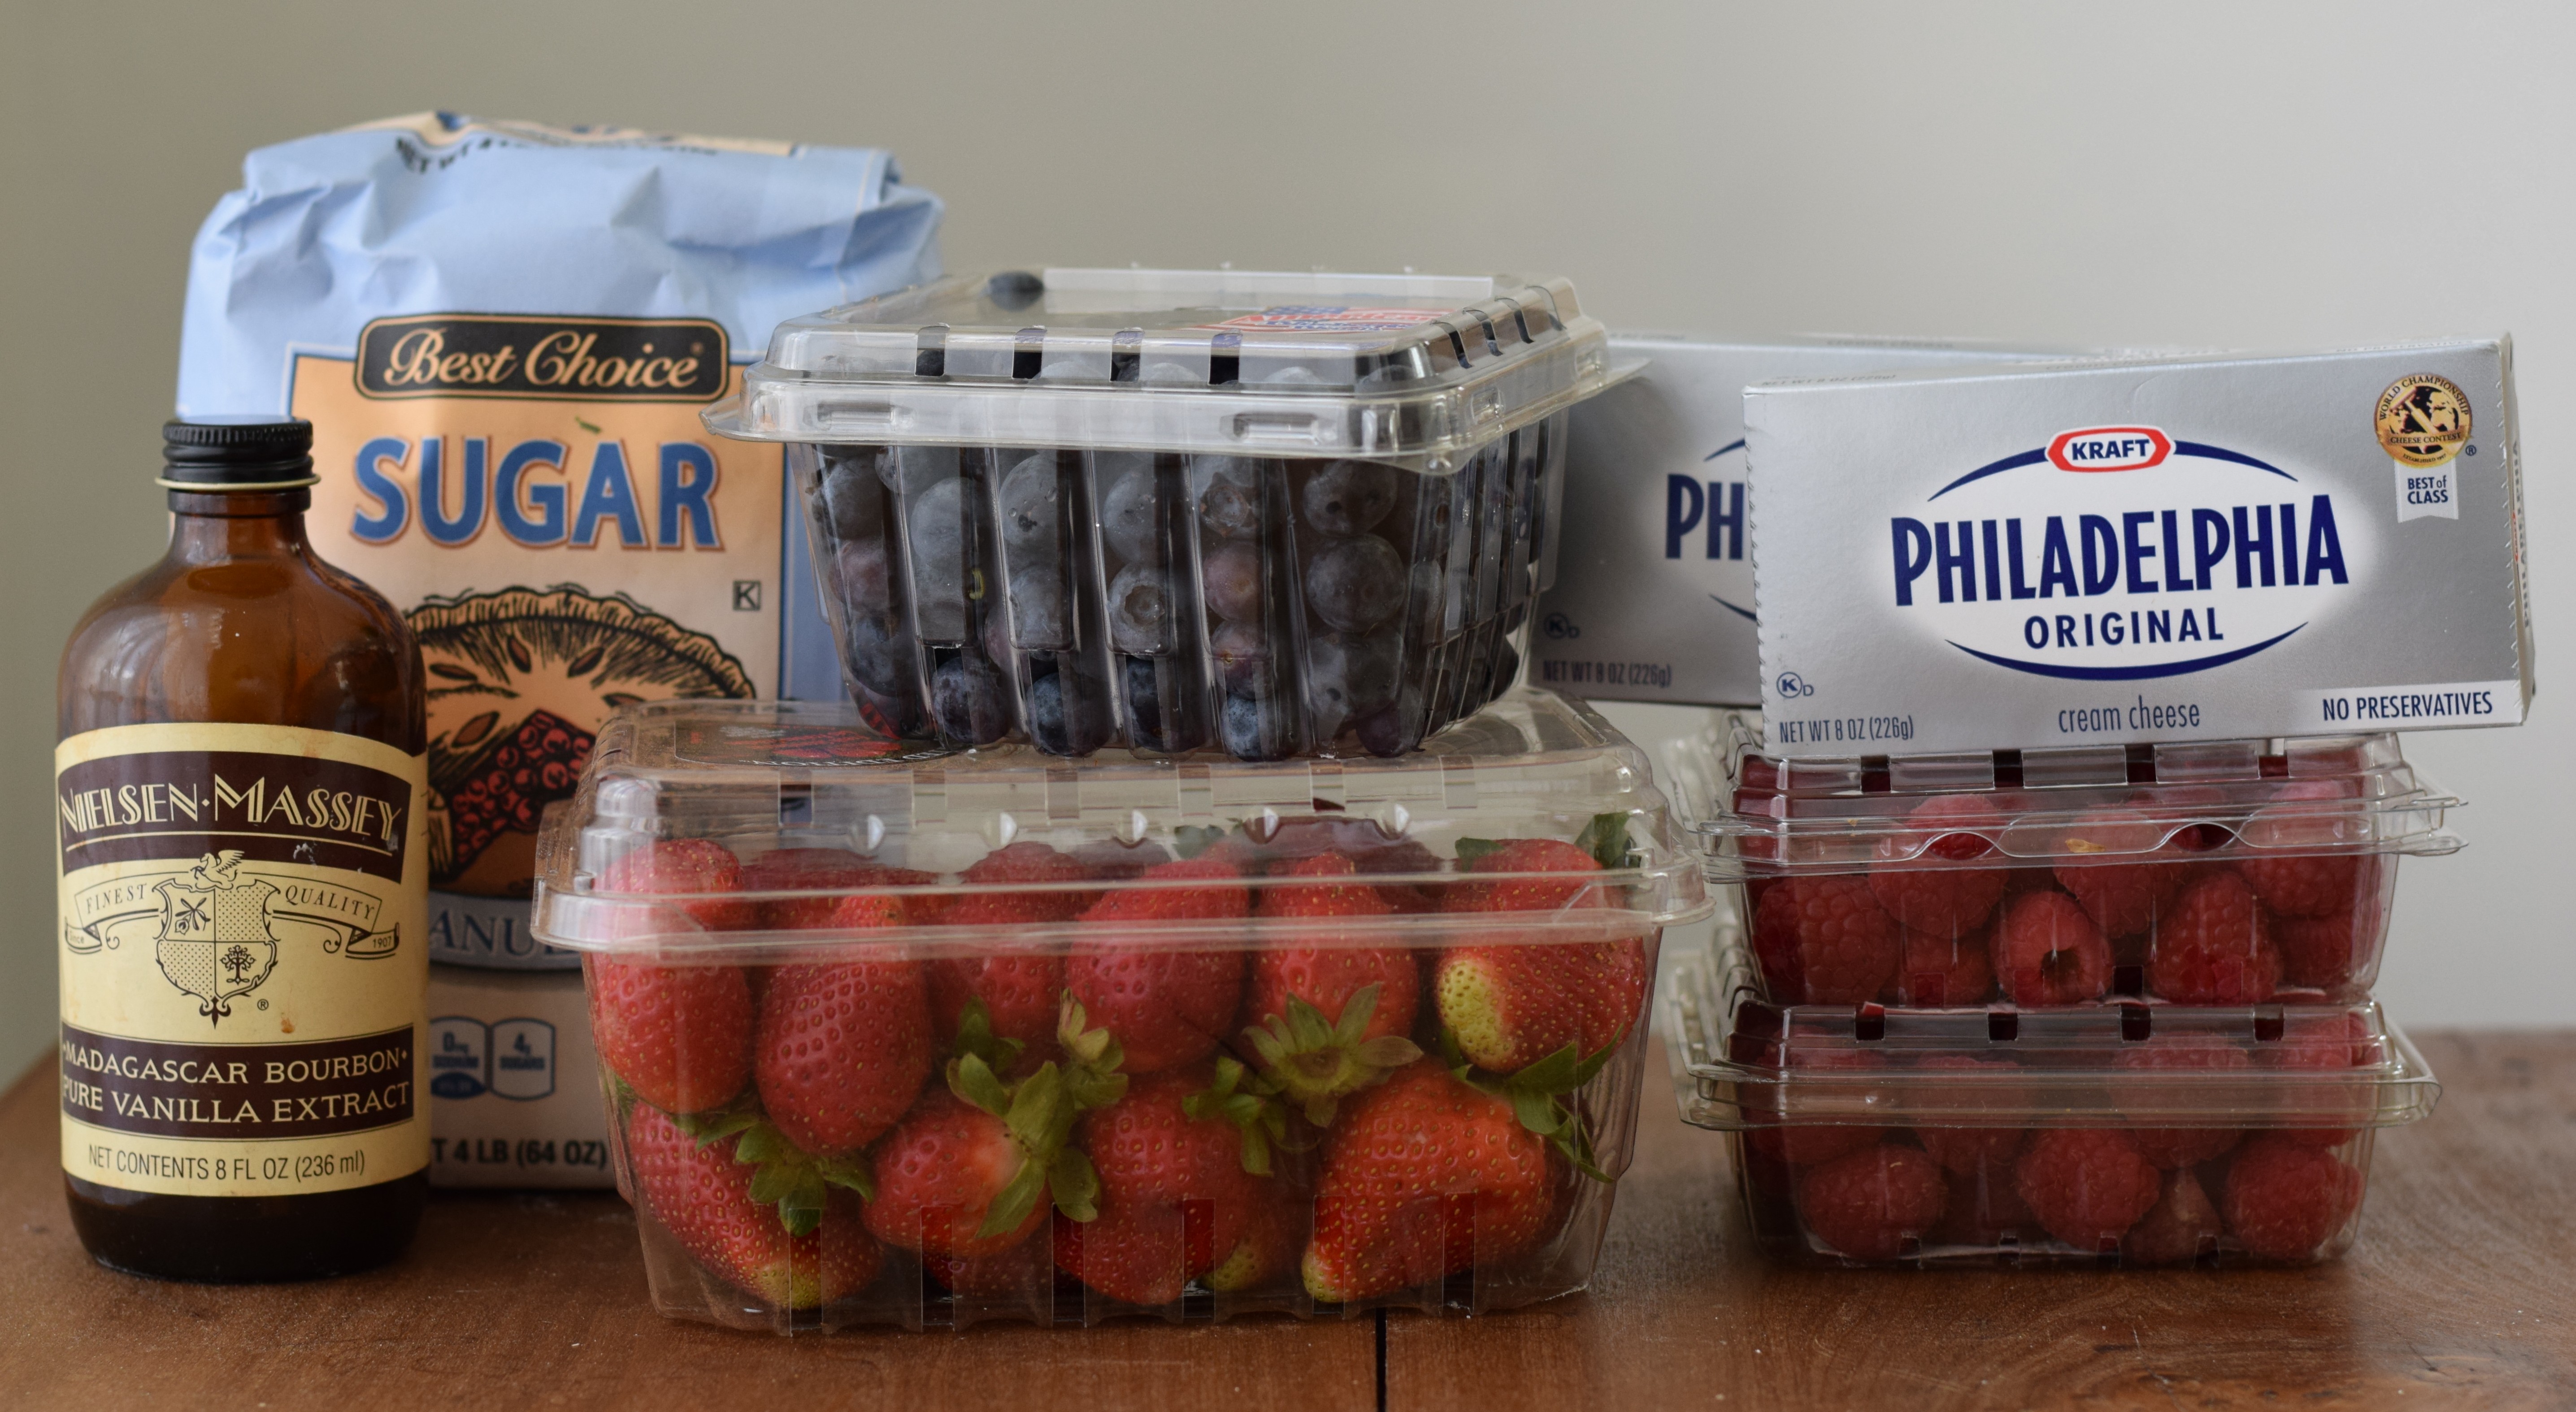
4 sticks butter softened
3/4 cup sugar
2 teaspoons vanilla
1 teaspoon baking powder
1/4 teaspoon salt
5 cups all purpose flour
<If you don’t want to make your own crust, just use bought sugar cookie dough>
Toppings
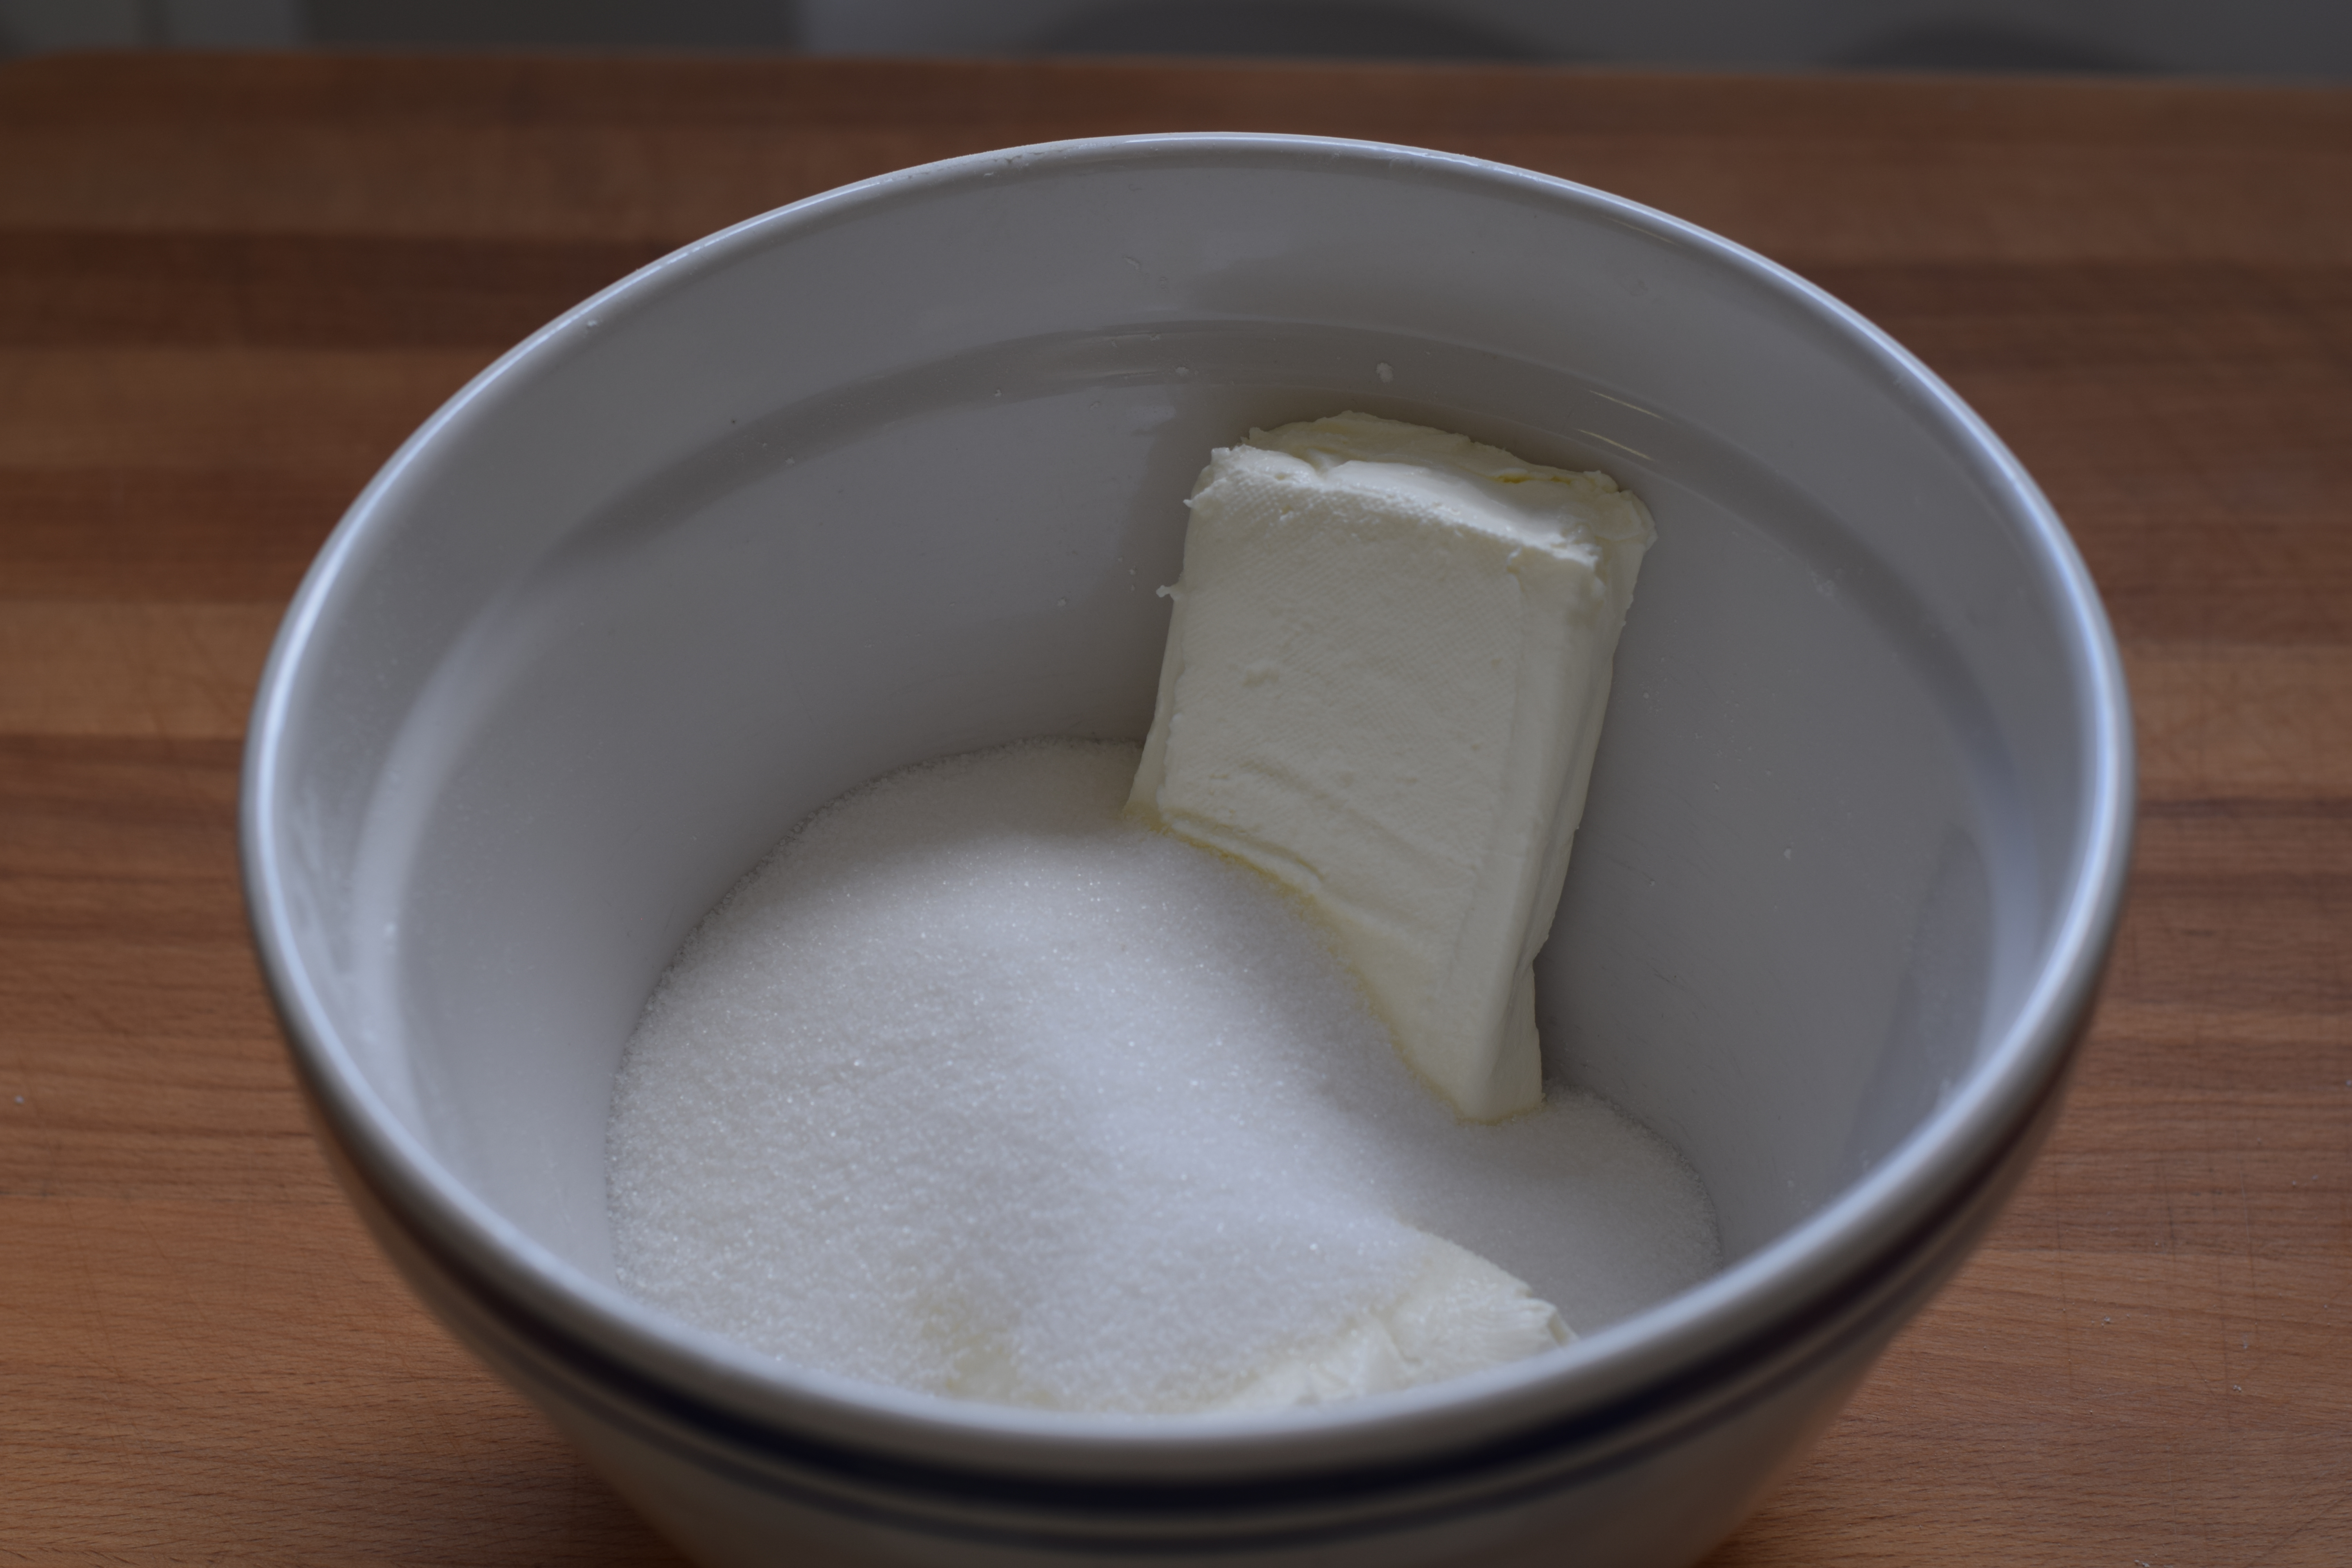
16 ounces cream cheese, softened
1 cup sugar
4 teaspoons vanilla (I might cut this to 2 or 3 next time)
Strawberries
Blueberries
Raspberries
Preparation
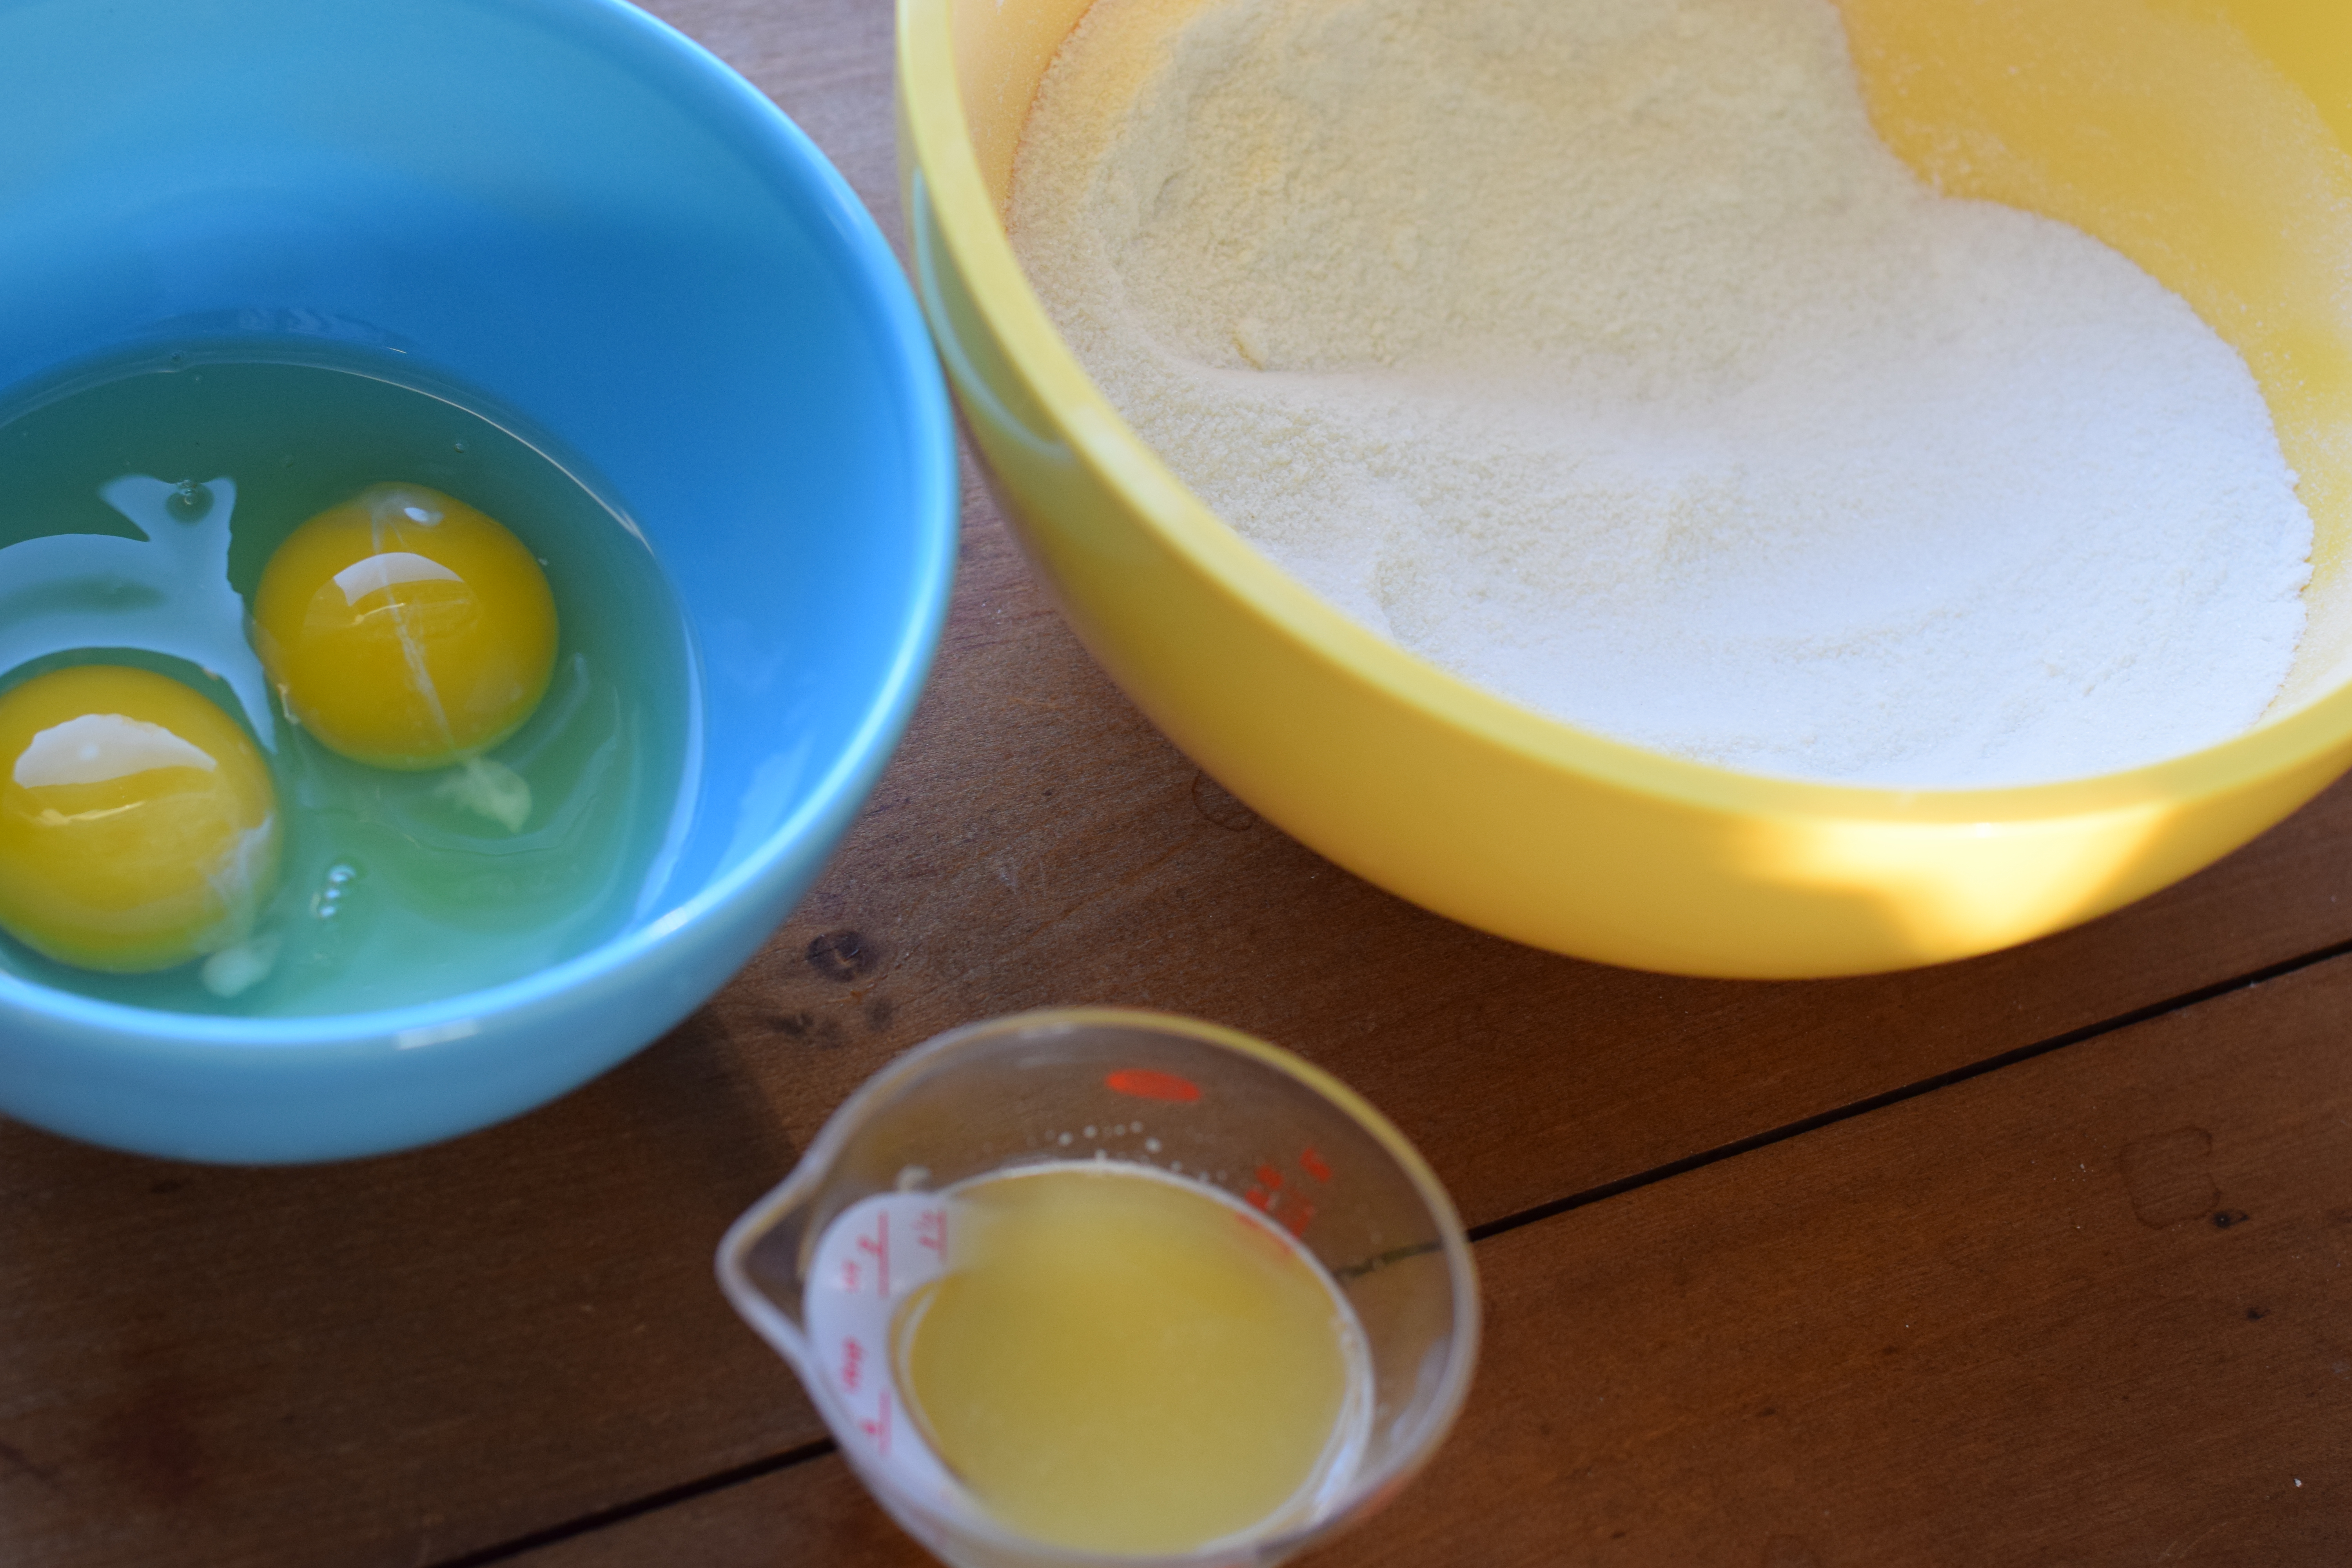
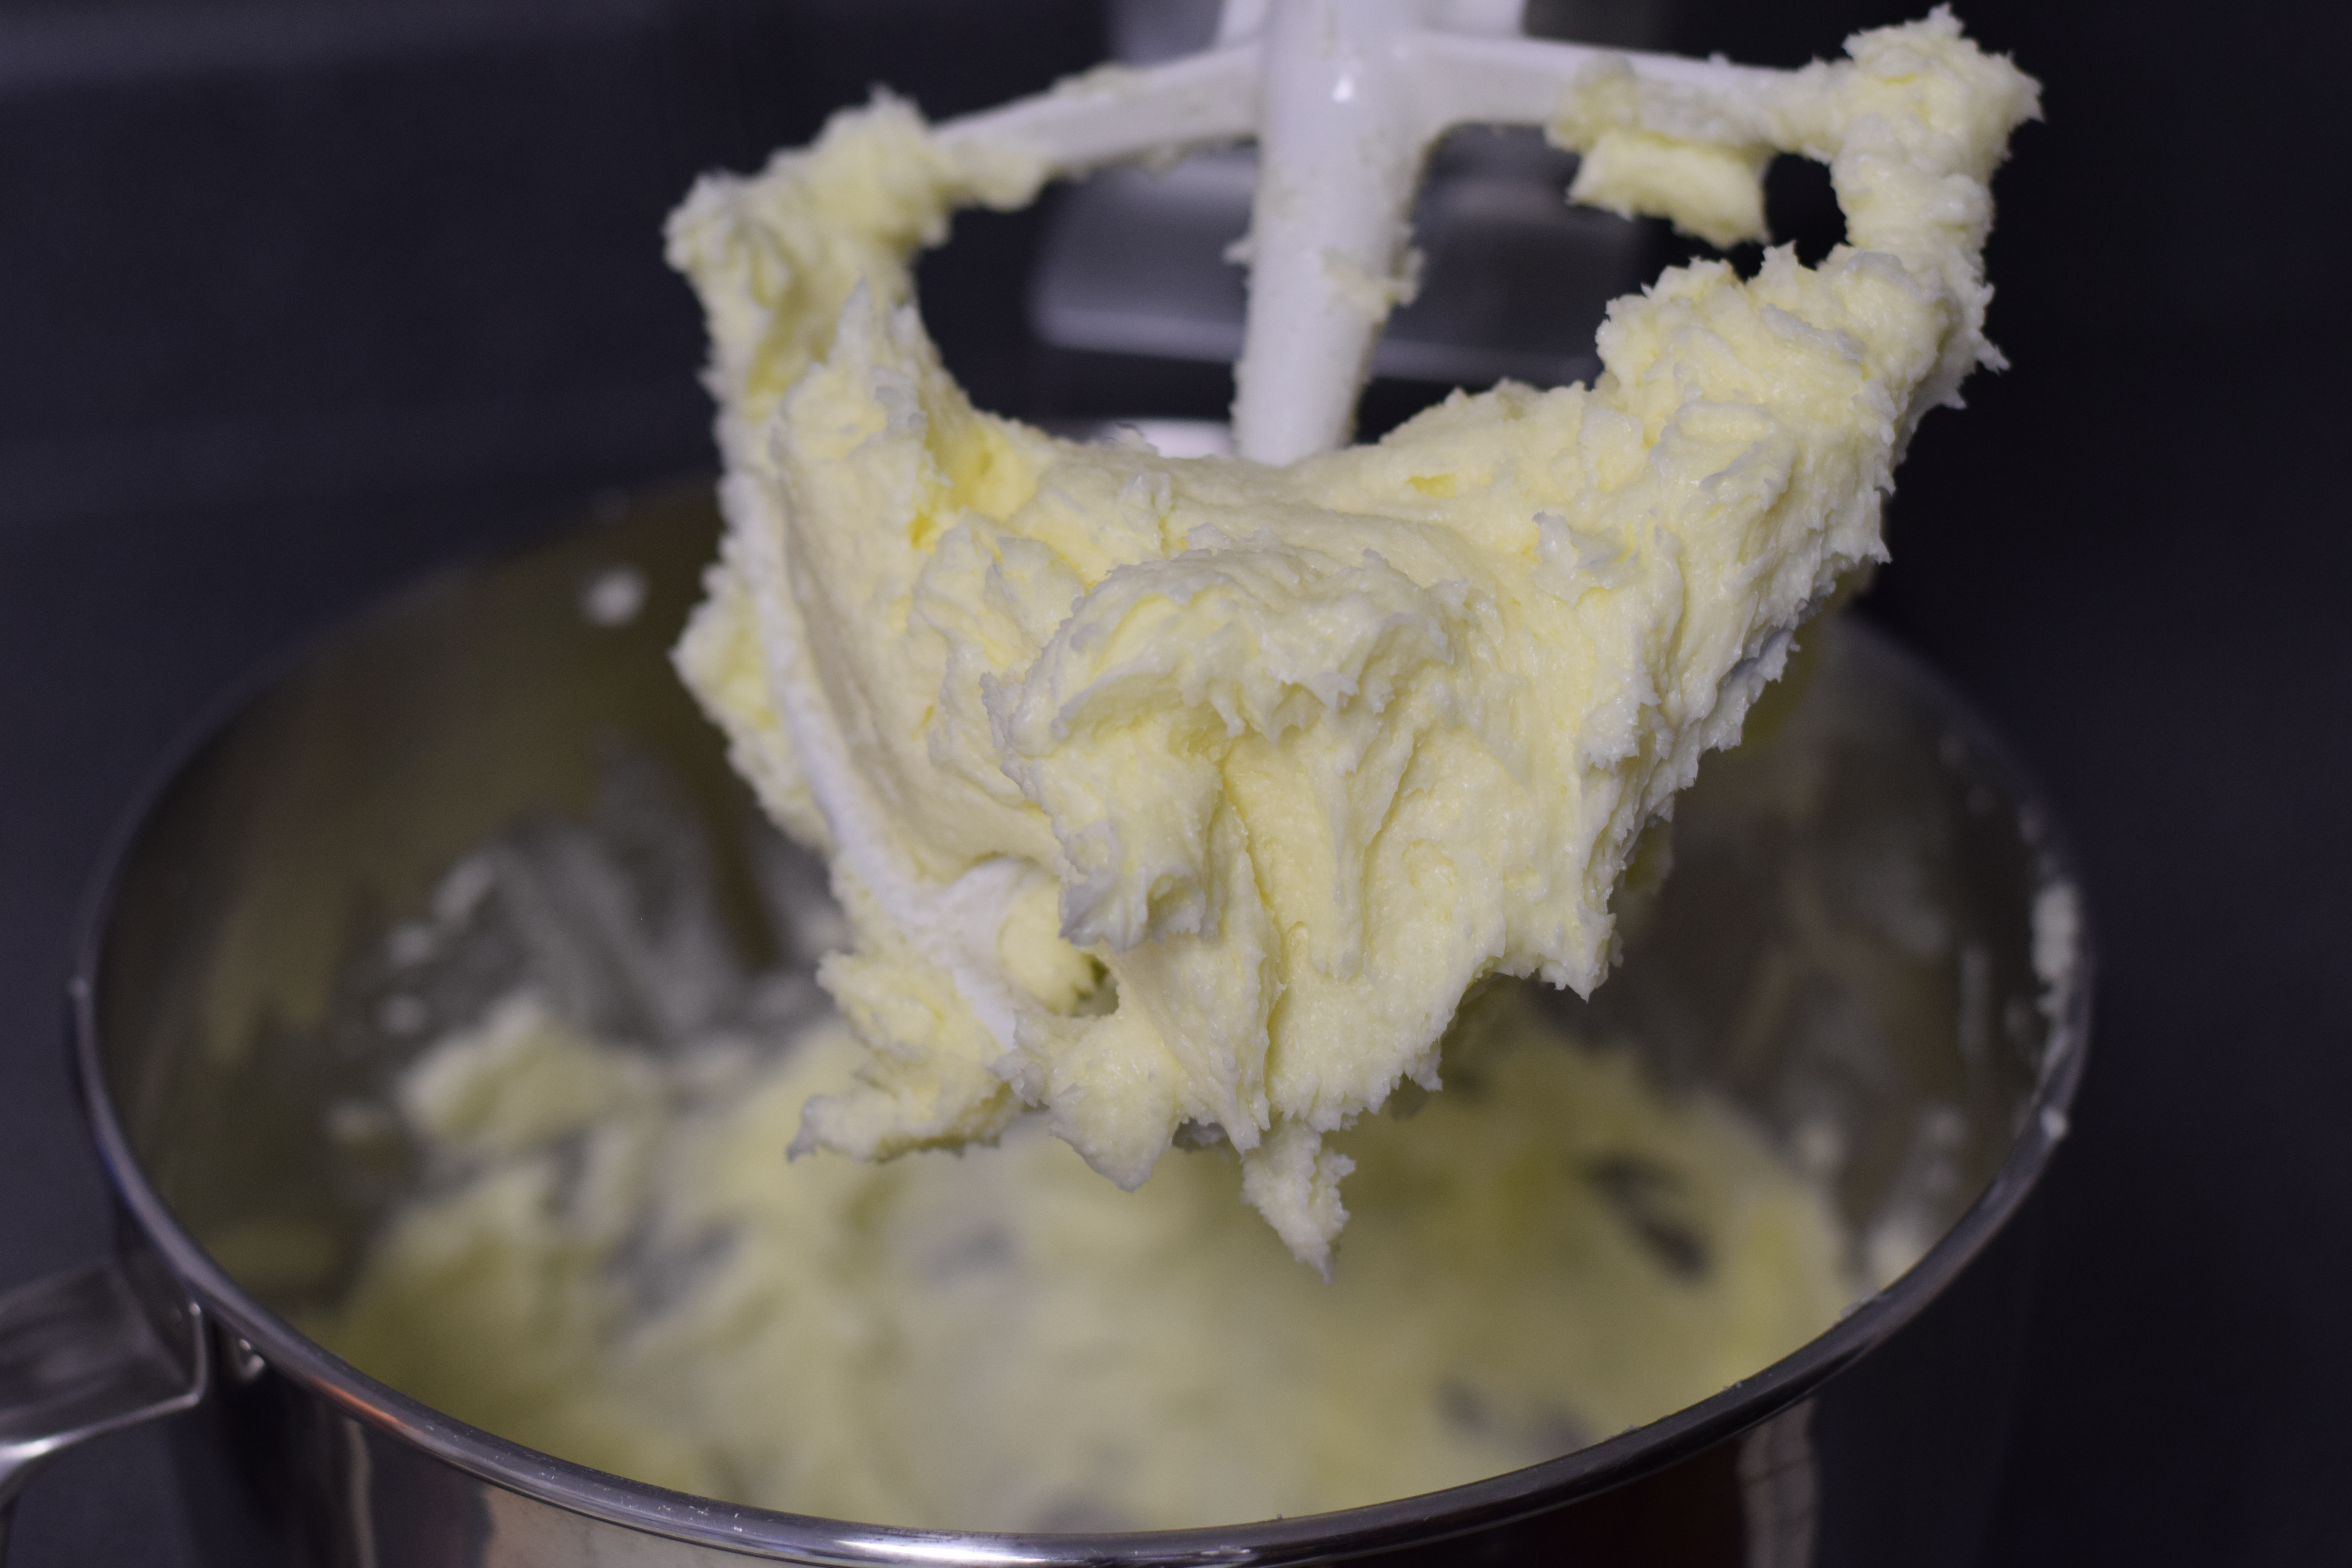
Place butter and cream cheese on the counter to soften to room temperature.
Instructions
Crust
Preheat oven to 350 degrees (325 convection).
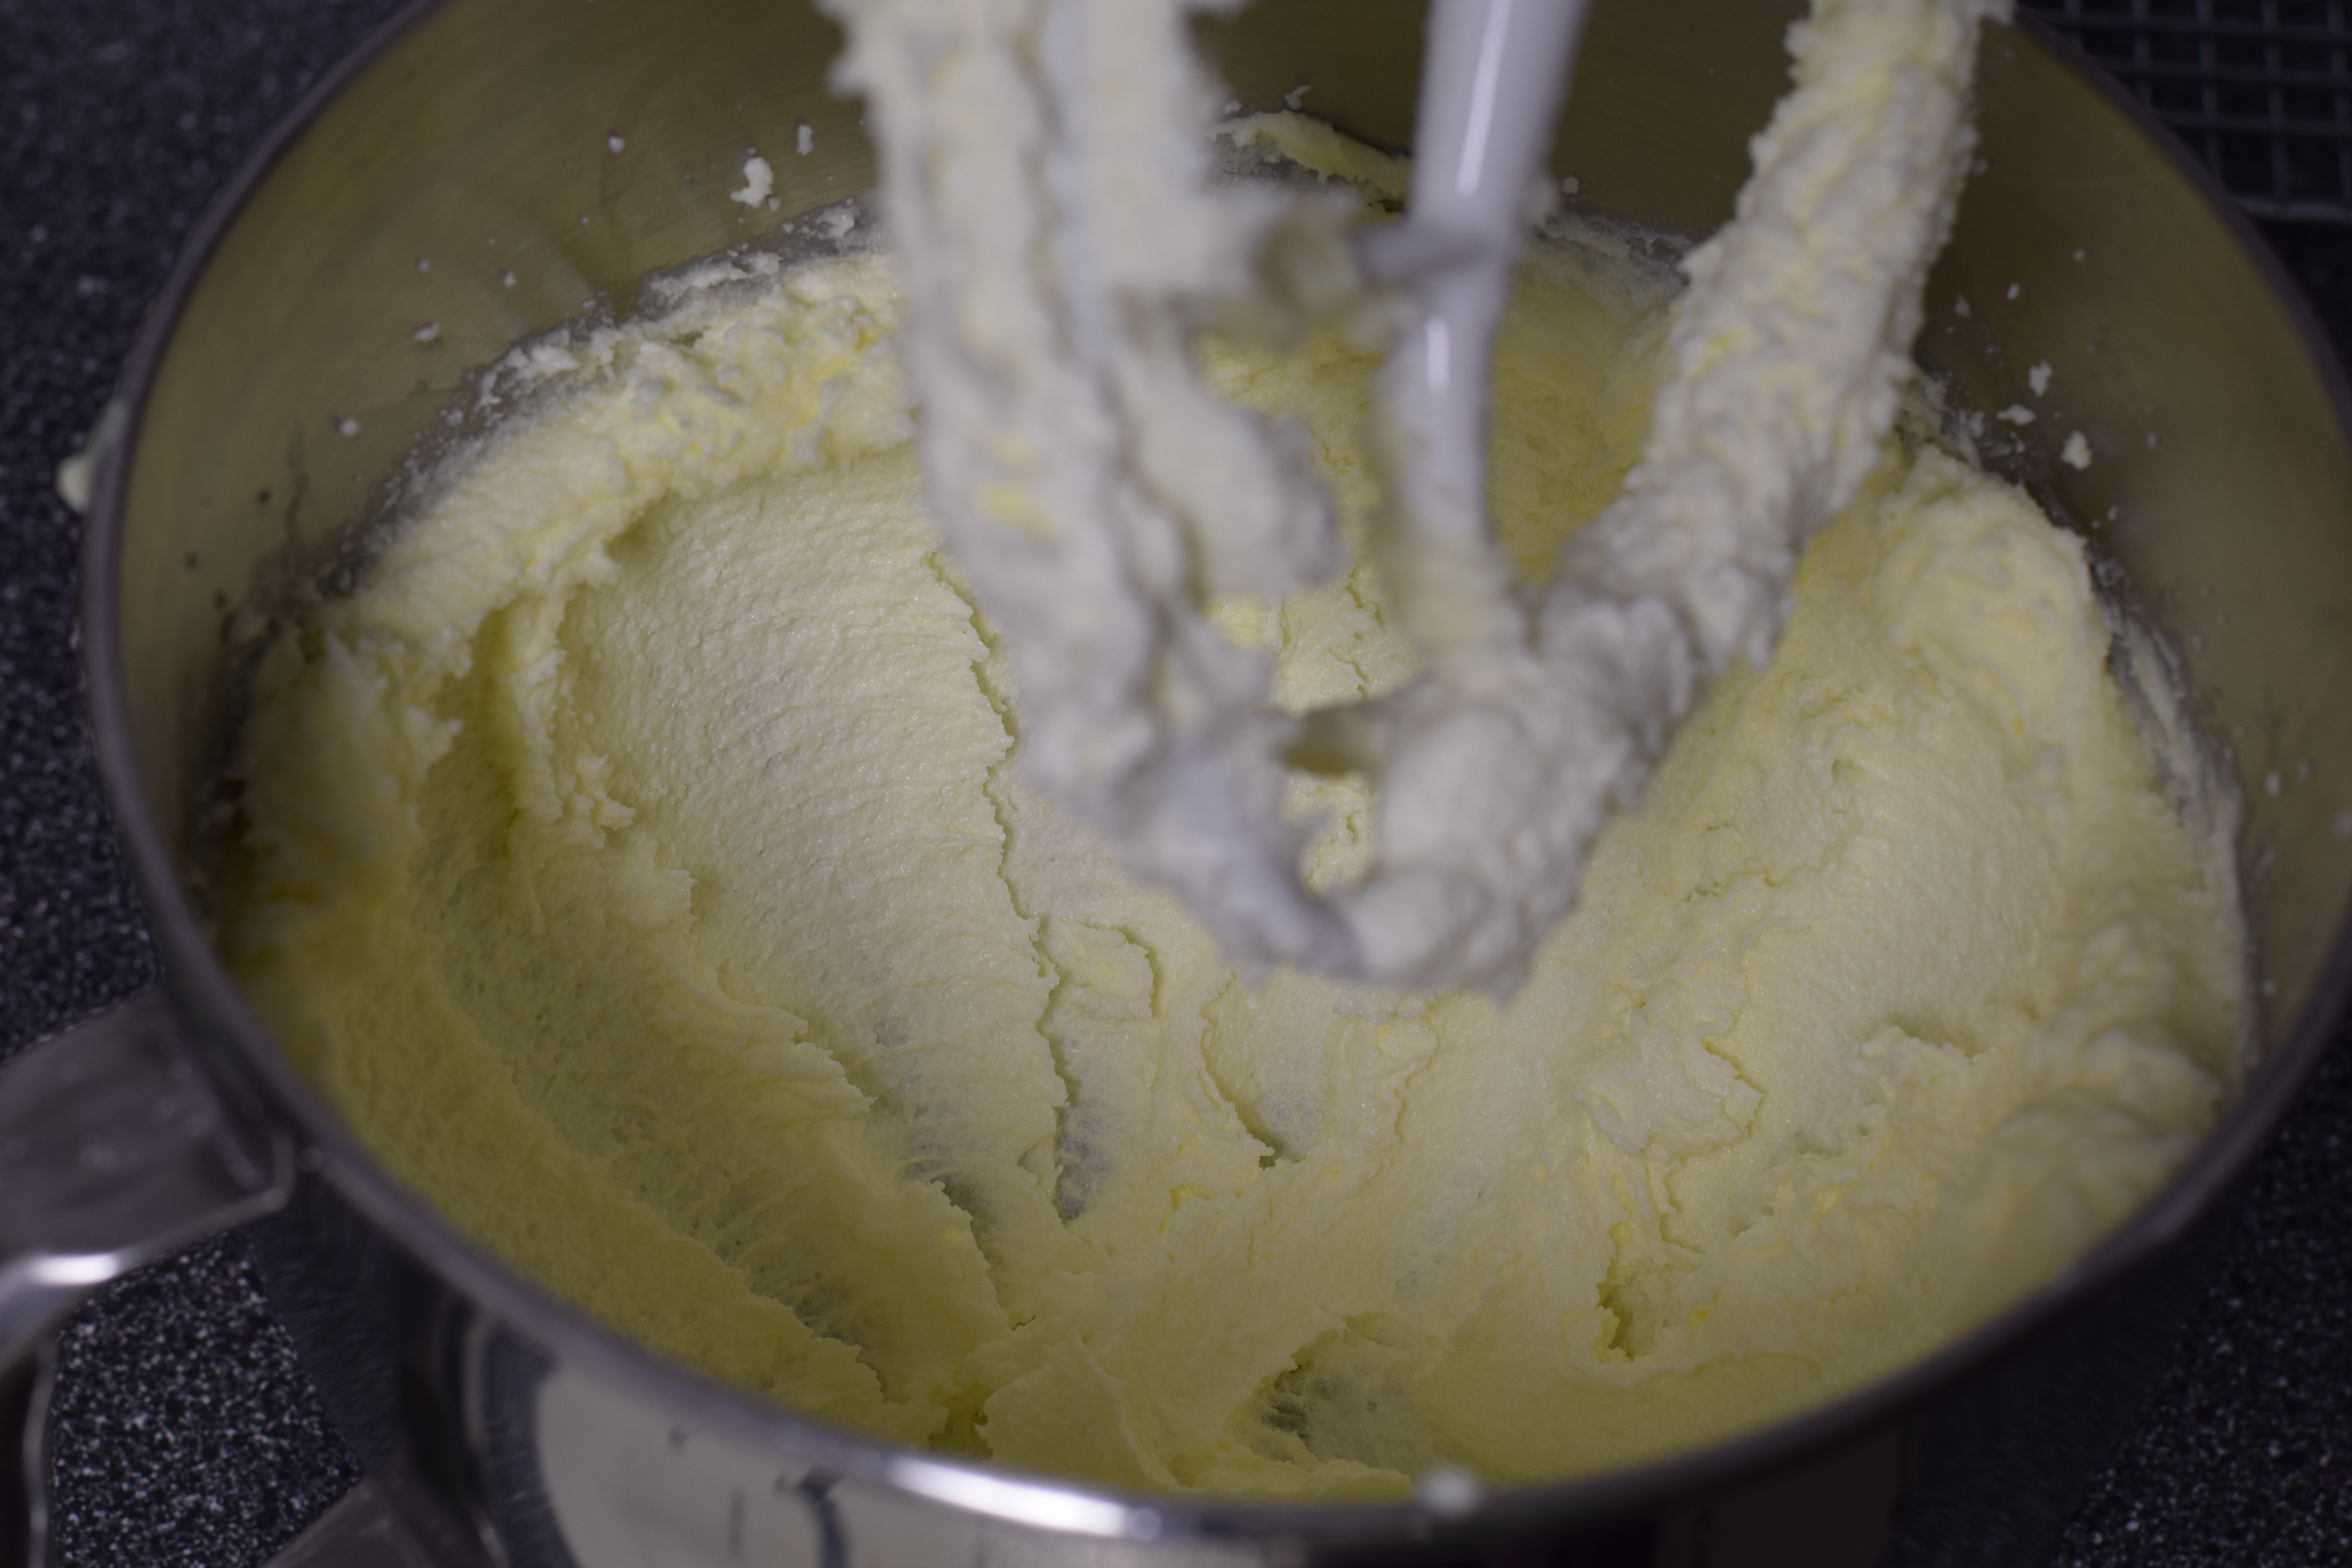
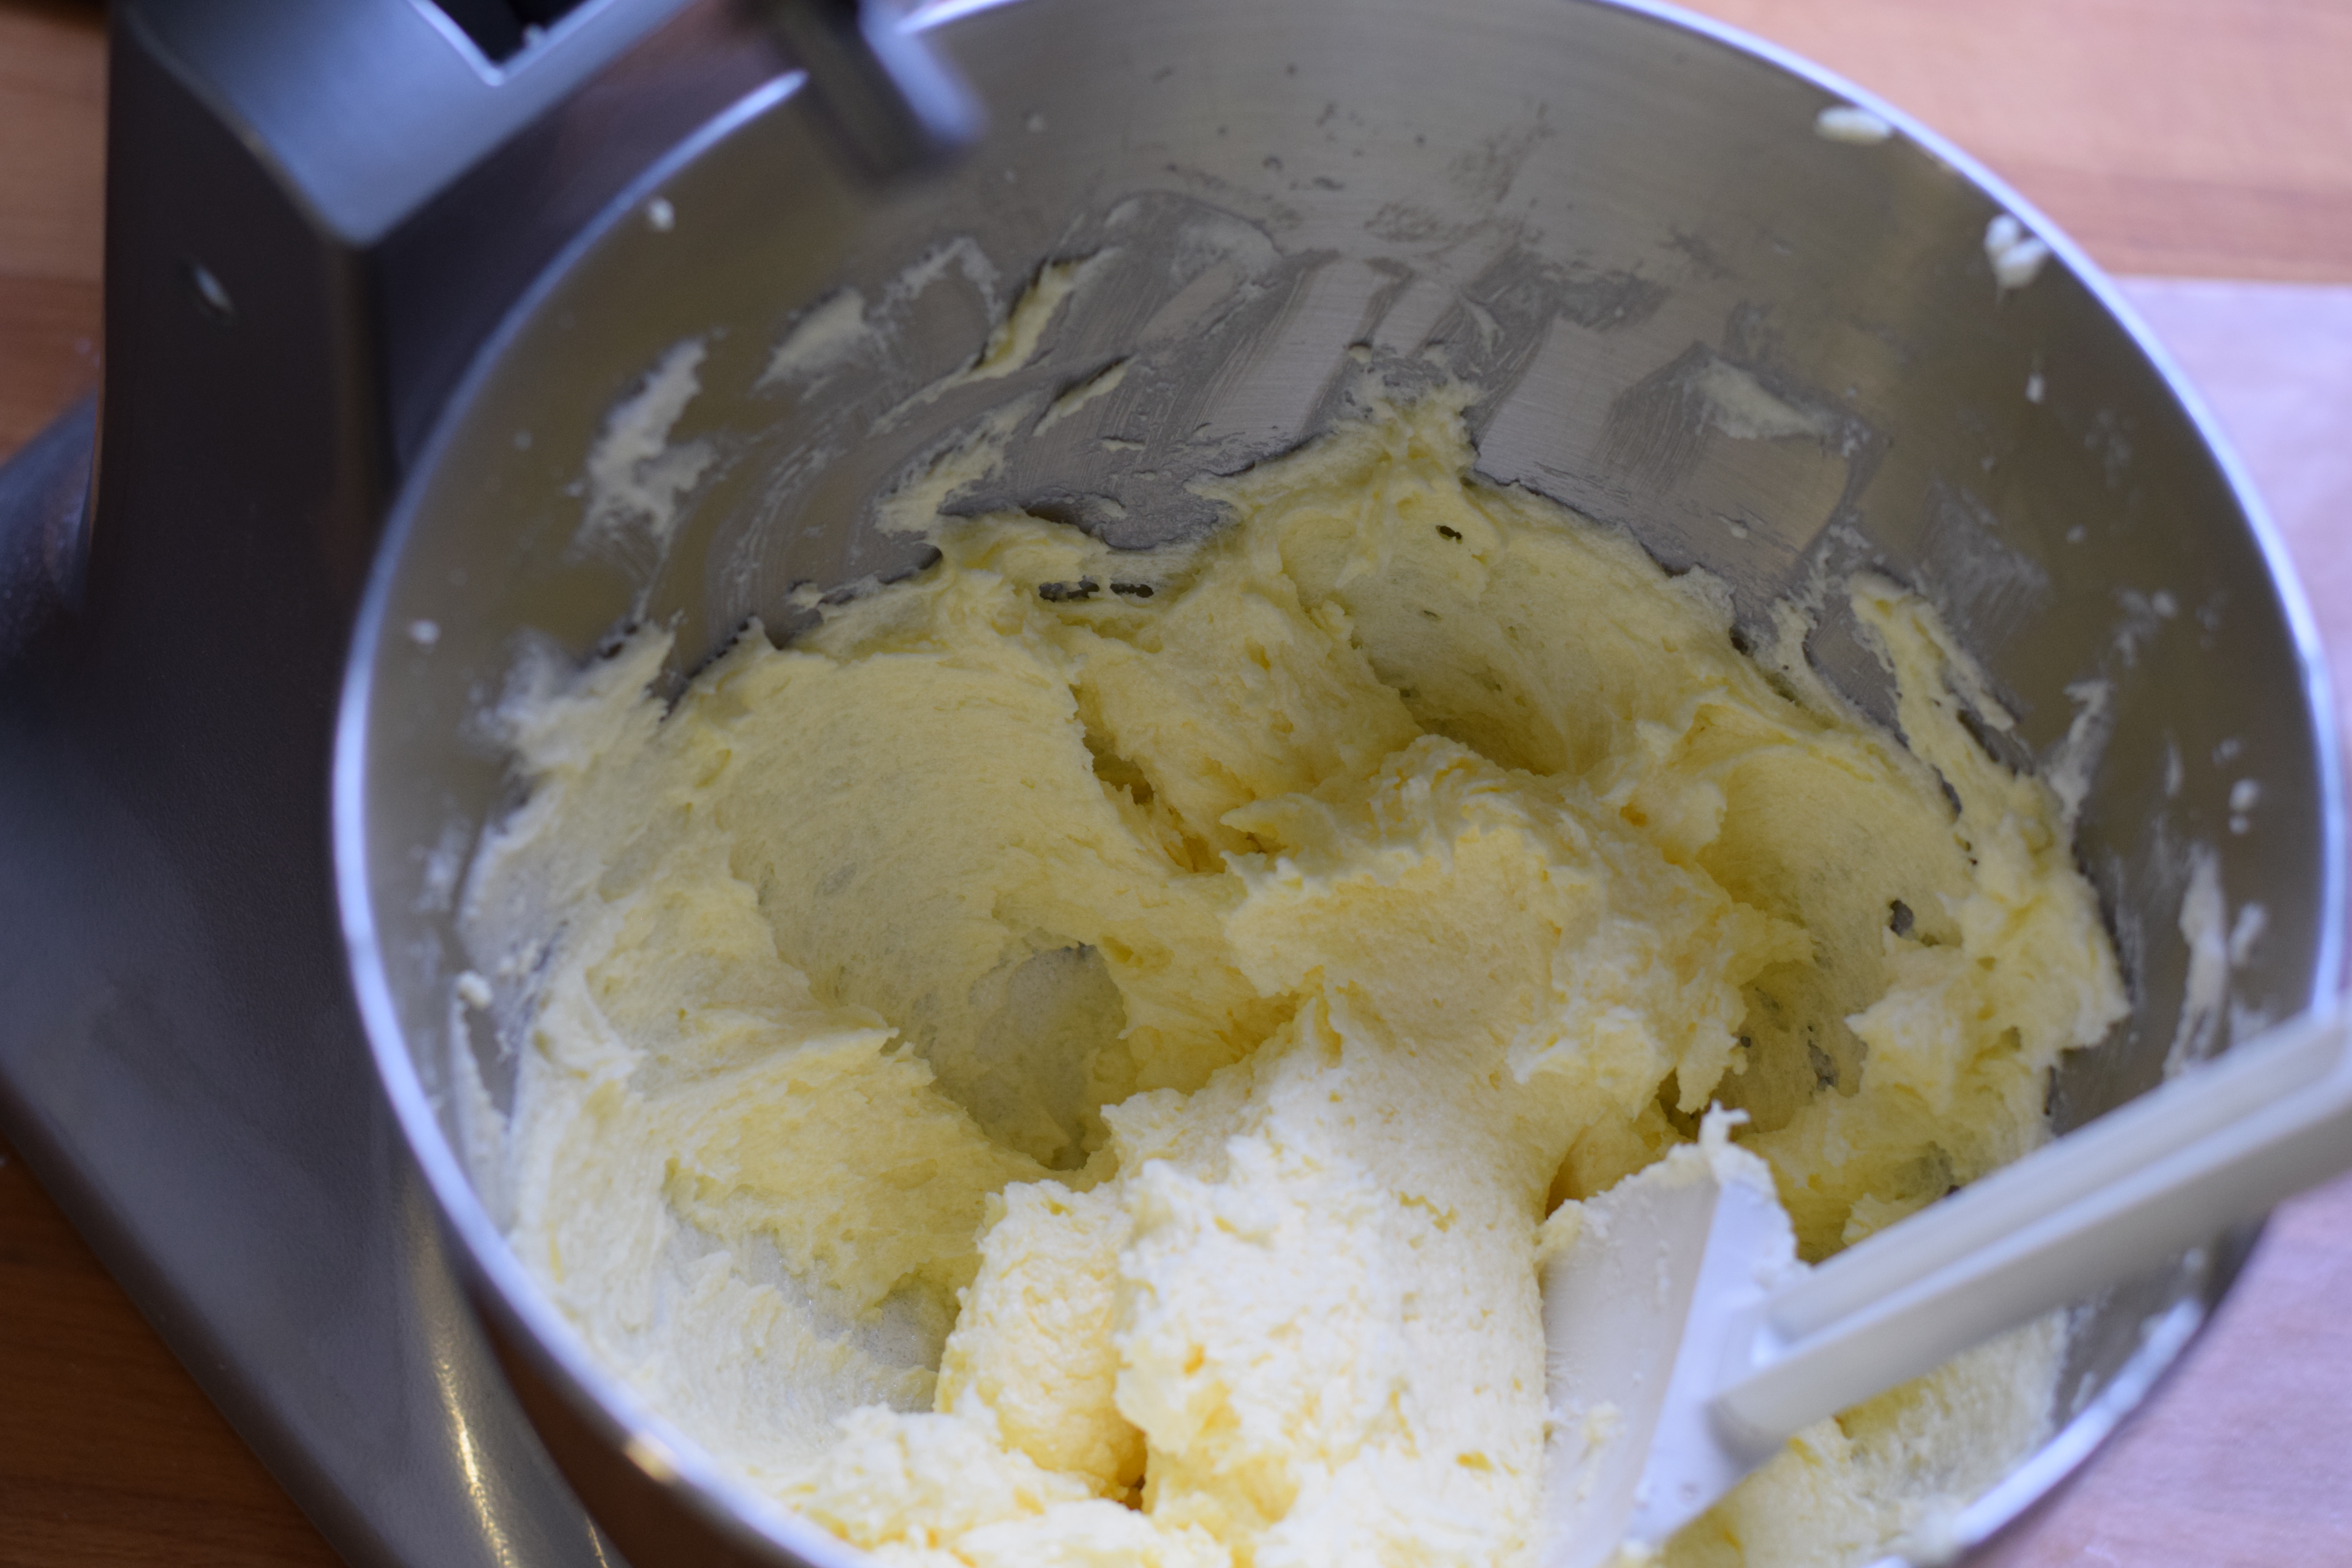
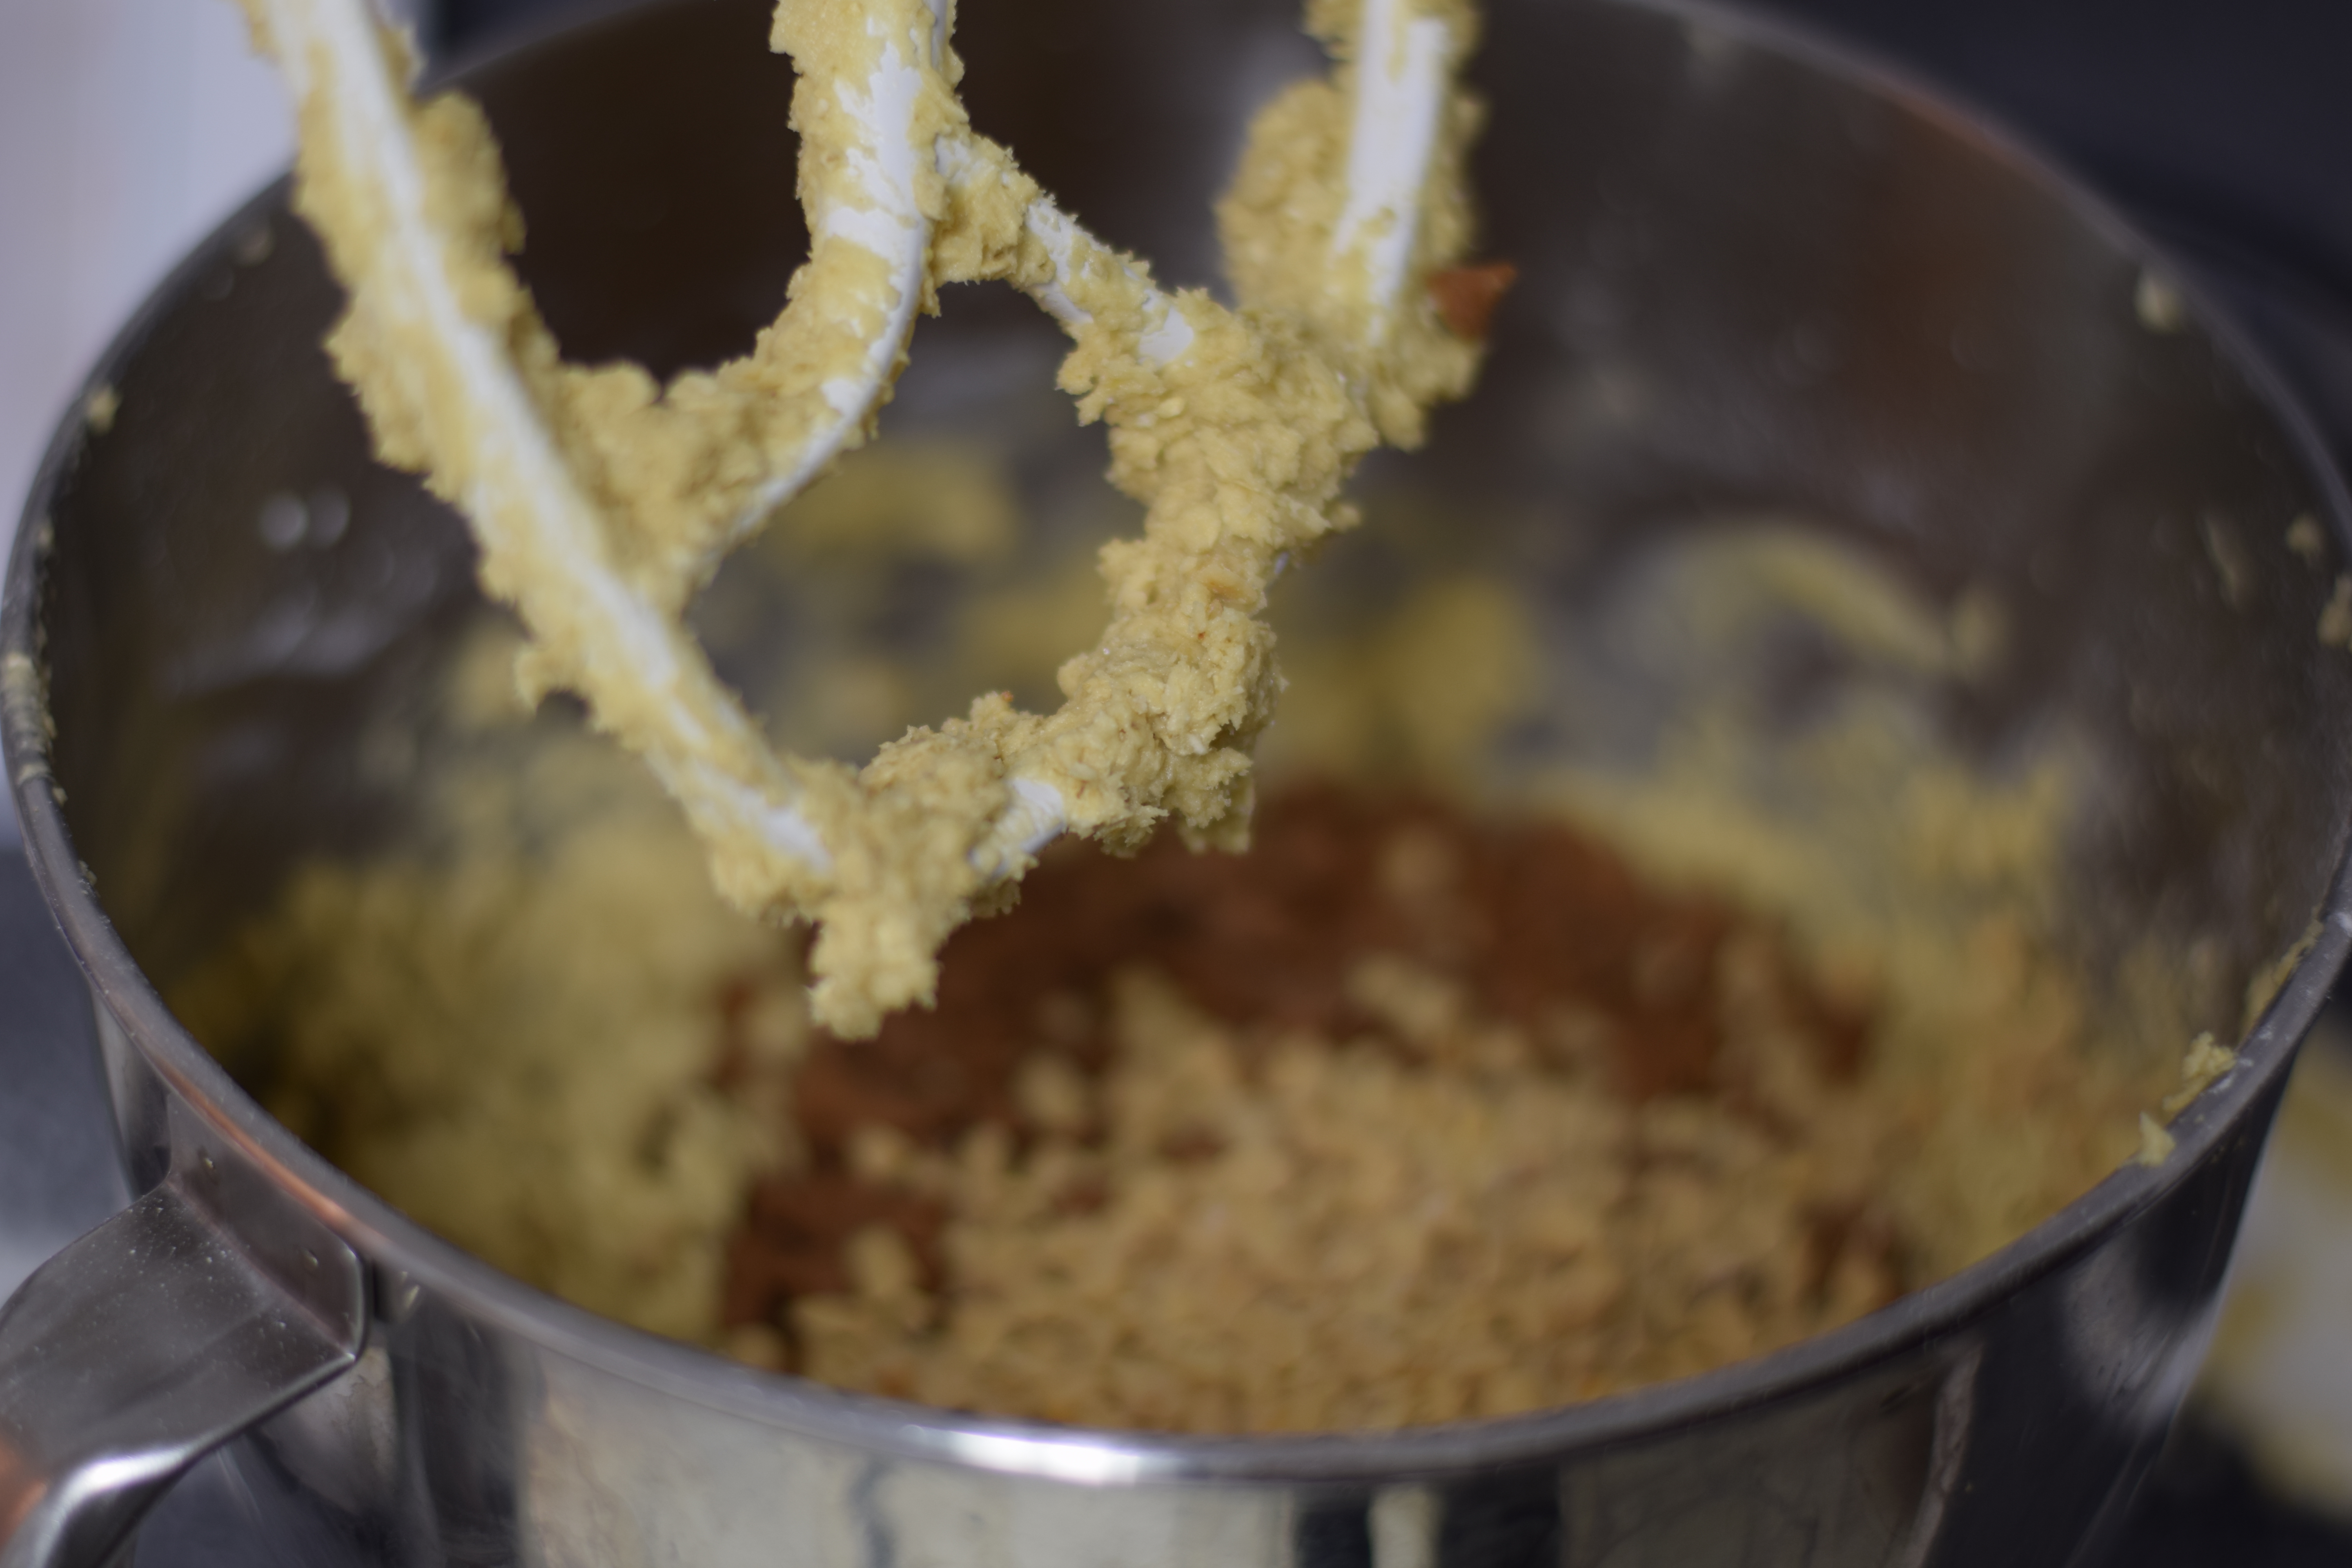
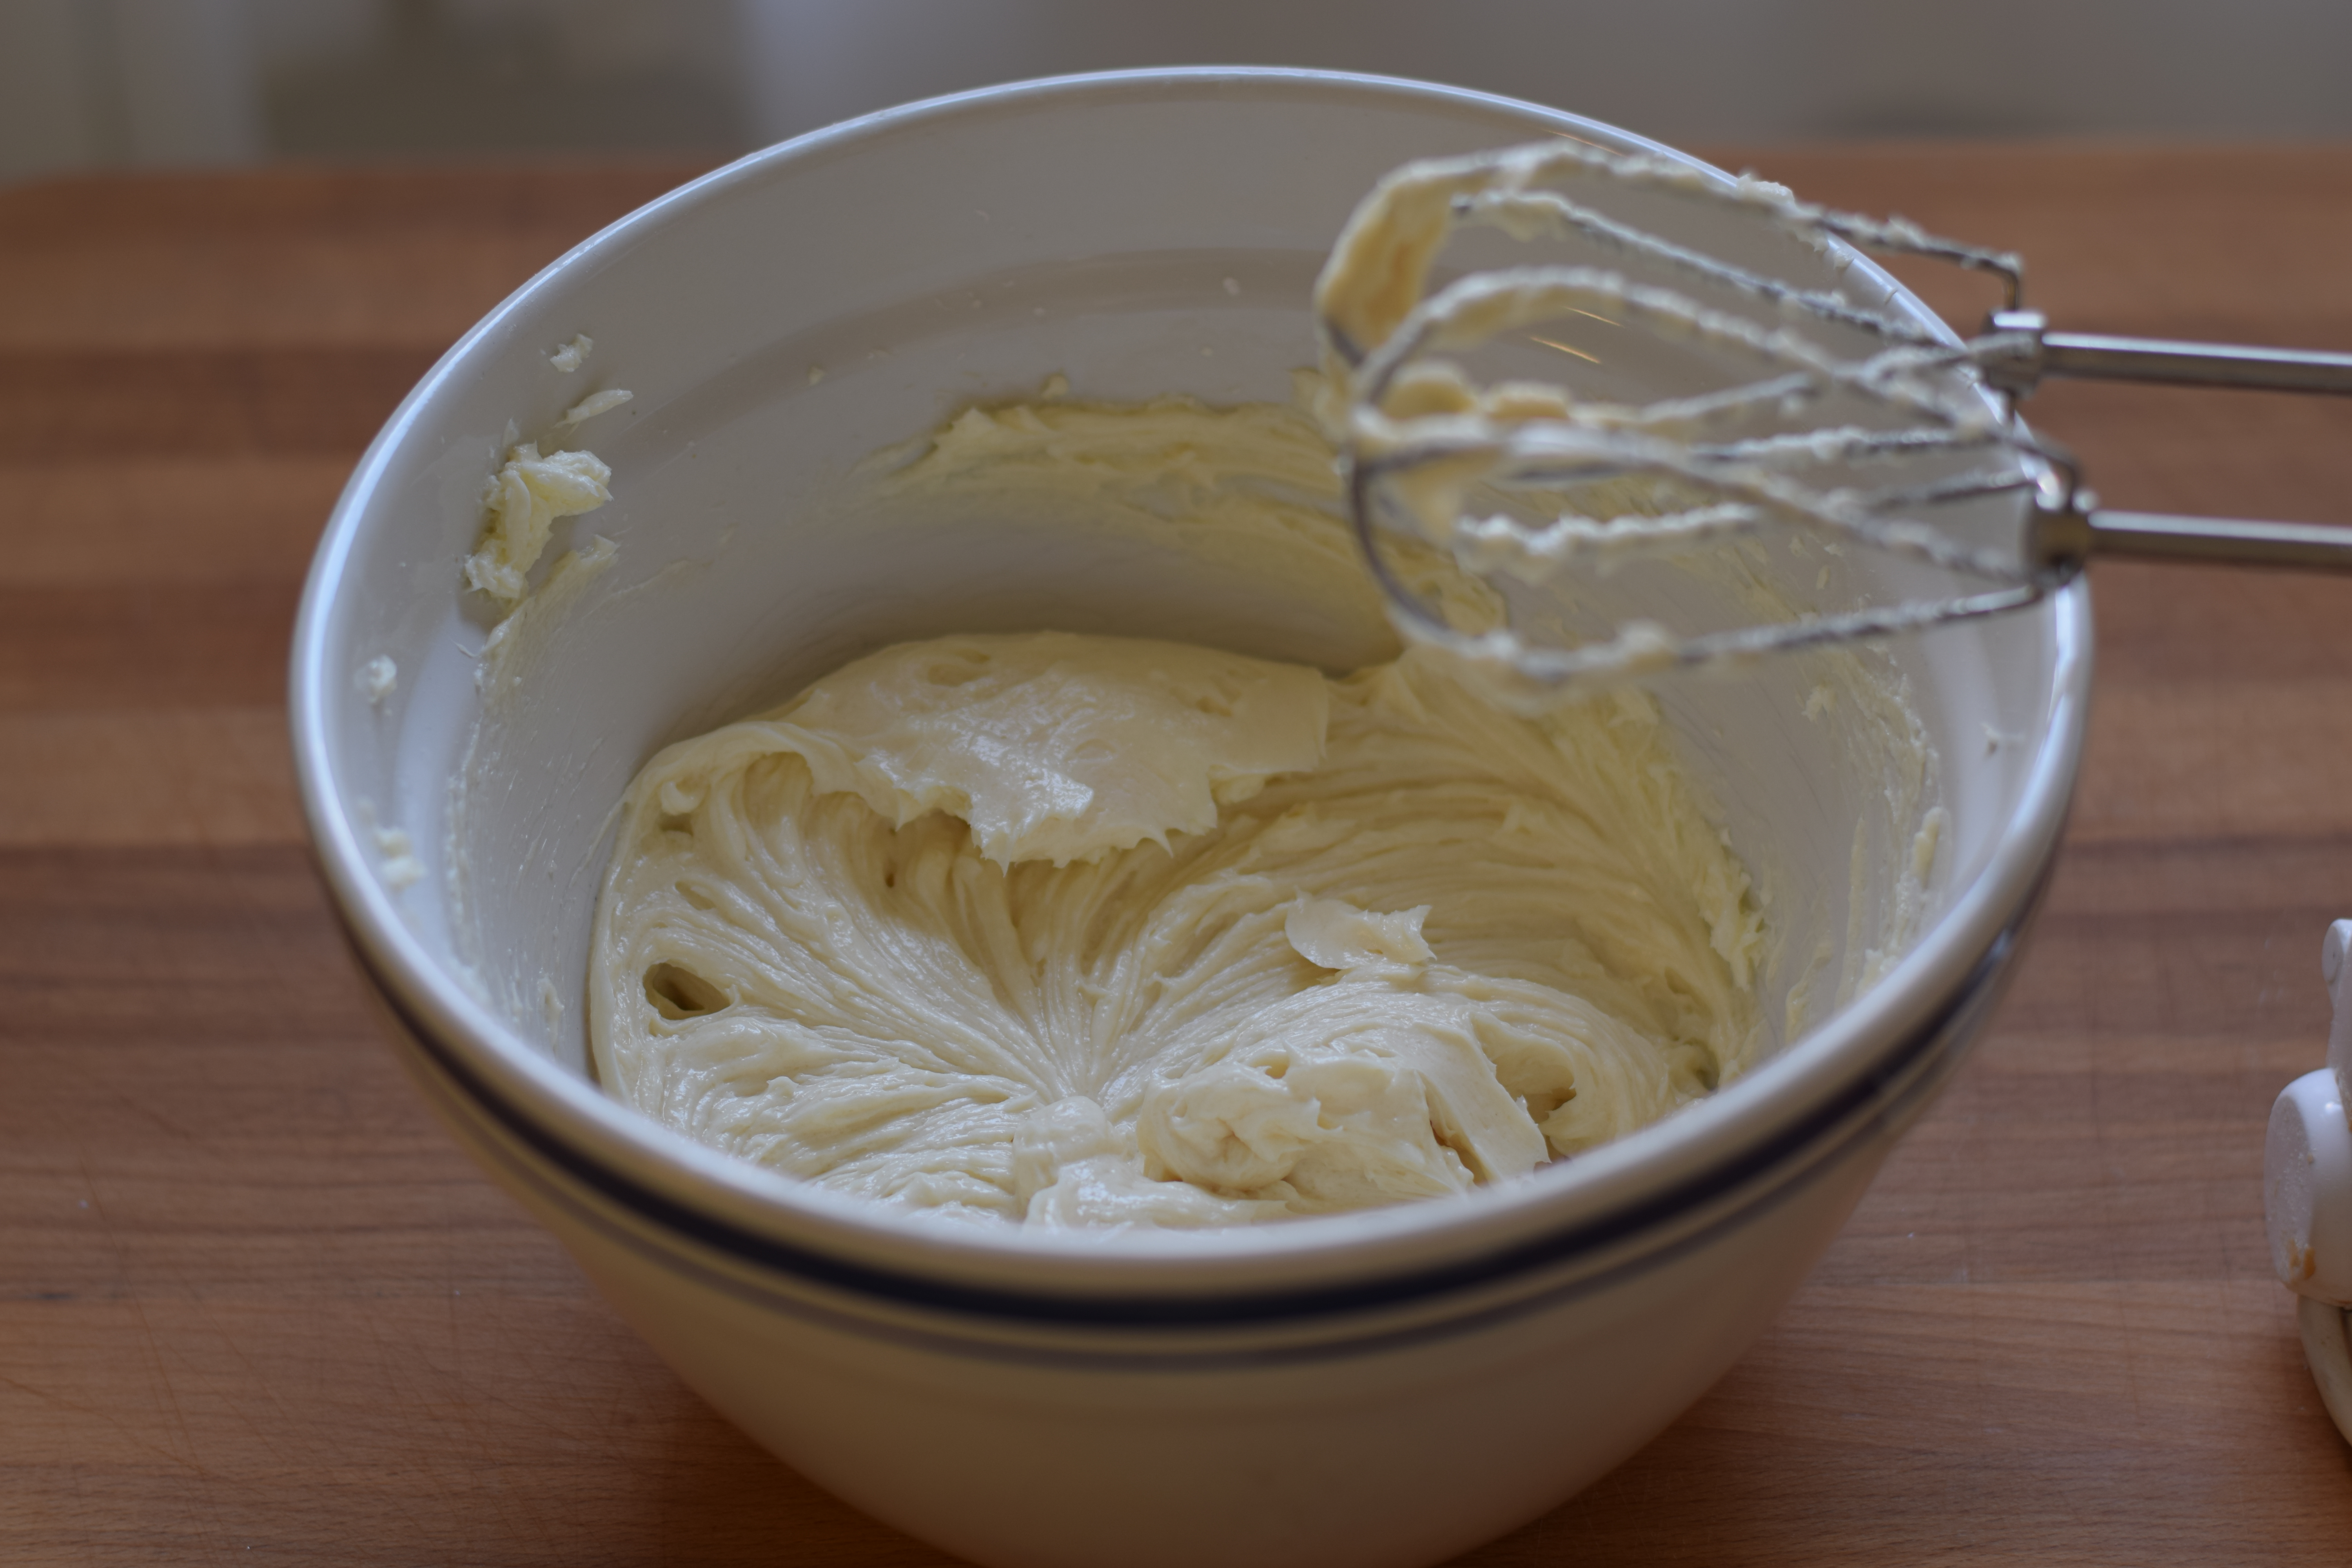
This is a basic shortbread crust, and it made two fairly large flag shaped pizzas with enough left over for a small one. So it would be safe to half the recipe. Cream butter and sugar together.
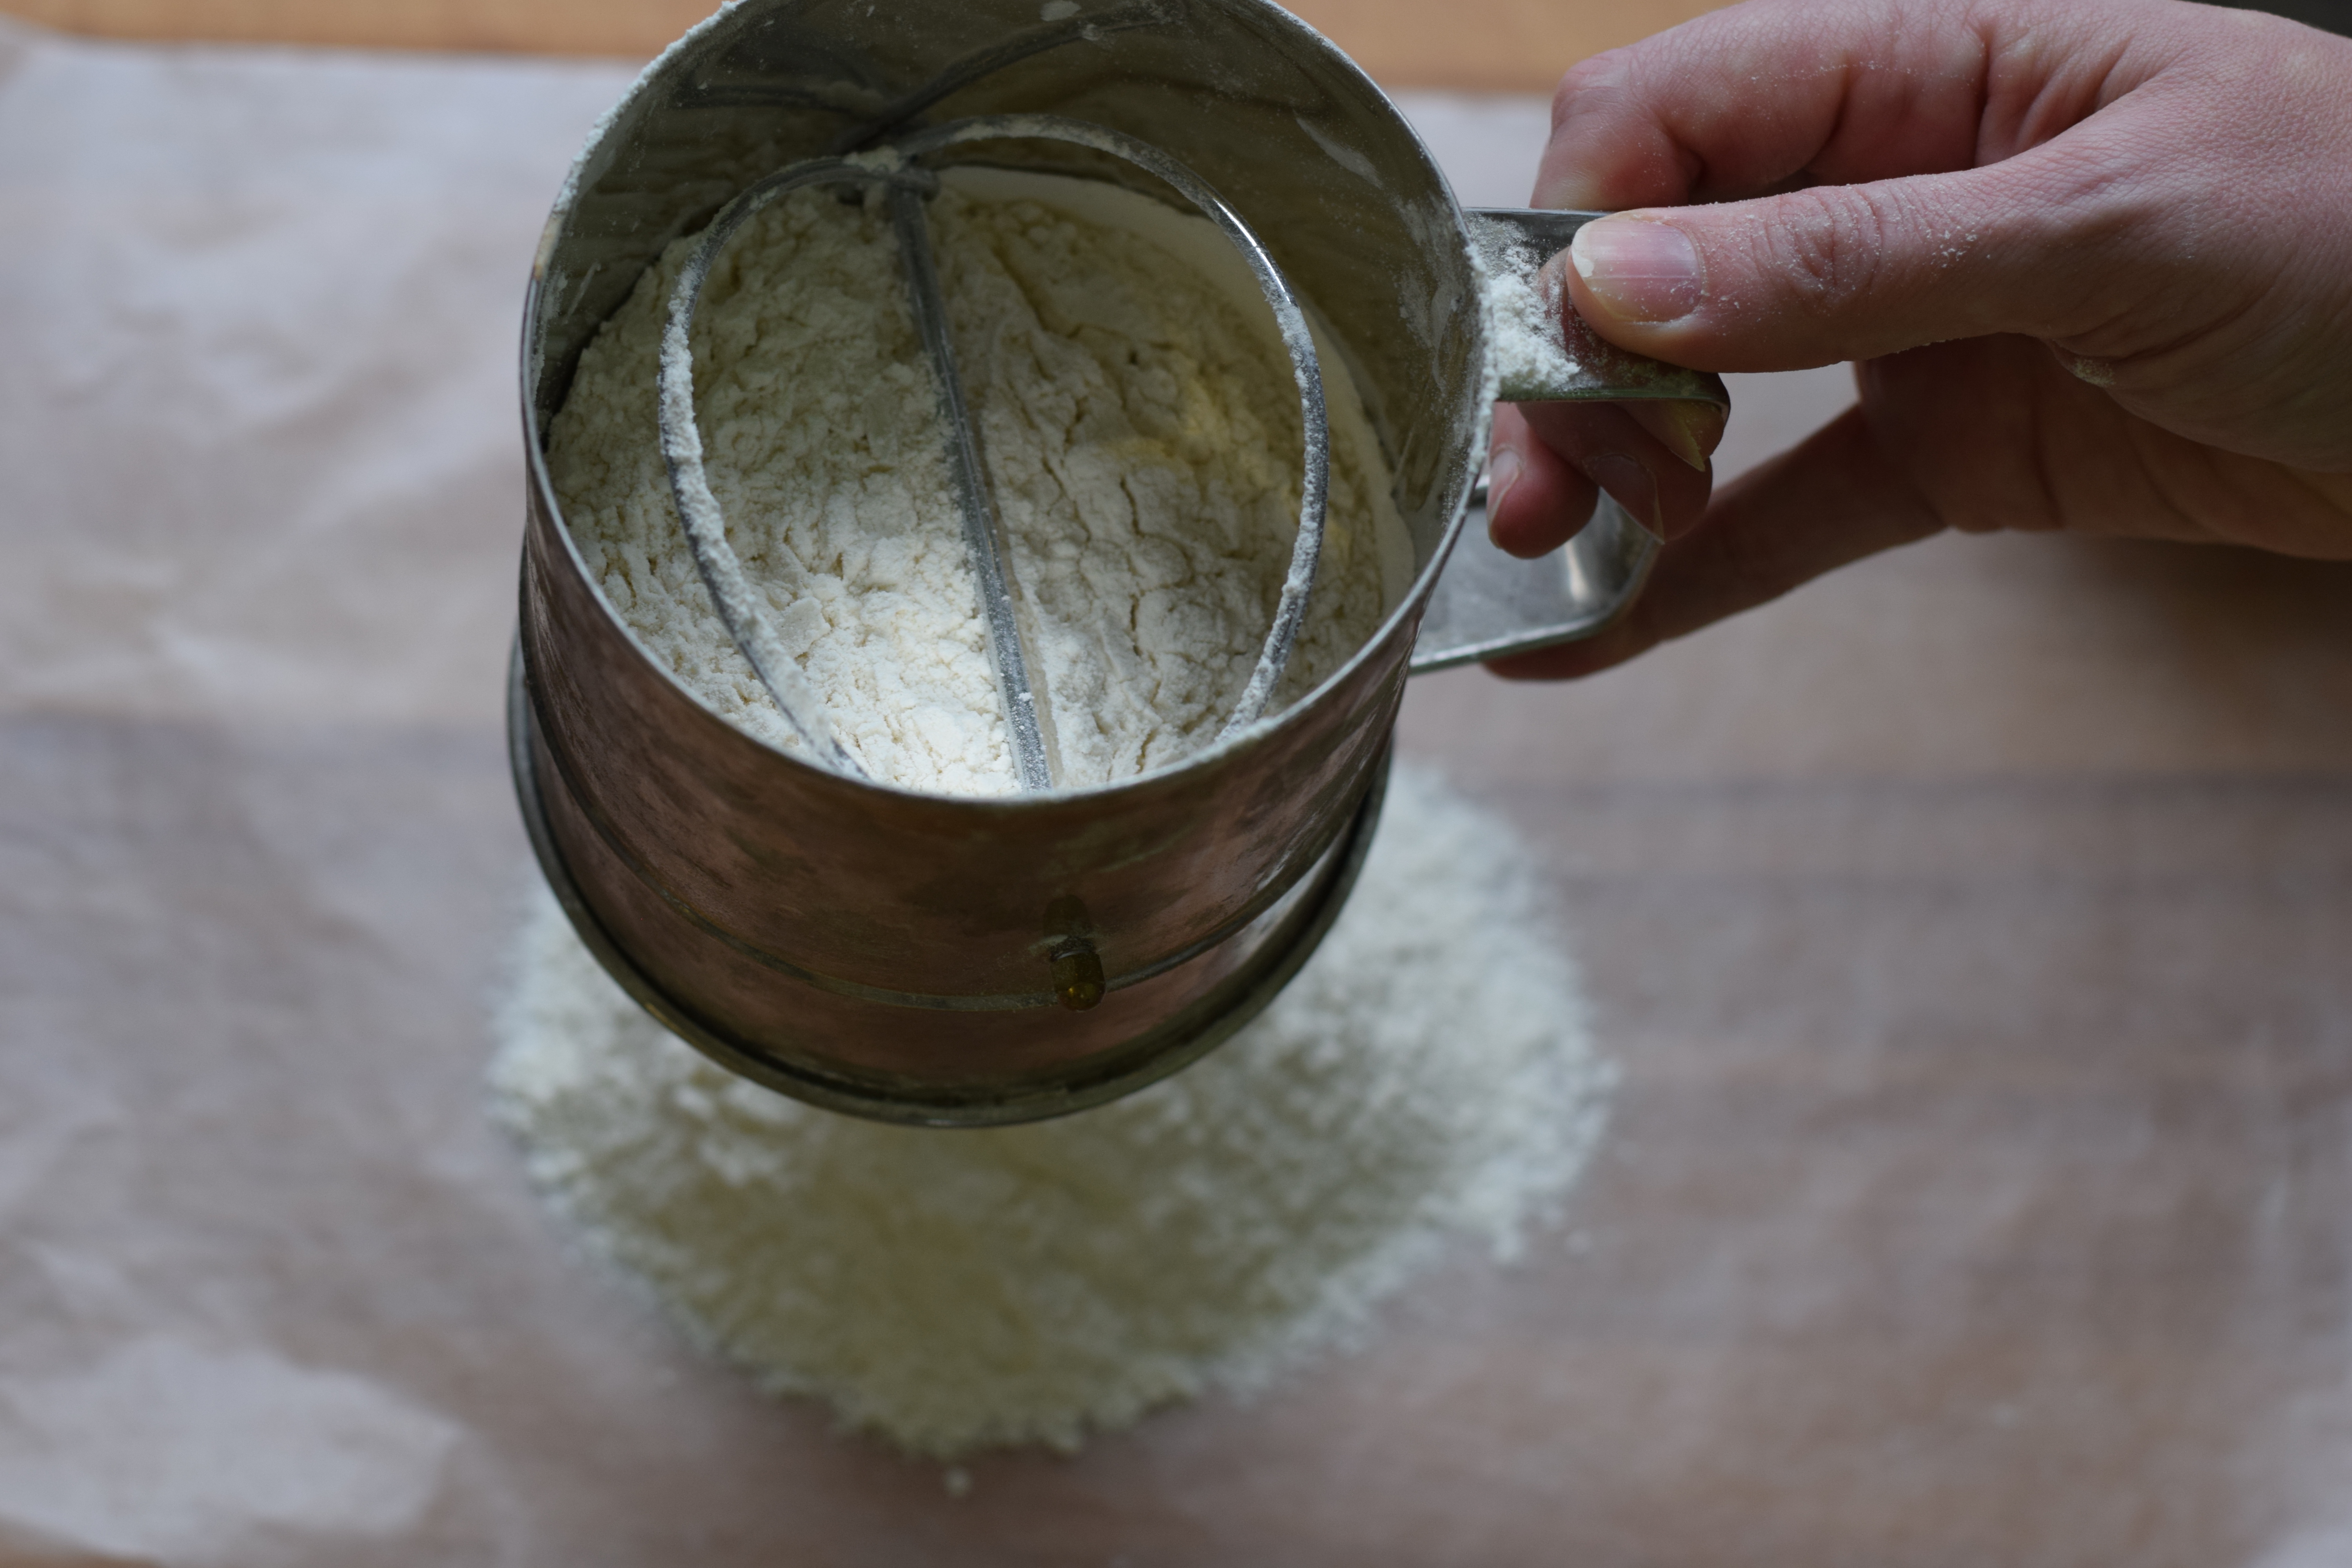
Mix in vanilla. Sift together baking powder, salt, and flour.

Mix them into butter/sugar mixture.

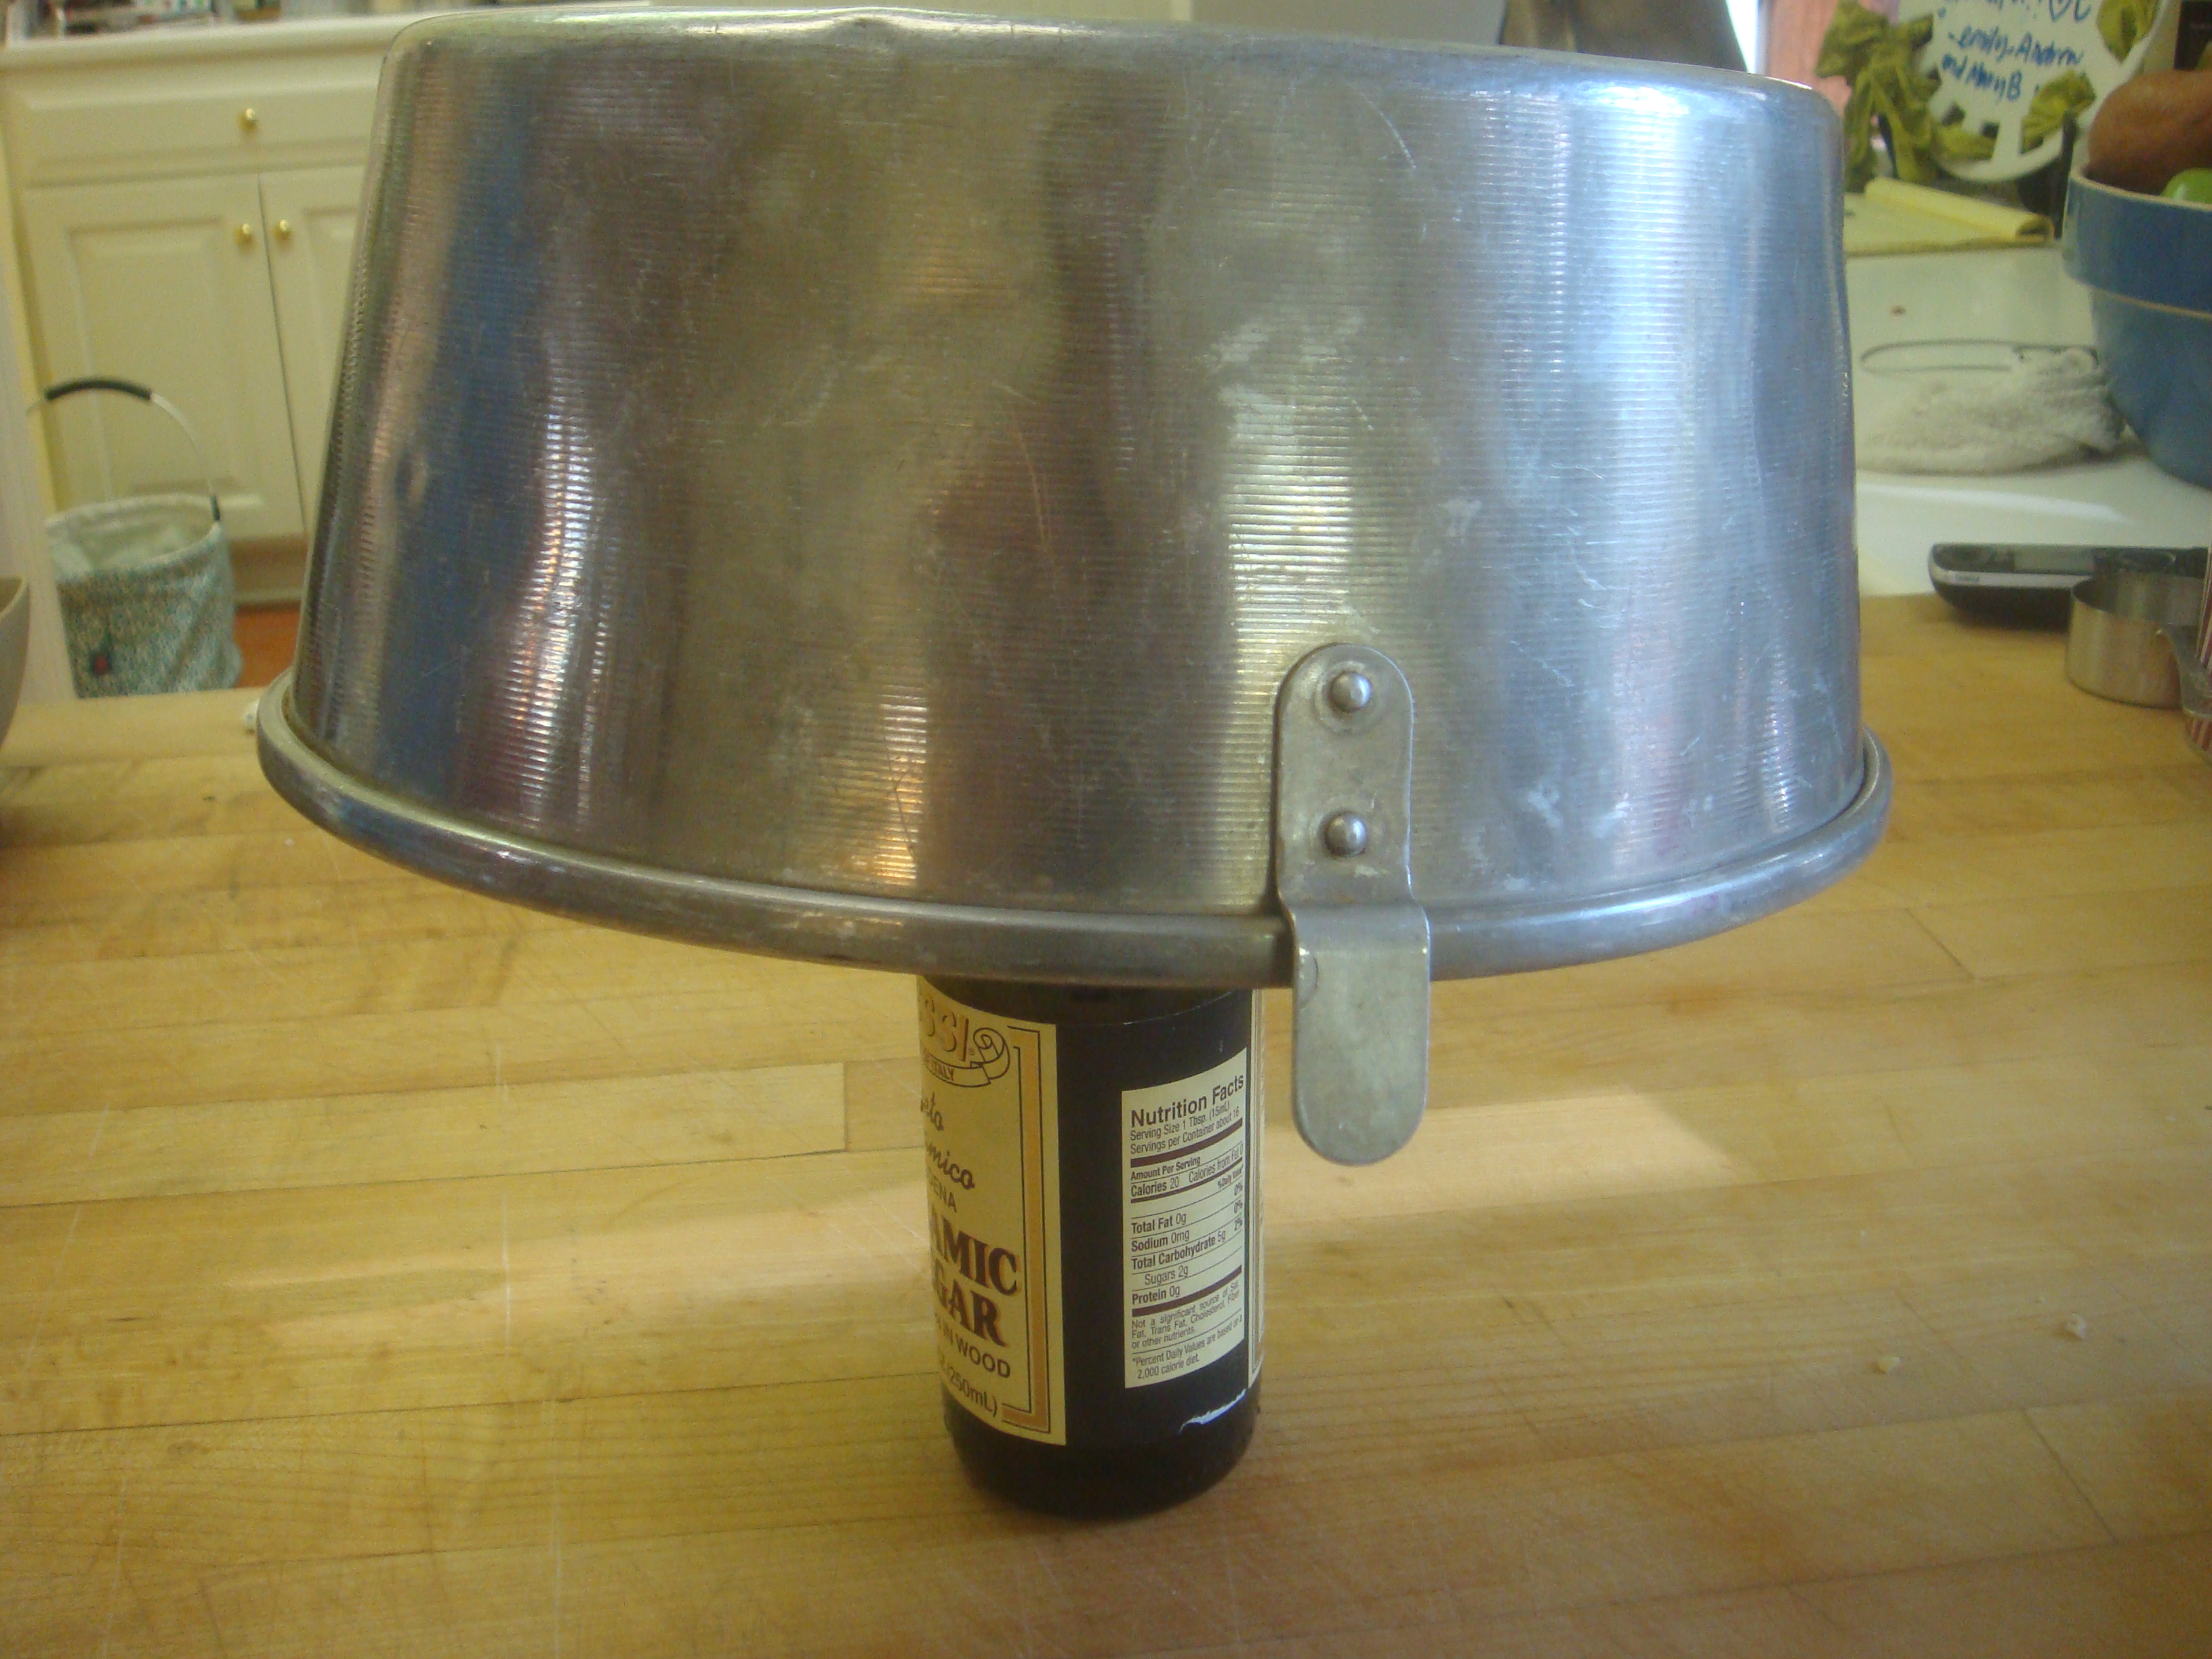
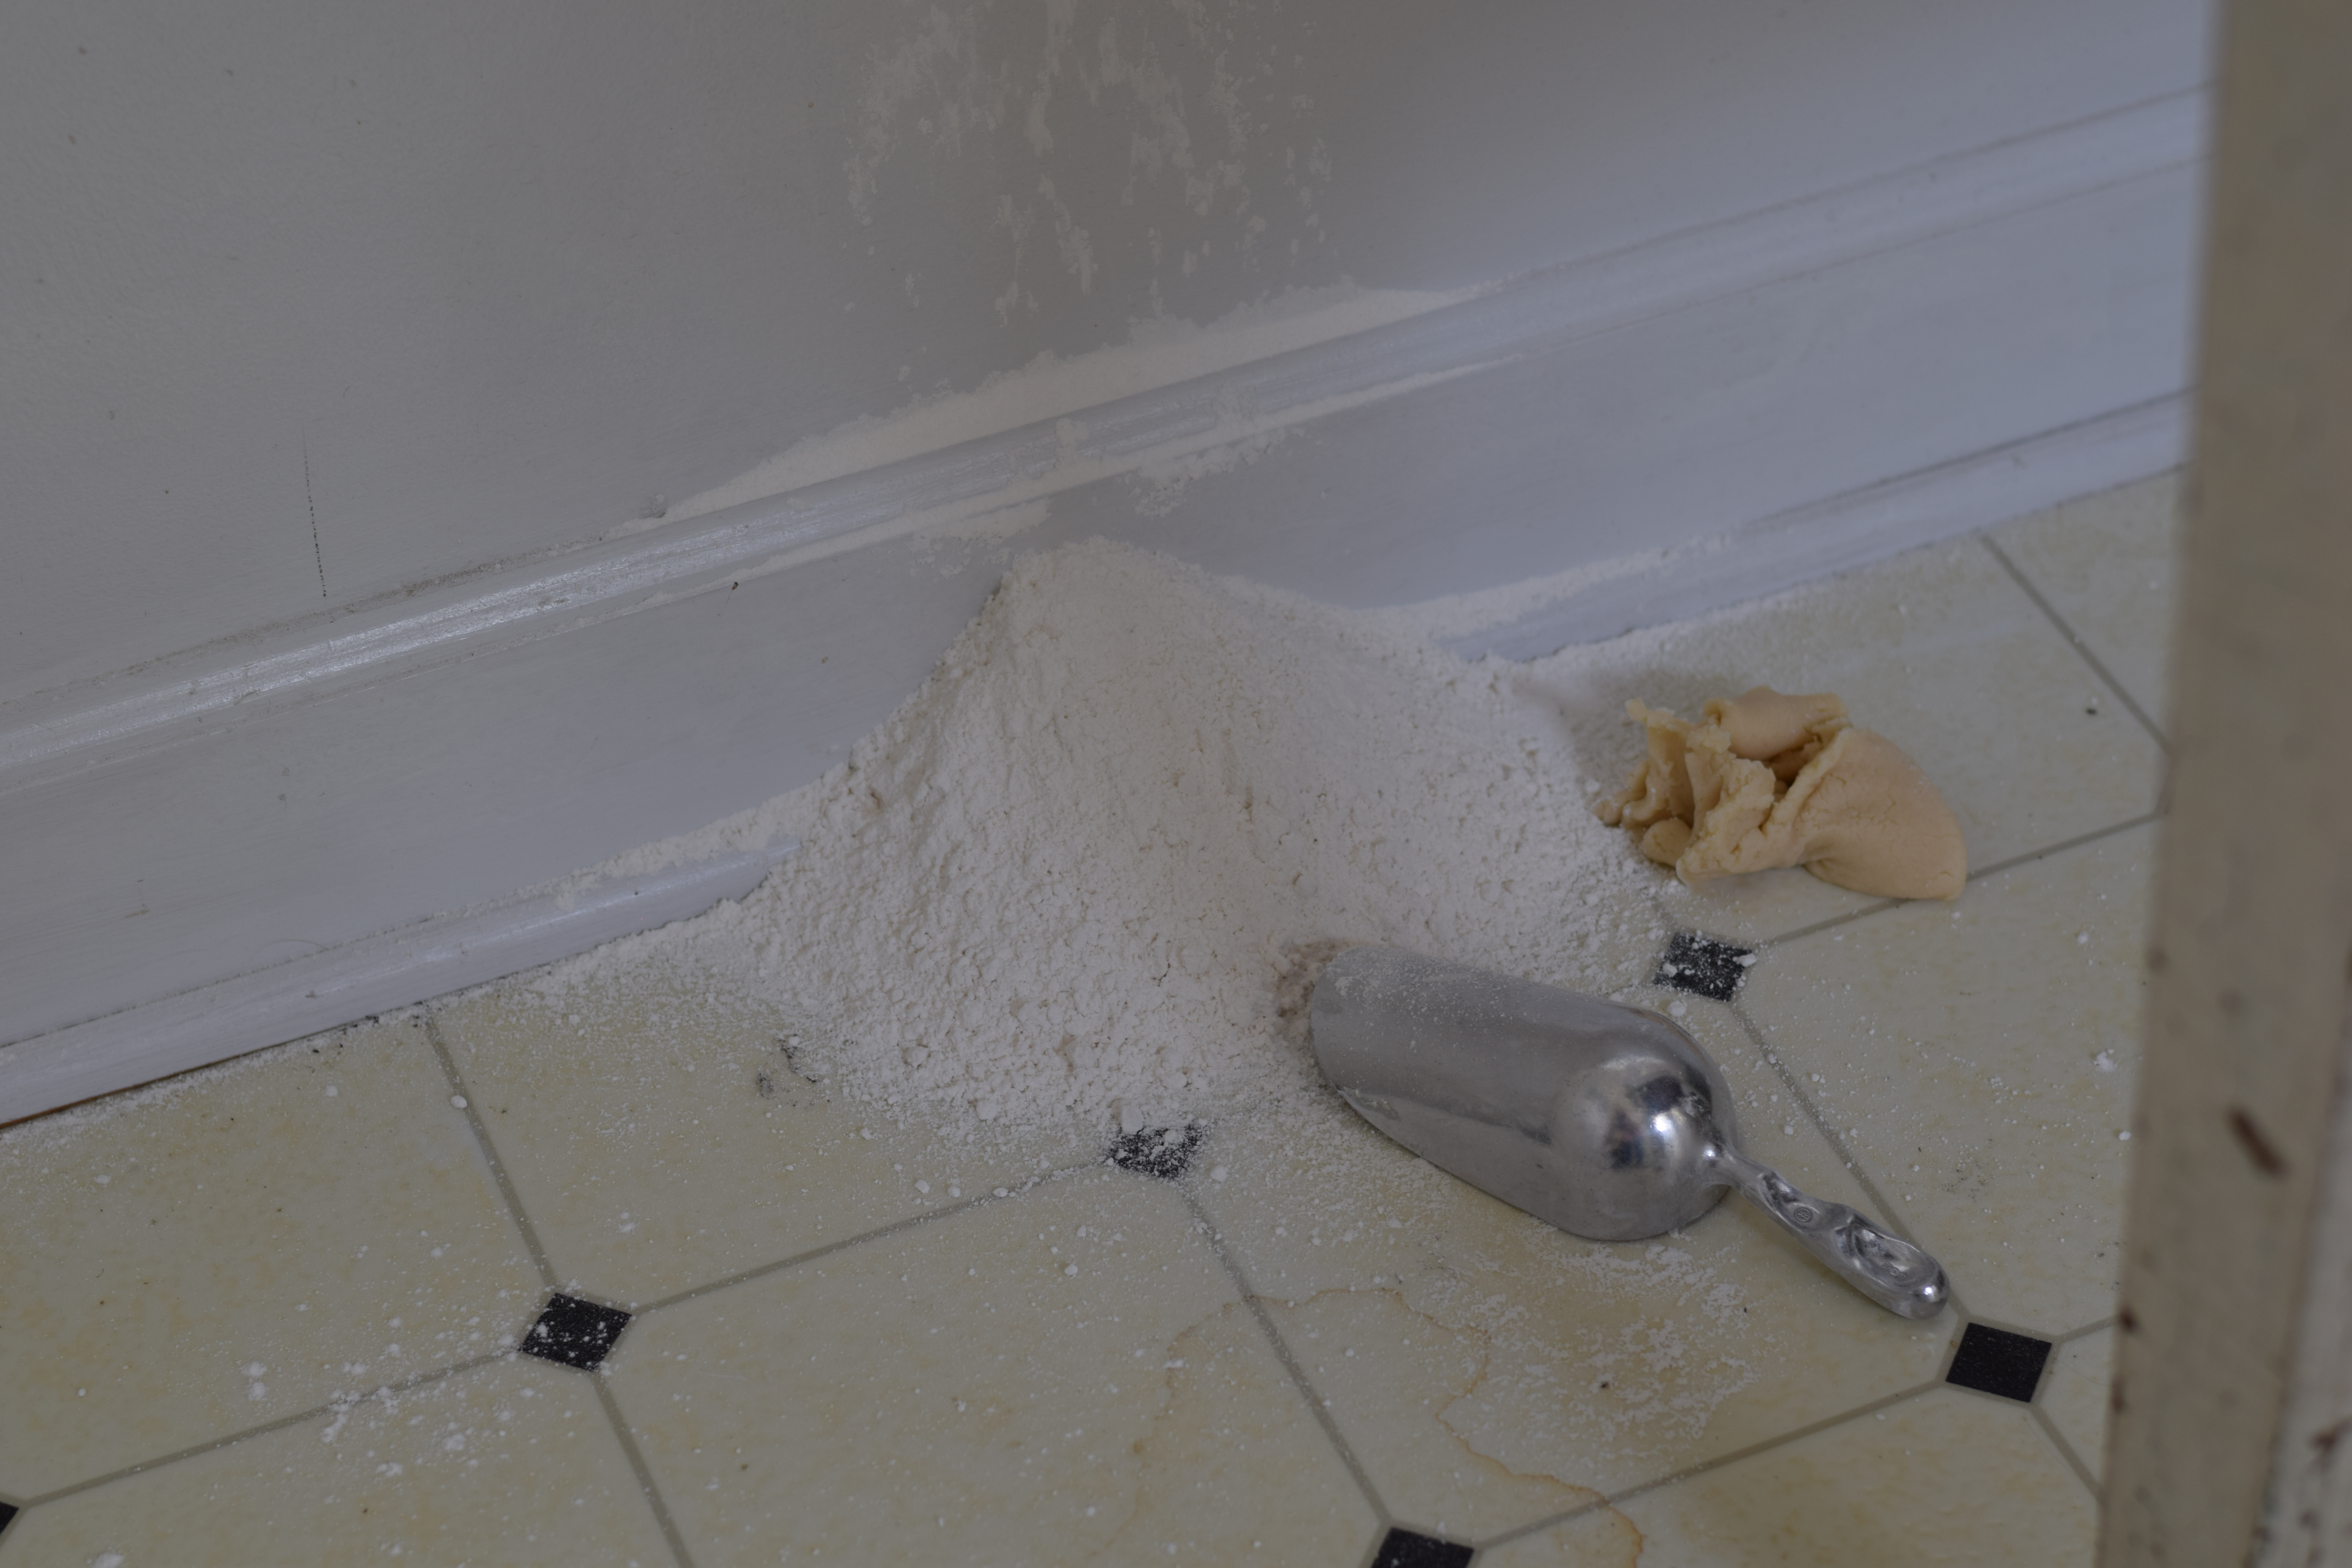
This dough is very difficult to move after you have rolled it out. I rolled it out on a pastry cloth, which was a mistake, as it took several tries to transfer it in one piece. I suggest you roll it out on a floured baking sheet (which will be much easier if your baking sheet doesn’t have sides!). I neglected to get a picture, but use a rolling pin with a floured rolling pin cover. Sprinkle a little flour on the dough if it seems a little sticky.

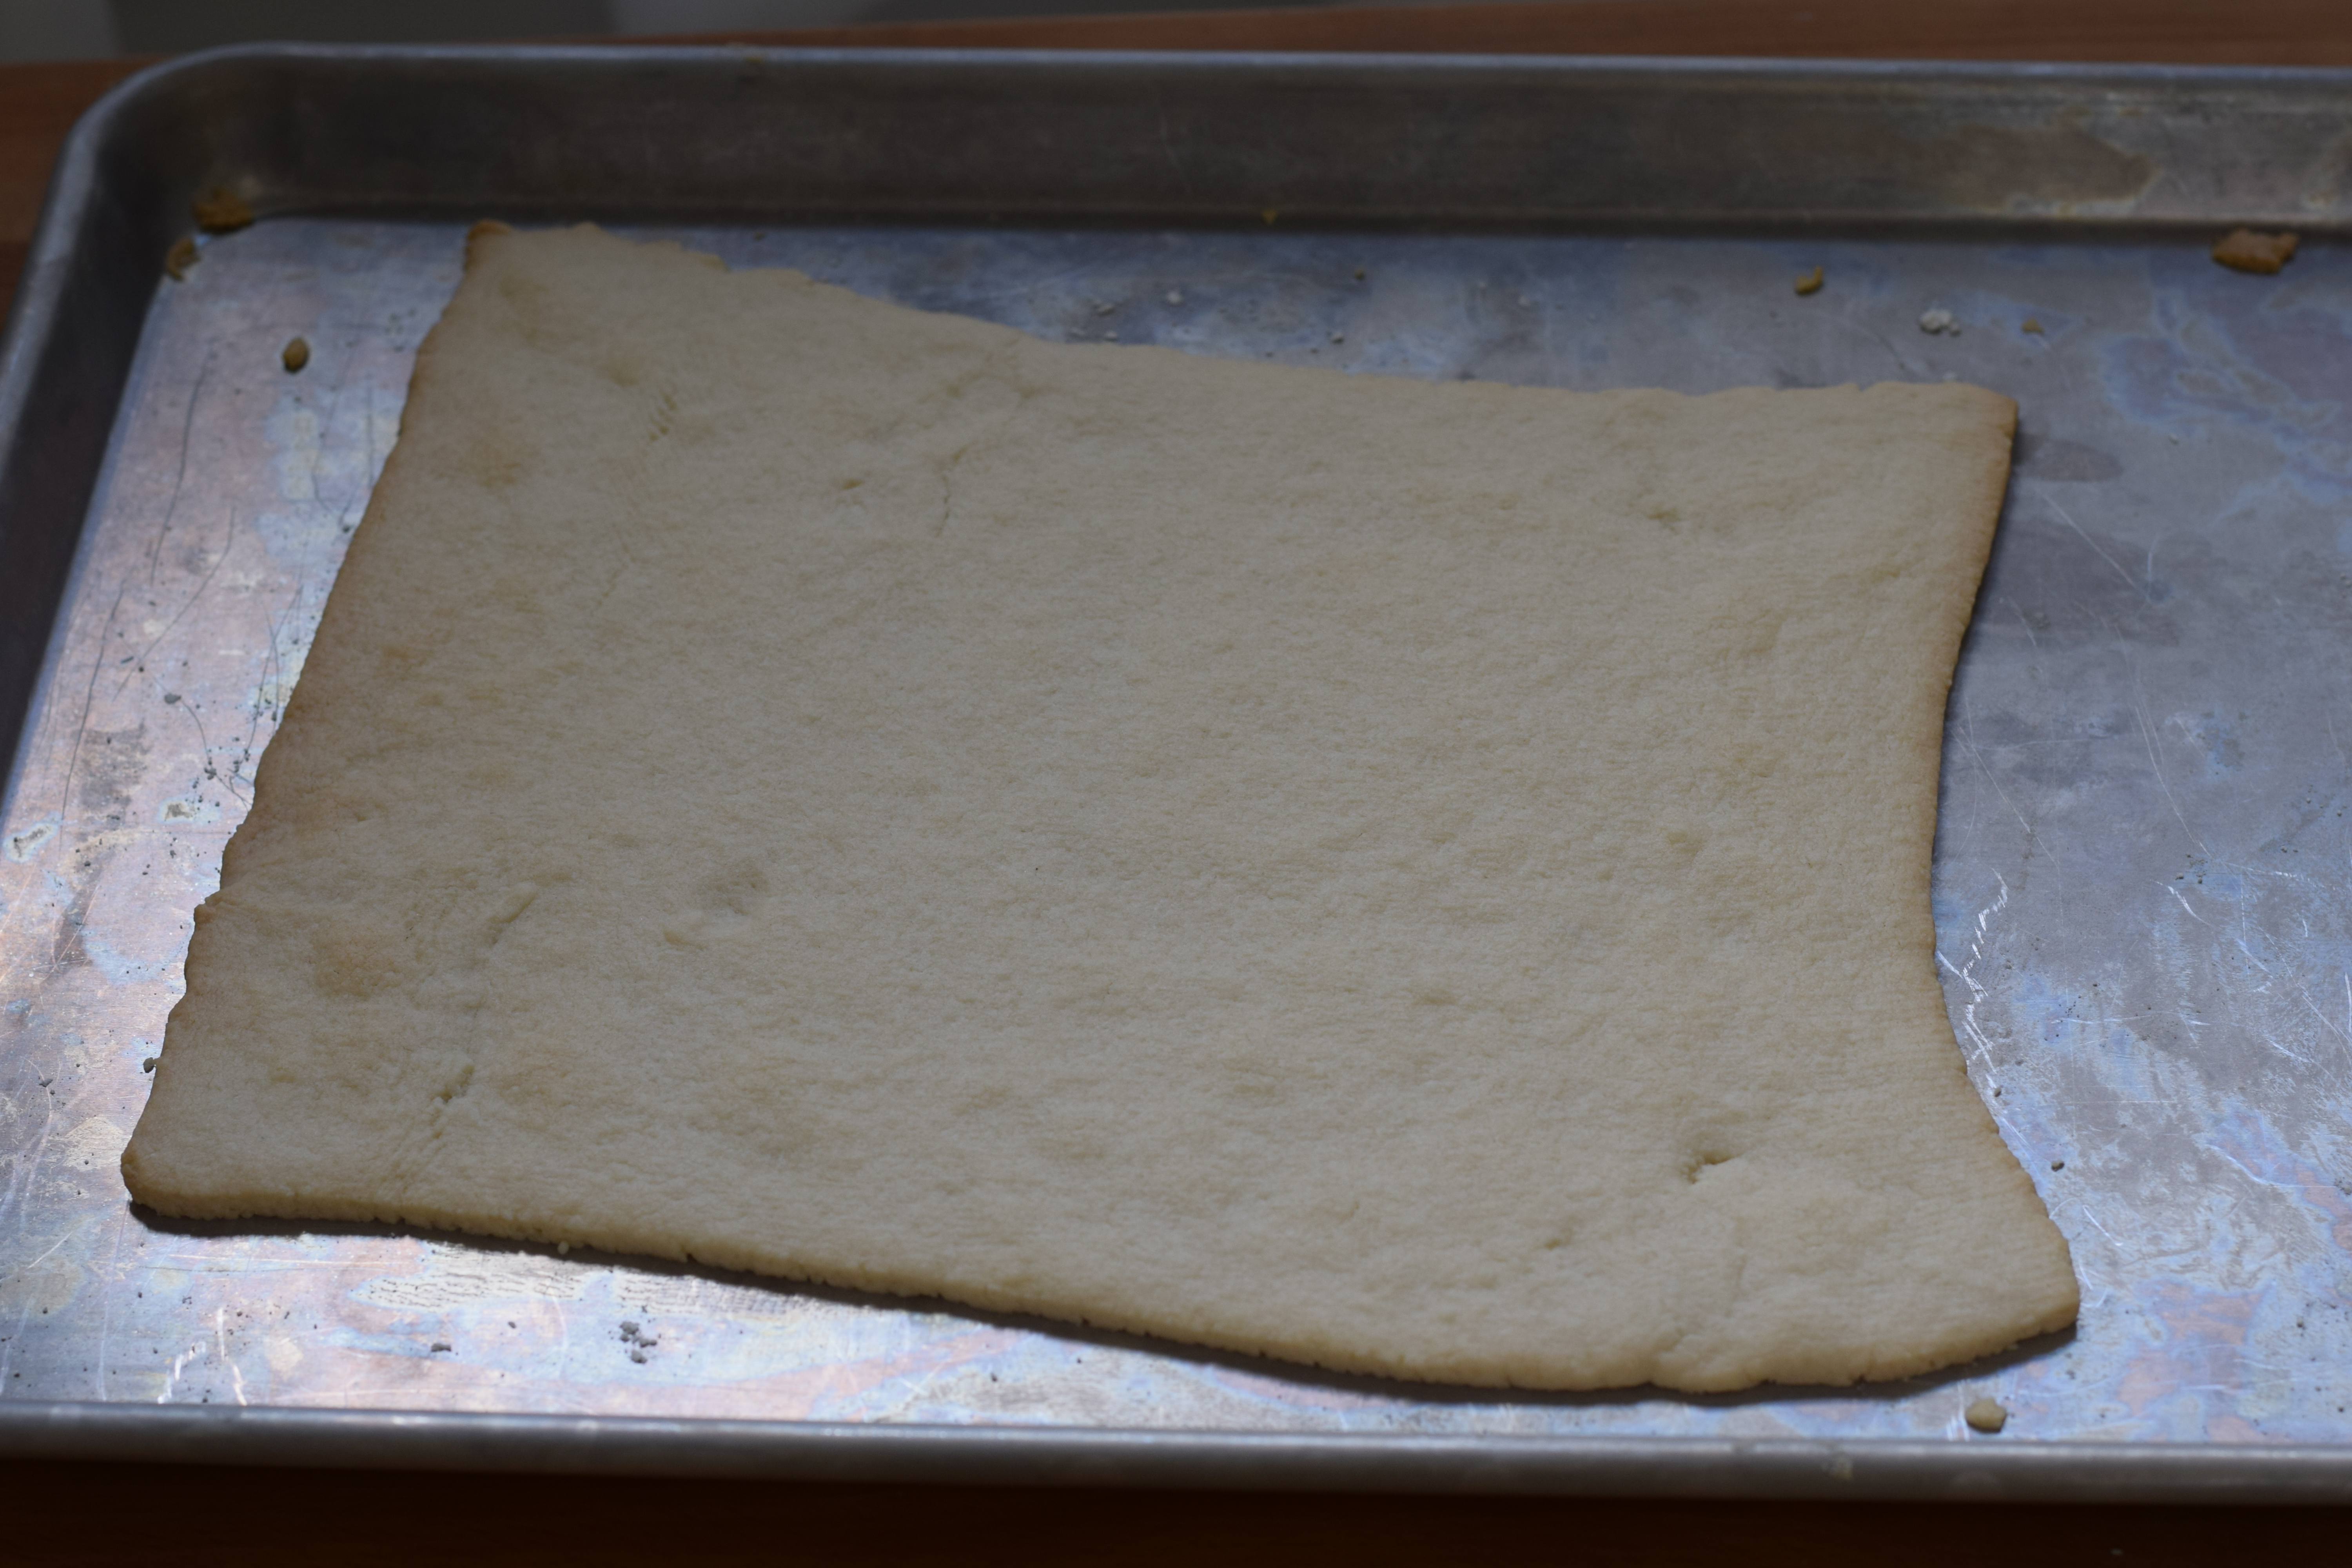
Roll out the dough to the desired thickness. If you get it too thin, it will break when you try to pick up a piece of pizza.

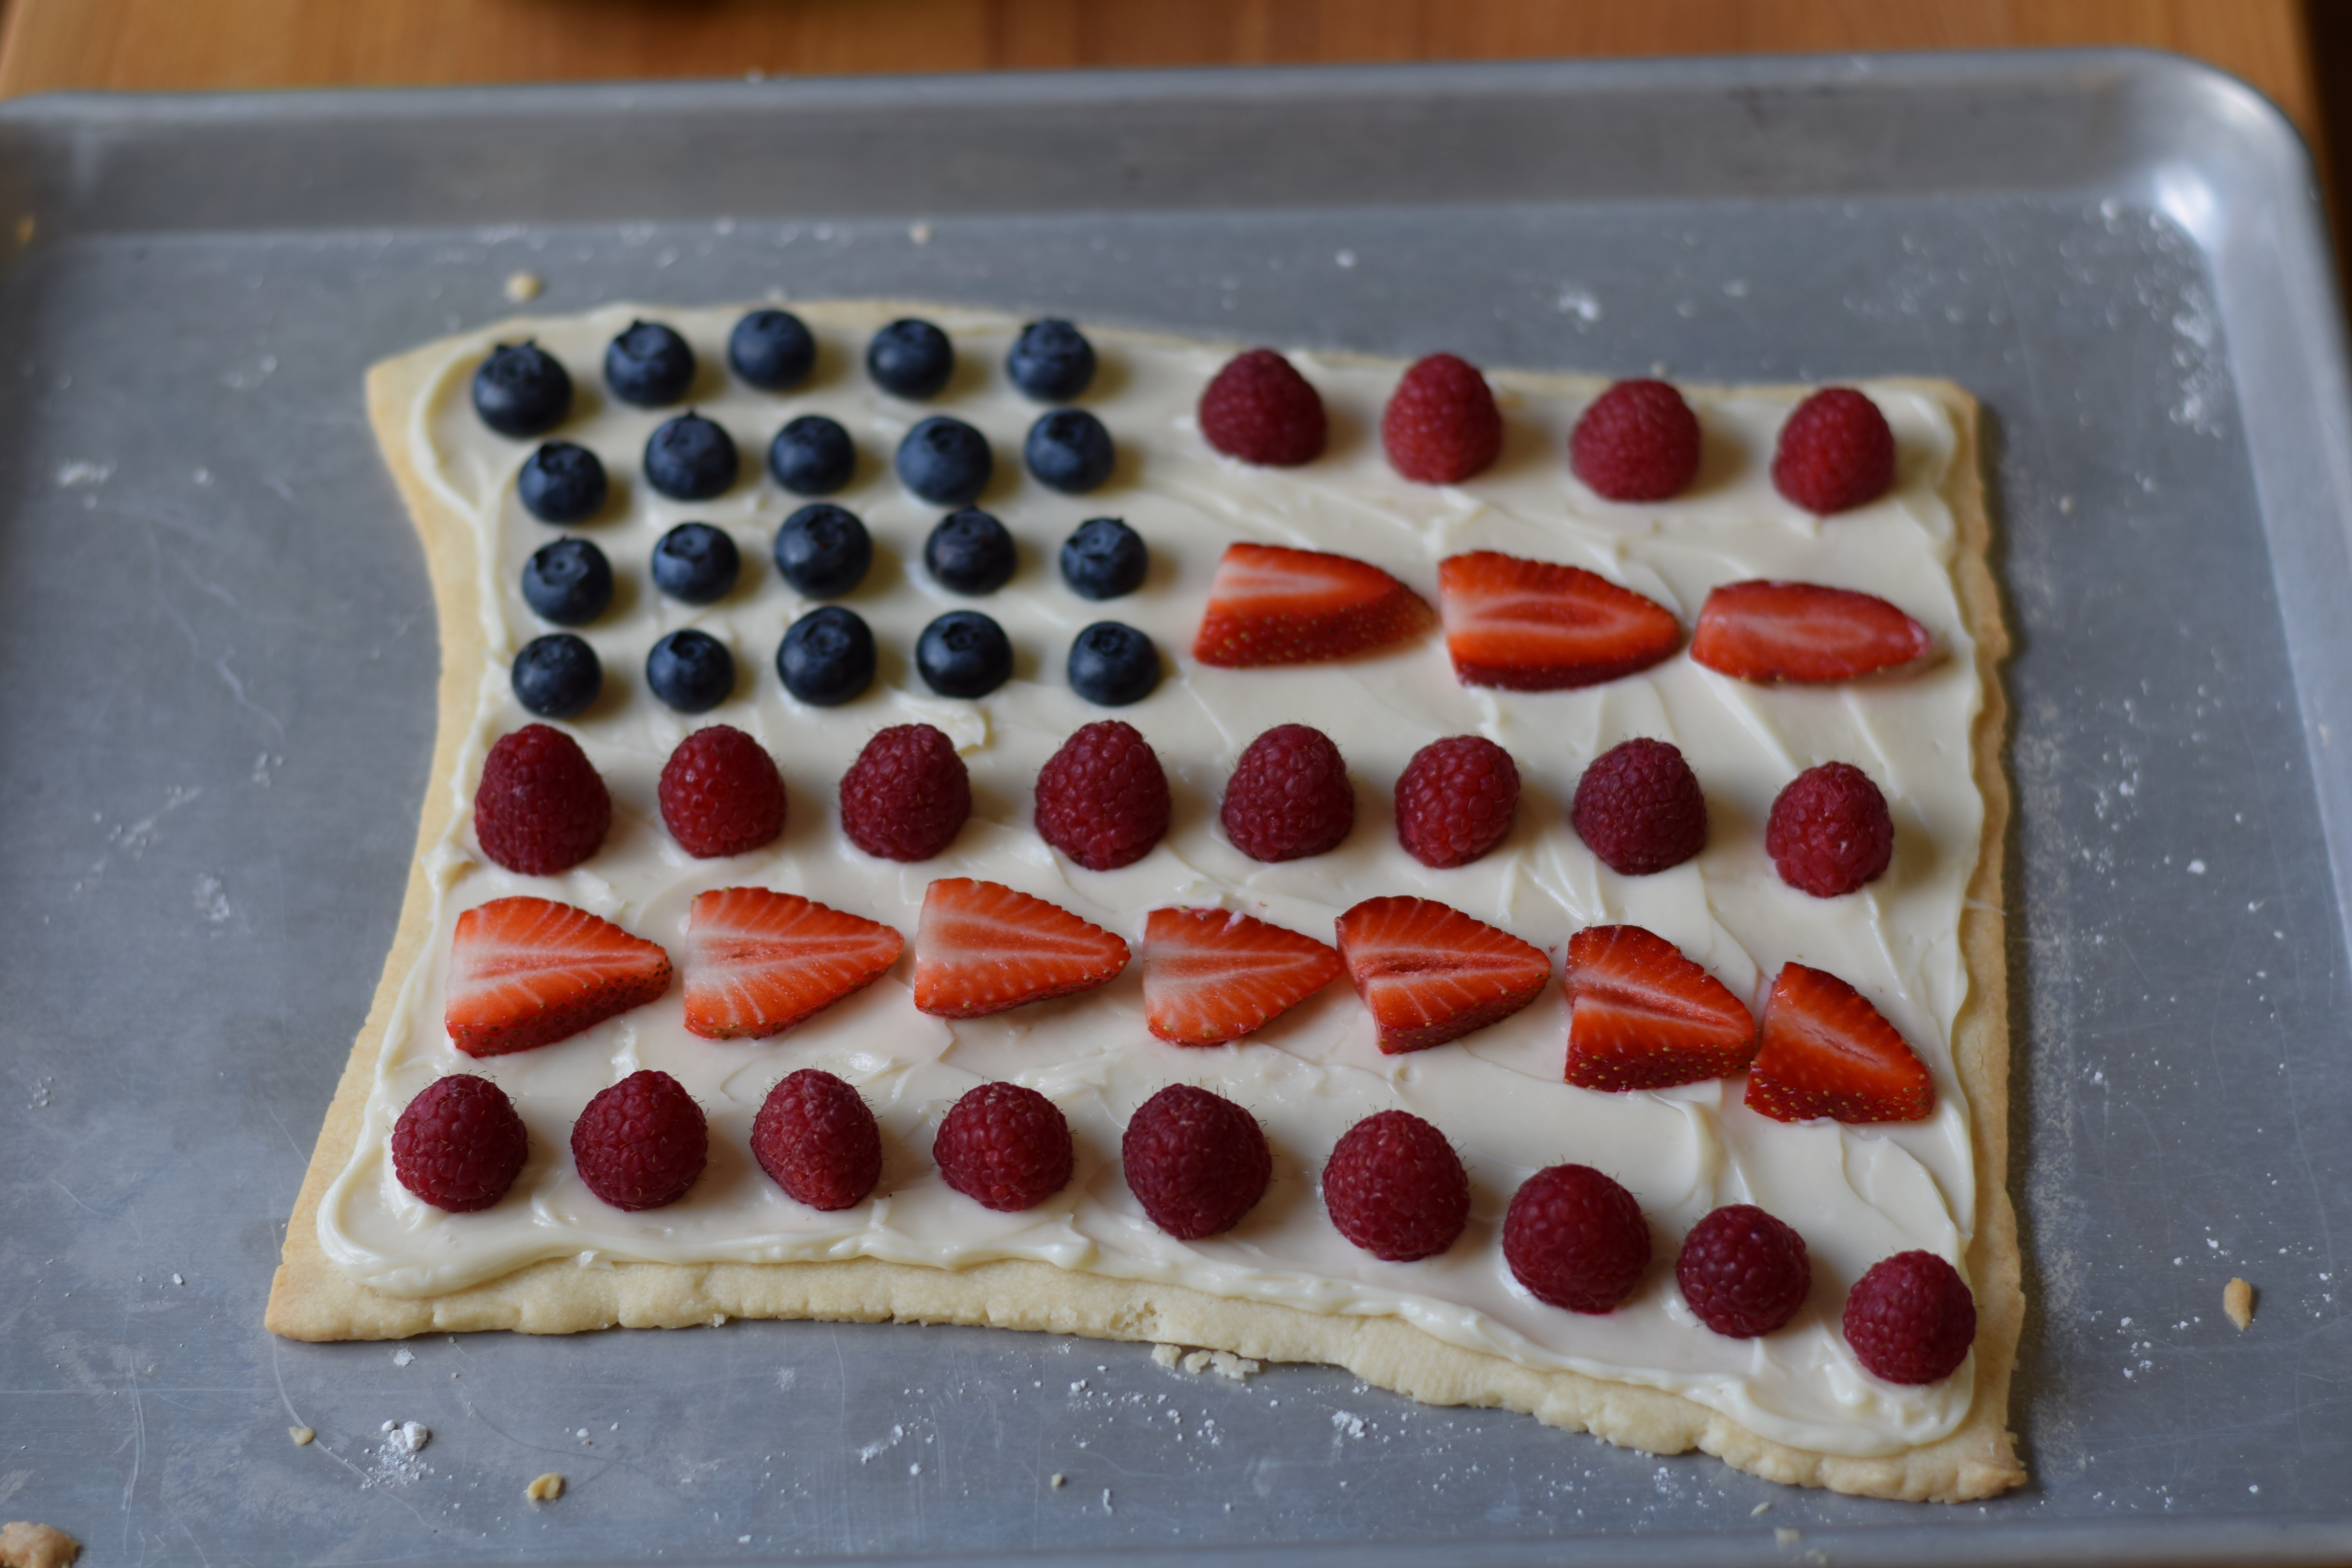
Cut the dough into the desired shape. You can do this before or after baking, but I prefer before so that the edges look like the natural edge of a cookie. I gave the flag a little curve to make it look like it was waving. After multiple failures and a flour canister debacle, I managed to transfer the dough to a pan.

I suggest lining the pan with parchment paper. It wasn’t terribly difficult to move off the pan without the parchment paper, but that would have made it easier. Now at this point hopefully you’ve followed my advice instead of my pictures and have a nicely rolled out piece of dough on your pan. That way you’ll be much less frustrated and will still have some enthusiasm for the toppings!
Bake at 350 (or 325 convection) for 10-15 minutes, until it starts to brown a tiny bit around the edge. Baking time will vary depending on the thickness of your crust.
Toppings
As your crust cools, start working on the toppings. This recipe works out well with the size of the crust recipe, so if you halved the crust, you’ll want to halve the topping recipe as well.
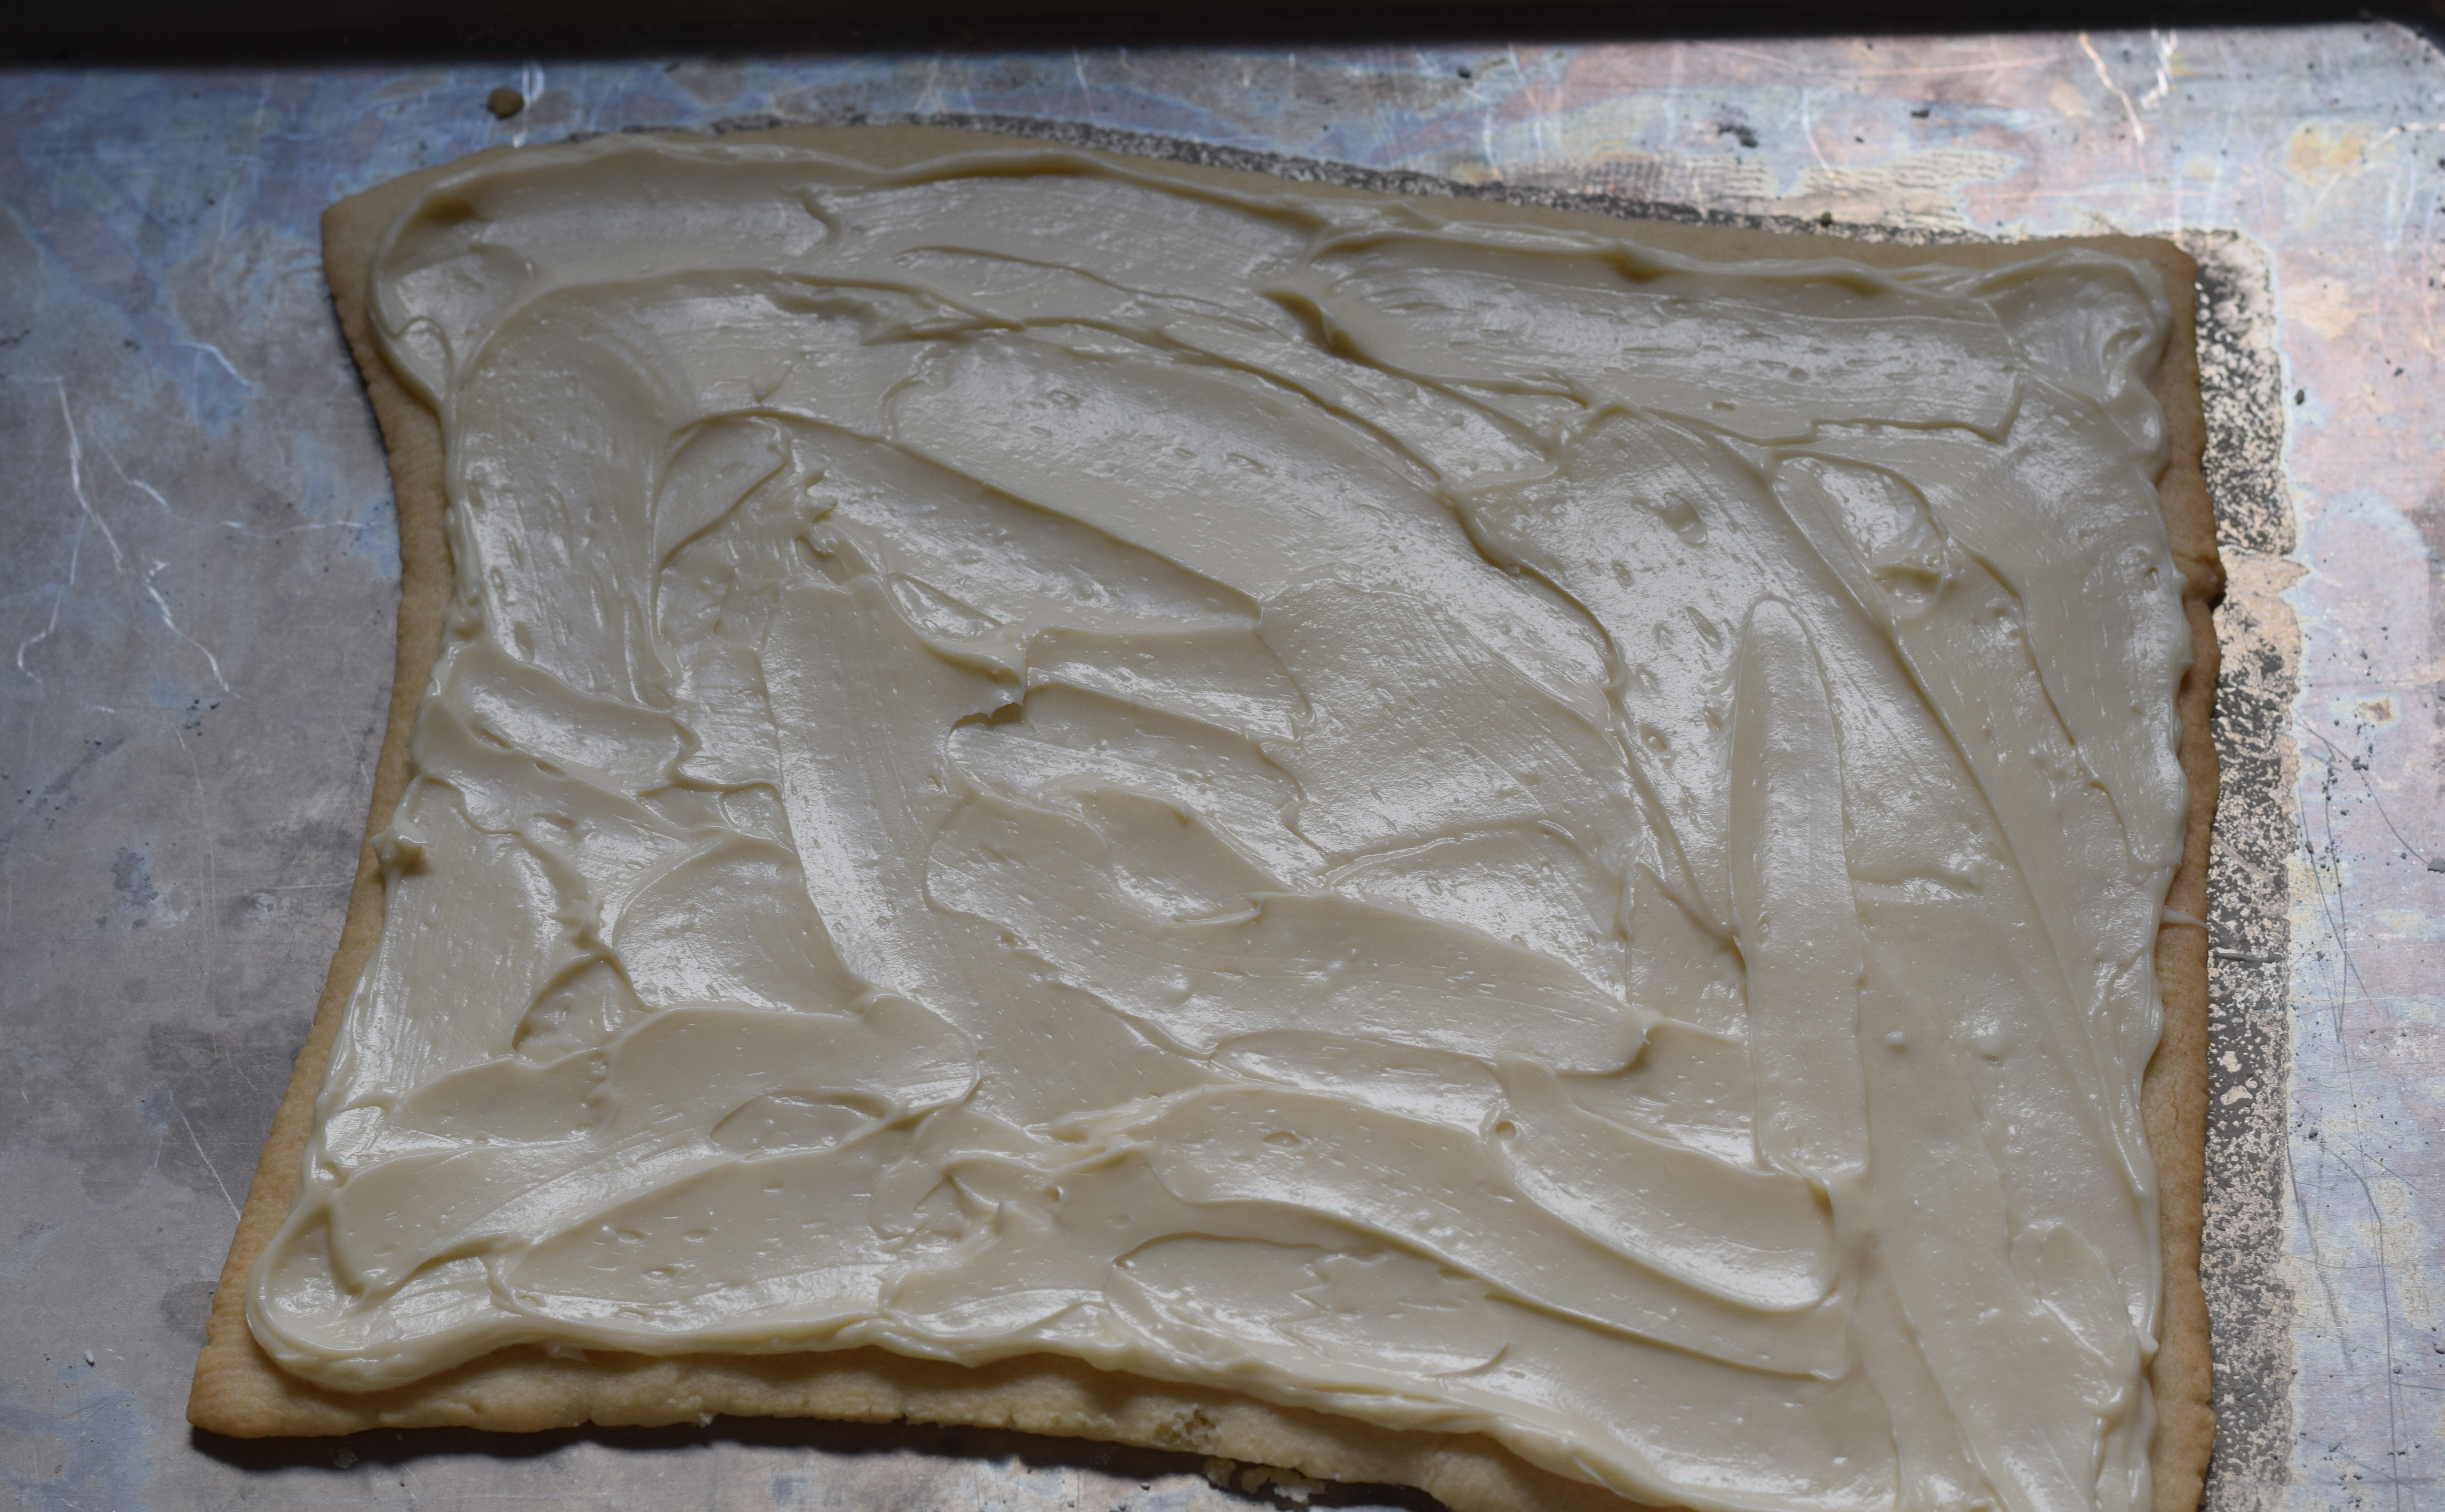
Mix sugar and cream cheese.
Add vanilla. You might want to start with half the vanilla and then add to taste. Spread it on the completely cooled crust.
Wash and dry berries. Arrange them on the topping as you wish!