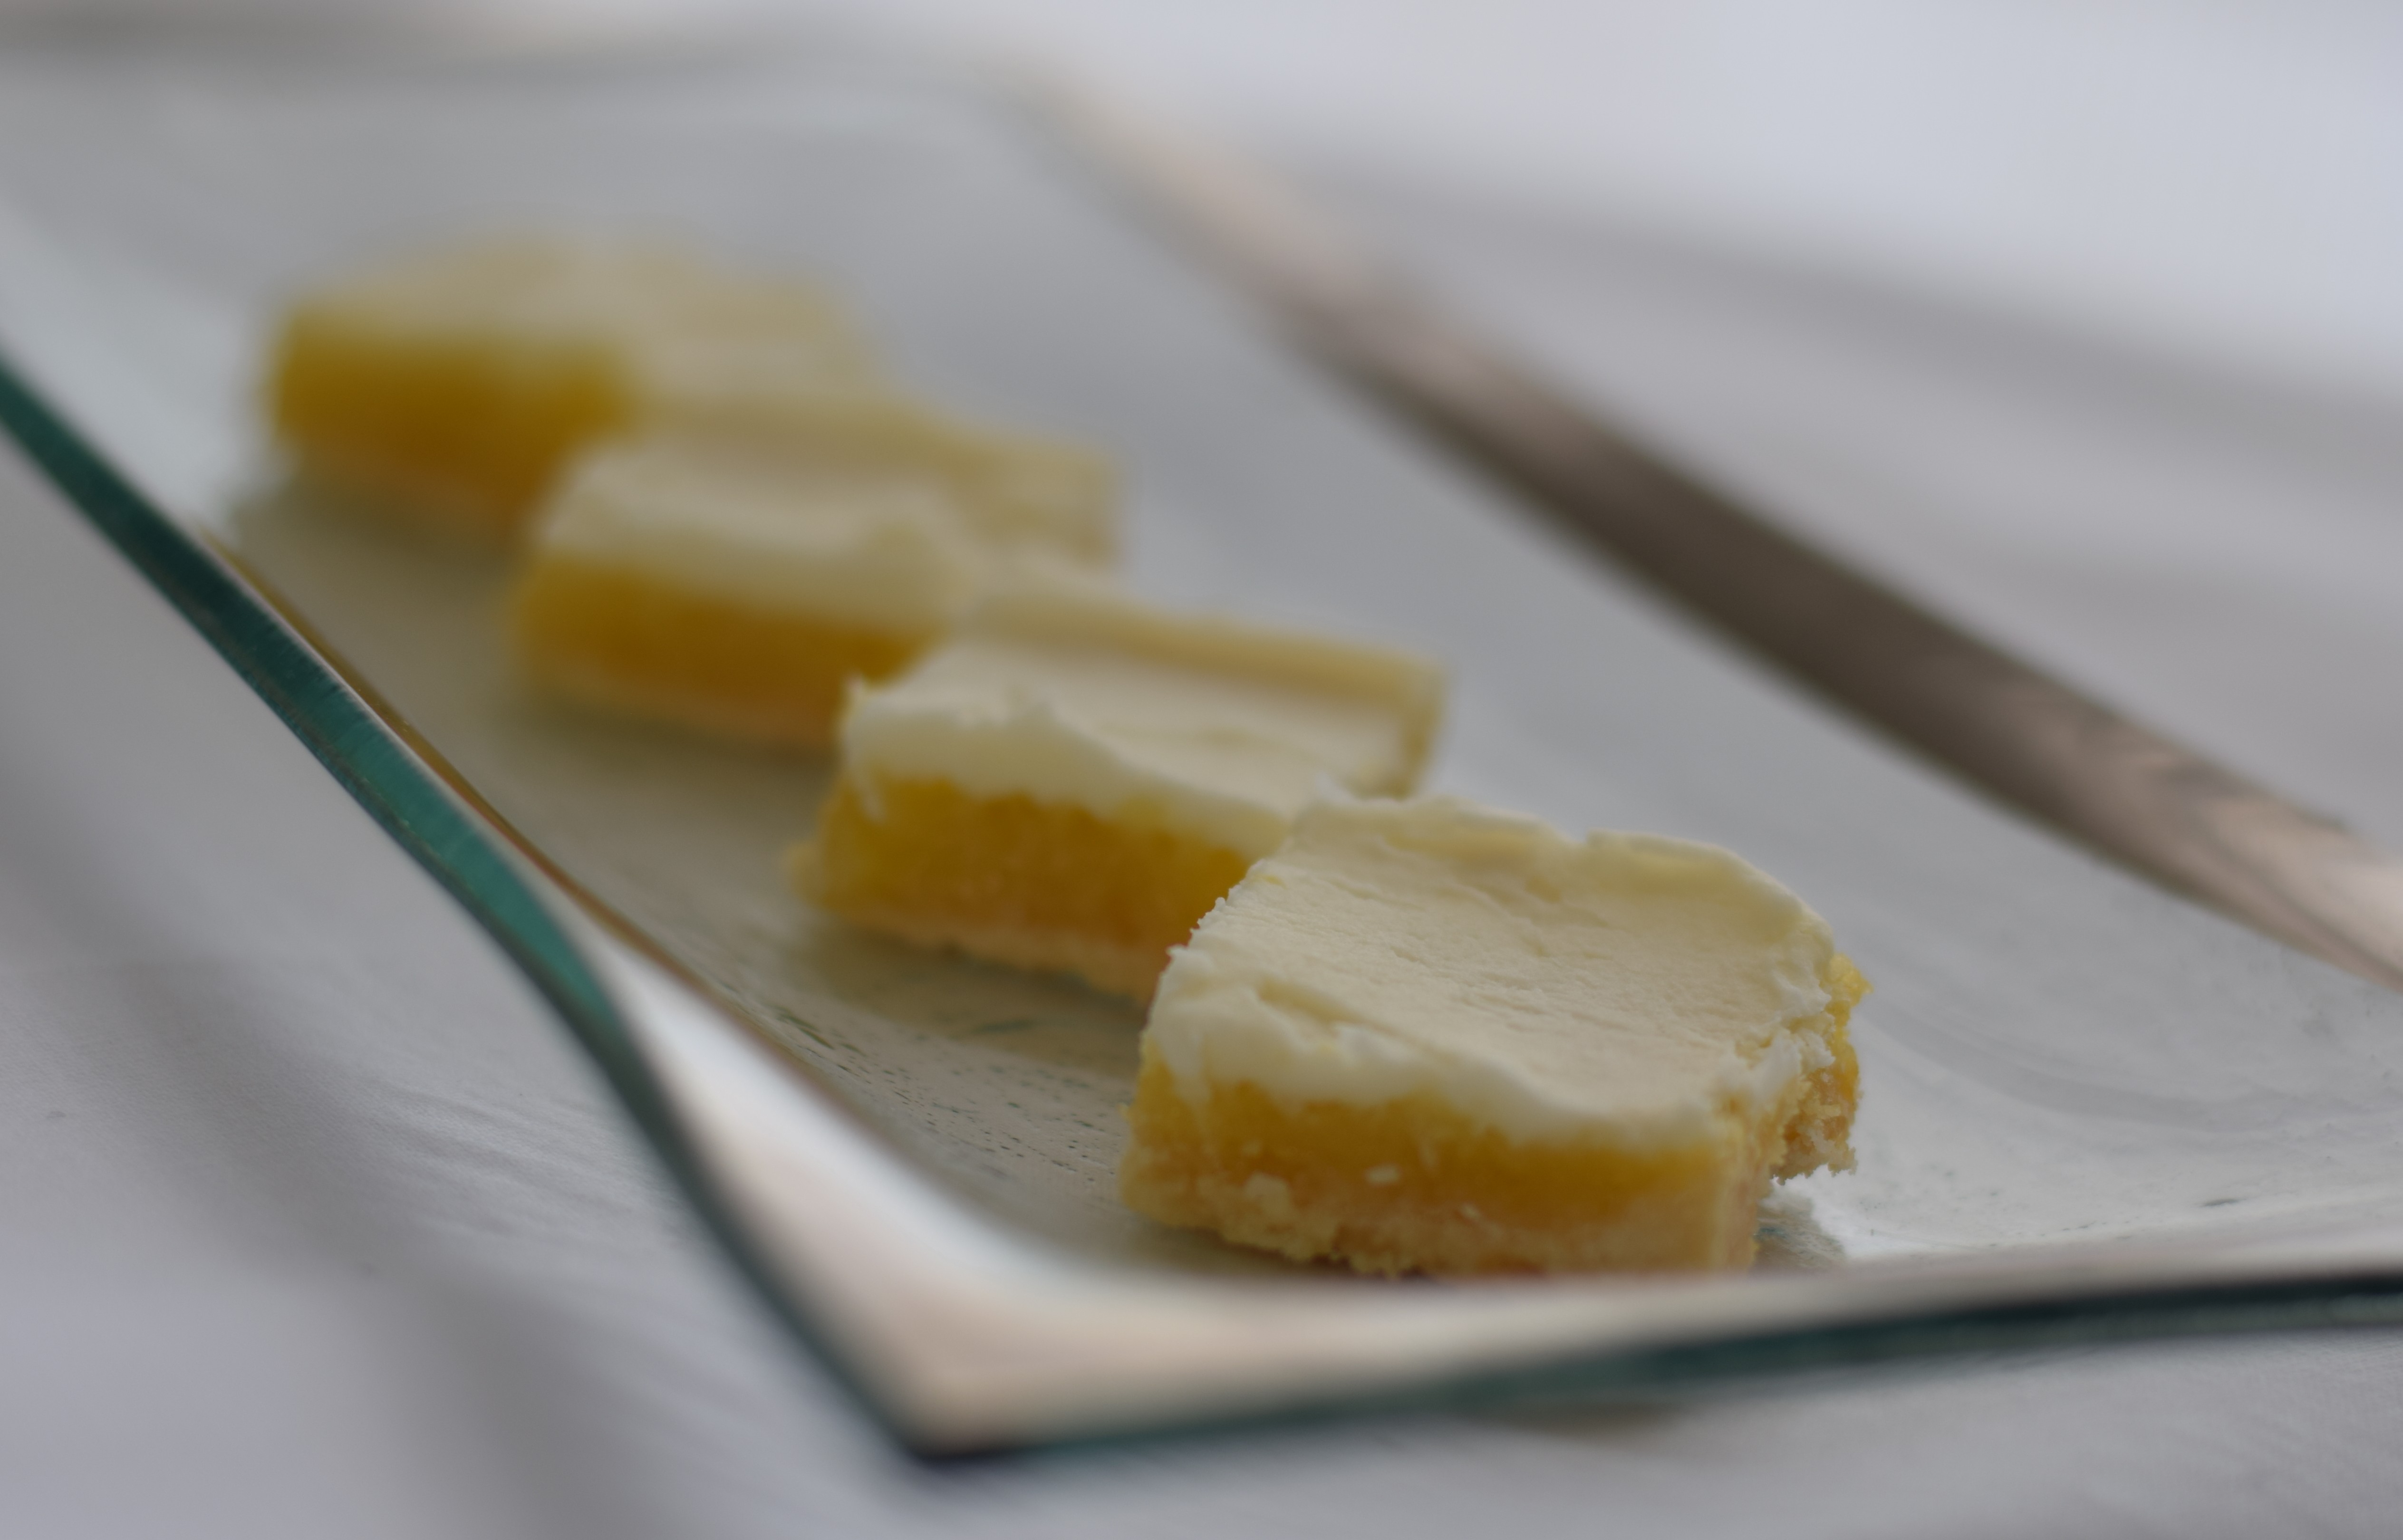
Aunt Margaret’s Lemon Loves are the best lemon squares I’ve ever eaten. The crust is shortbread, and the middle layer is lemon filling that is gooey without being runny. And here’s the best part – the top layer is frosting with a hint of lemon flavor rather than the usual powdered sugar. This, along with providing a perfect creamy topping, makes them easier to eat without causing puffs of powdered sugar with each bite.
Source: My aunt Margaret found this recipe in Cotton Country.
Difficulty: Easy
Crust
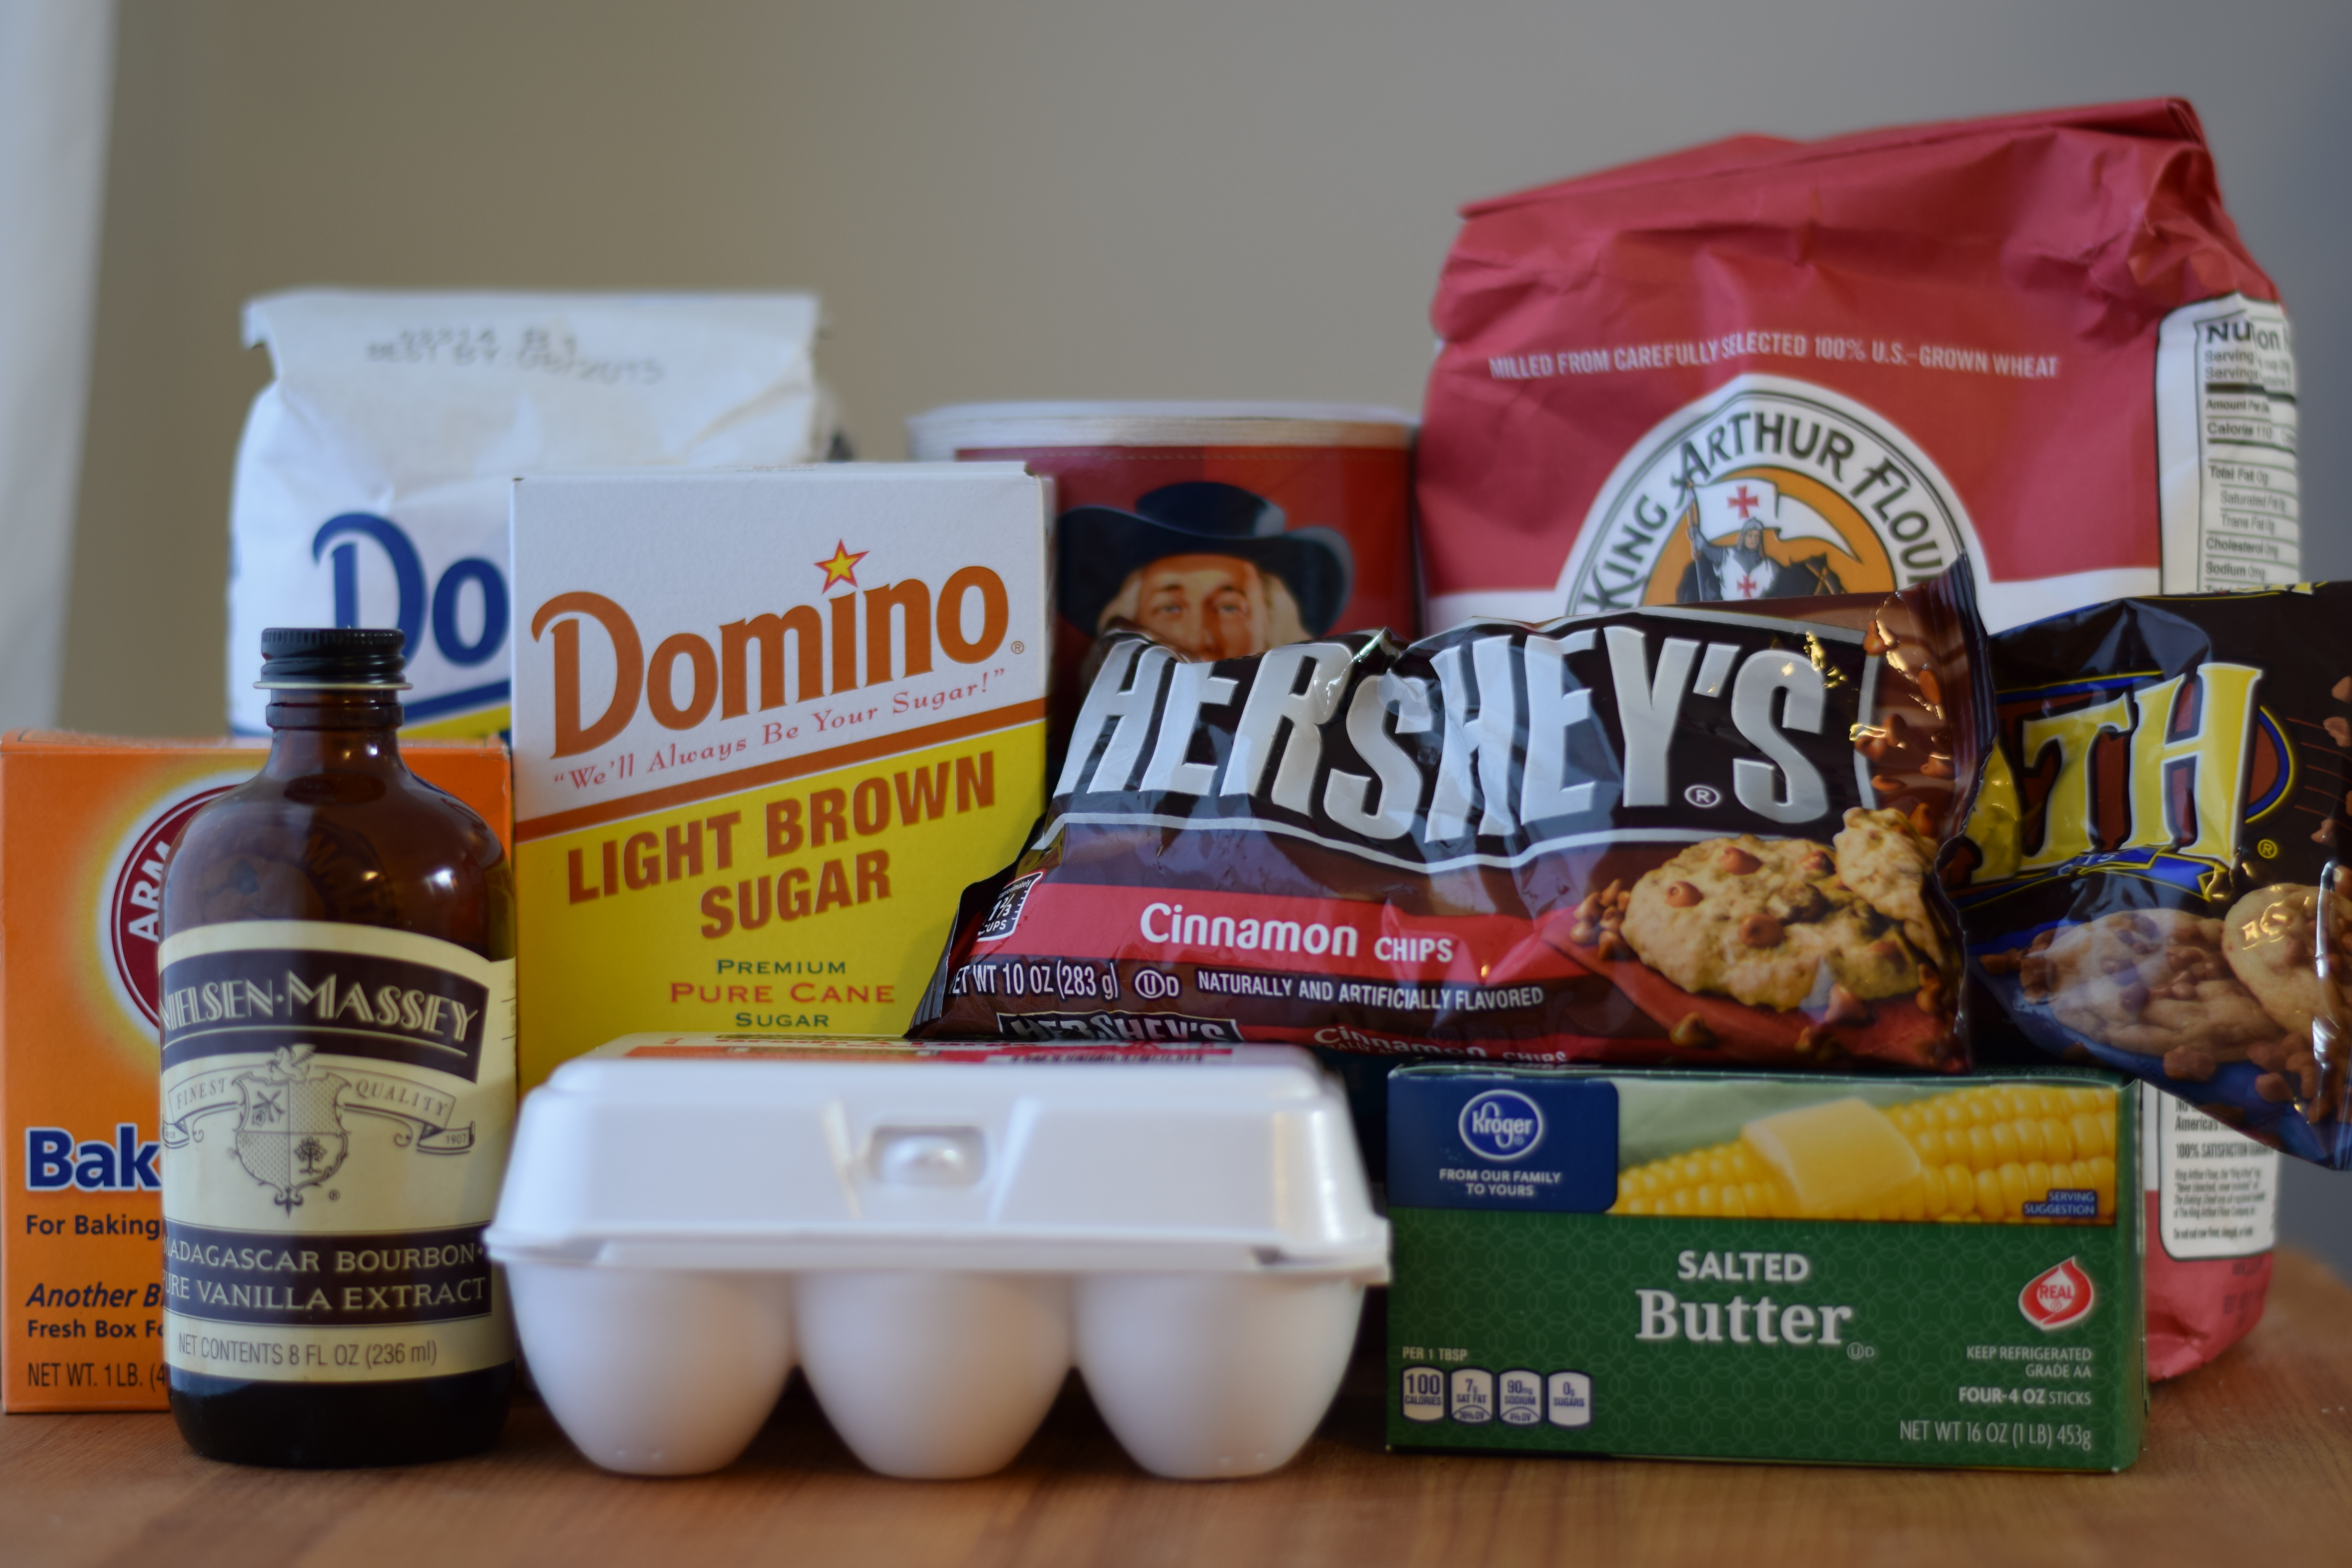
1 cup flour
1/4 cup butter
2 tablespoons sugar
Filling
1 cup sugar
5 tablespoons flour (1/4 cup plus 1 tablespoon)
1/2 teaspoon baking powder
2 eggs
3 tablespoons lemon juice (freshly squeezed)
Frosting
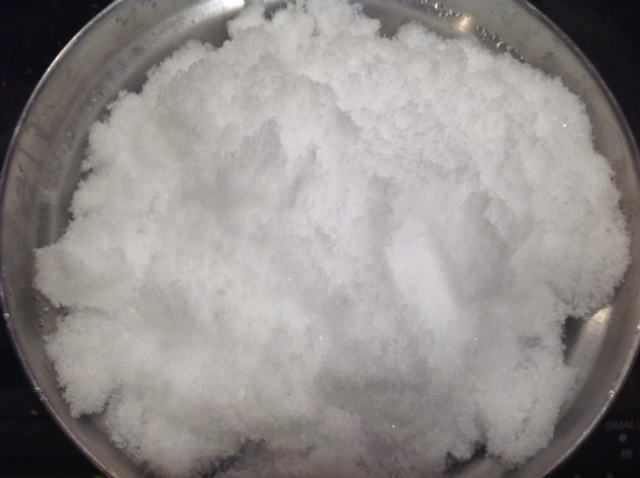
1 1/2 cups powdered sugar
1/4 cup butter
2 teaspoons lemon juice (plus more to taste)

Preparation: a few hours before you’re ready to make Lemon Loves, place 1/4 cup (half stick) of butter on the counter to soften. This is the butter that will go into the crust.
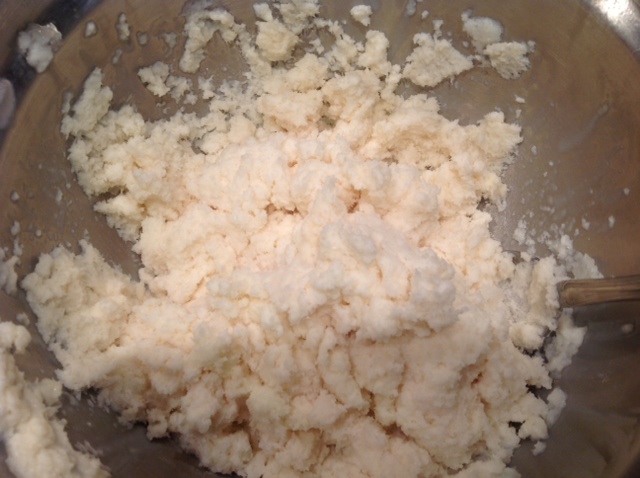
Crust: Mix flour and sugar.

Cut 1/4 cup butter into the cup of flour and sugar mixture.


Press into 9×9 inch pan.

Bake at 350 degrees (or 325 convection) for 12-15 minutes until it turns a very light golden color.

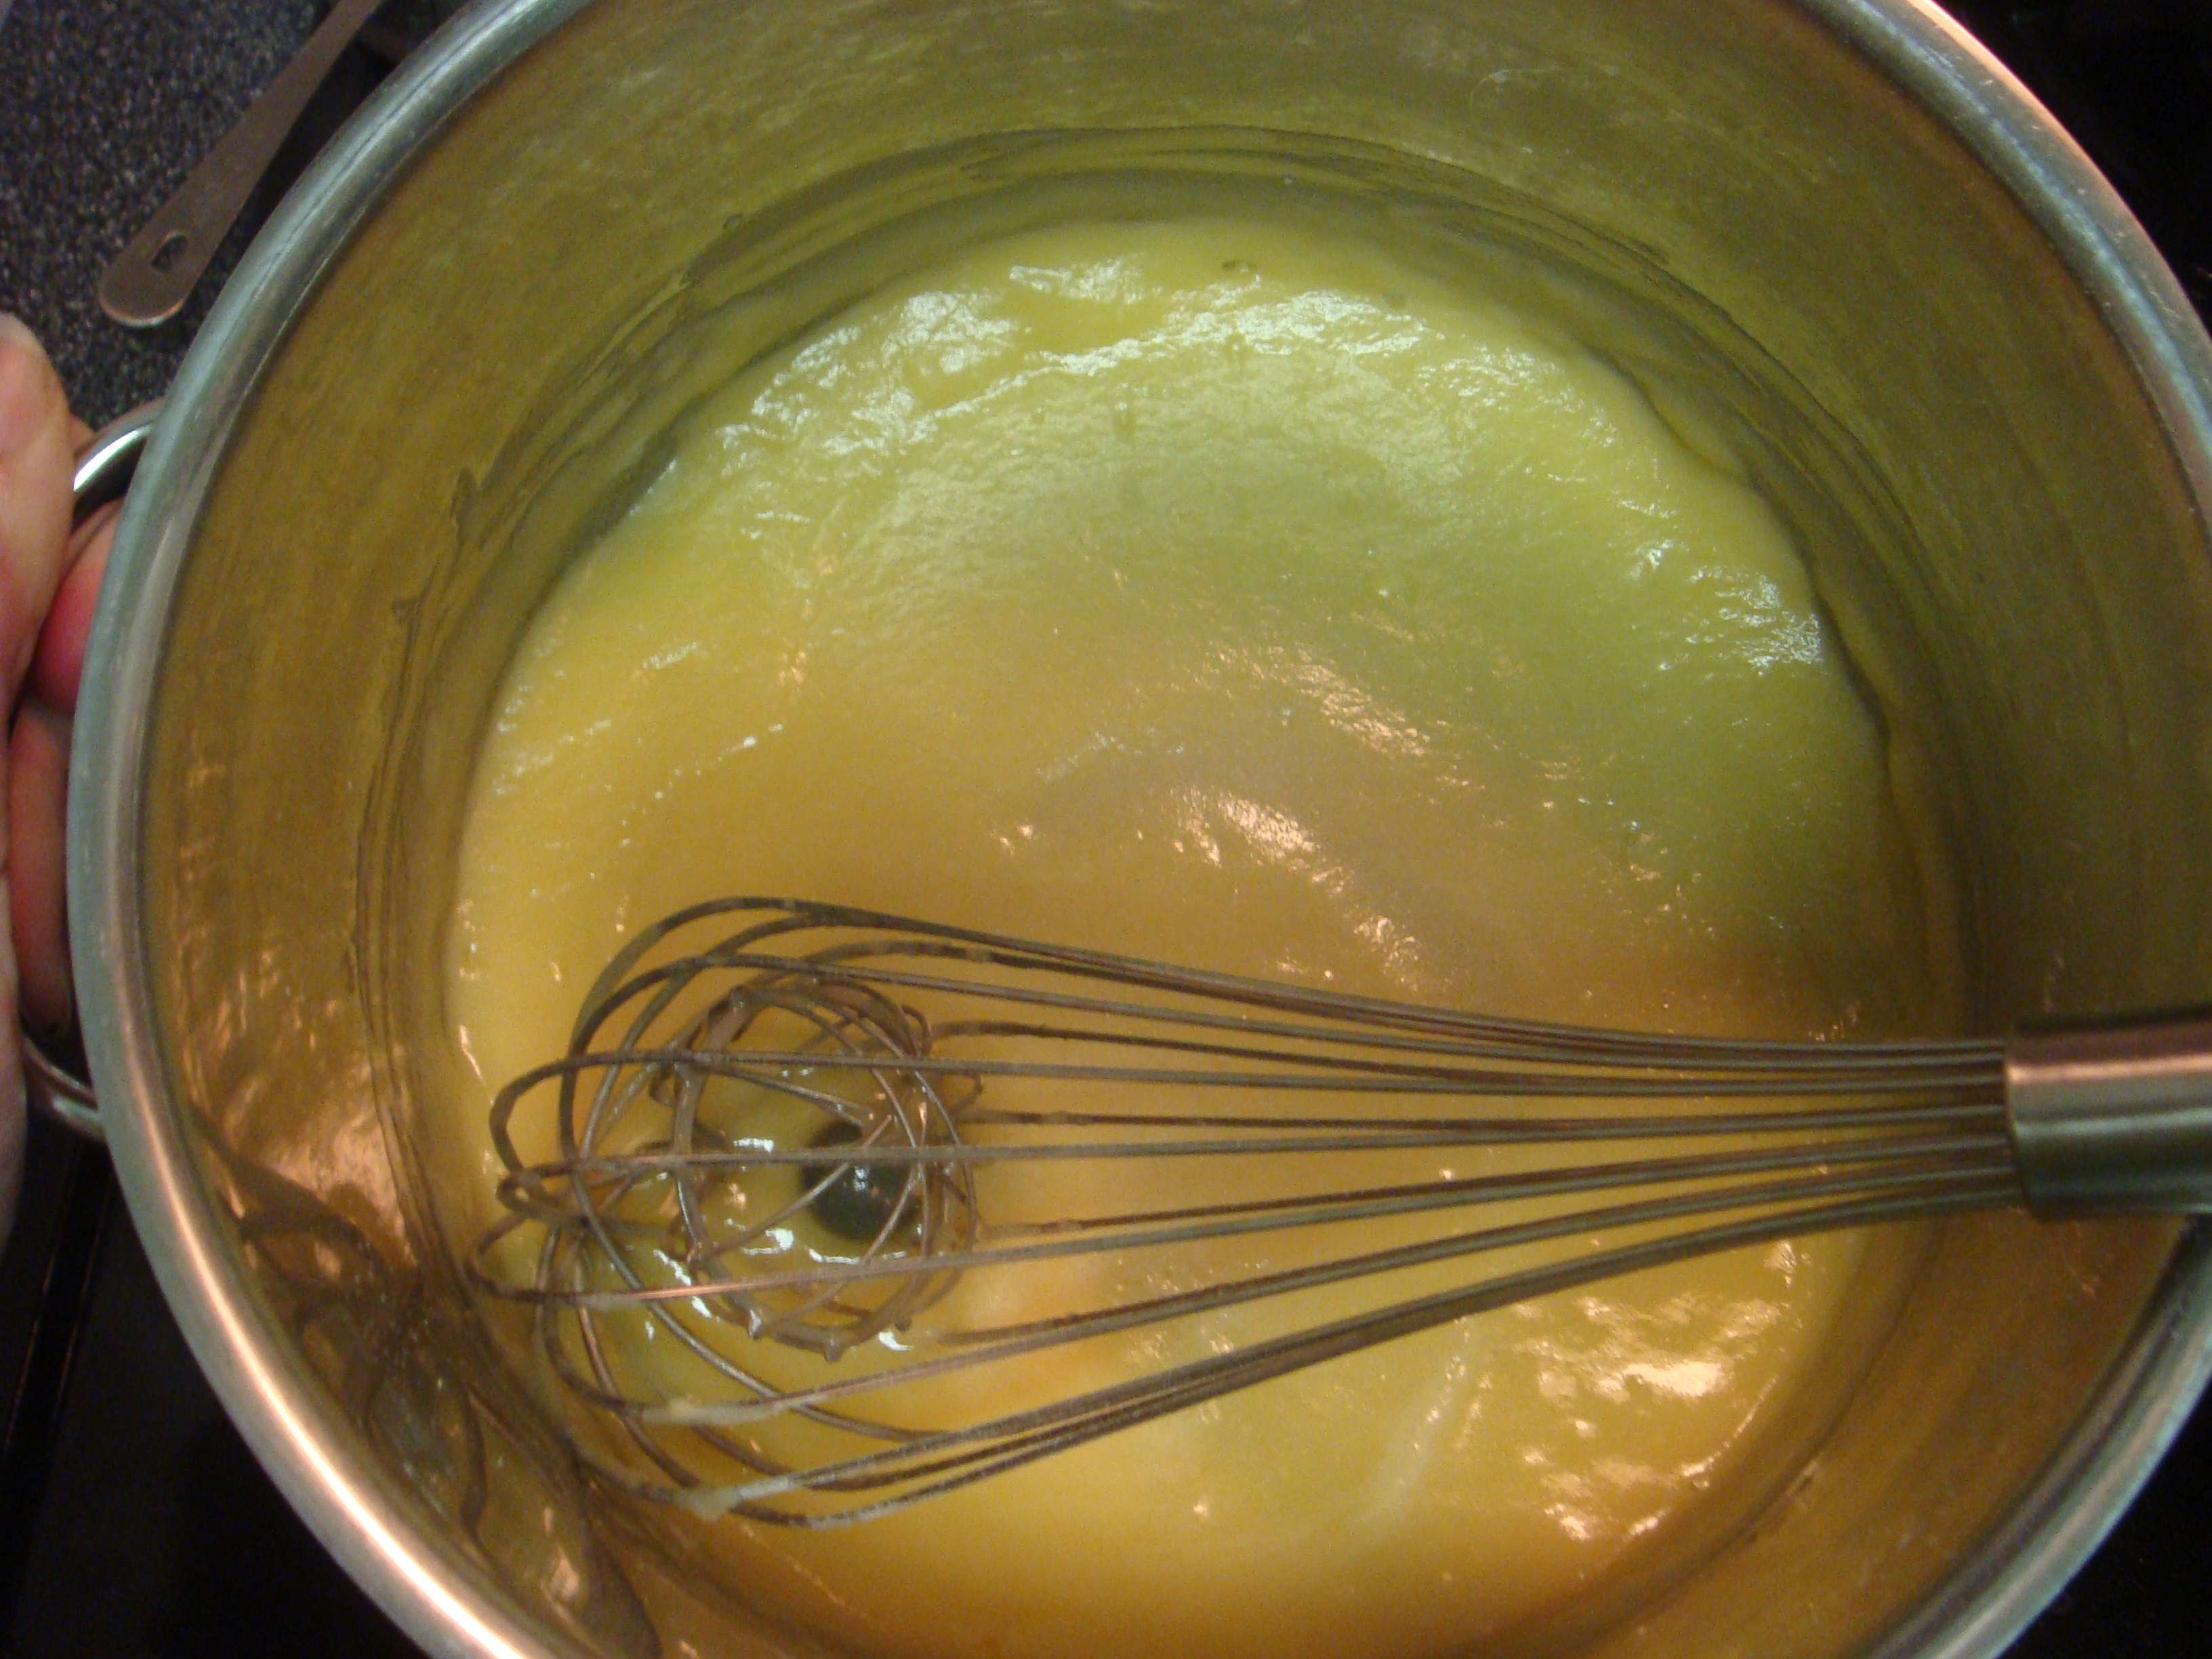
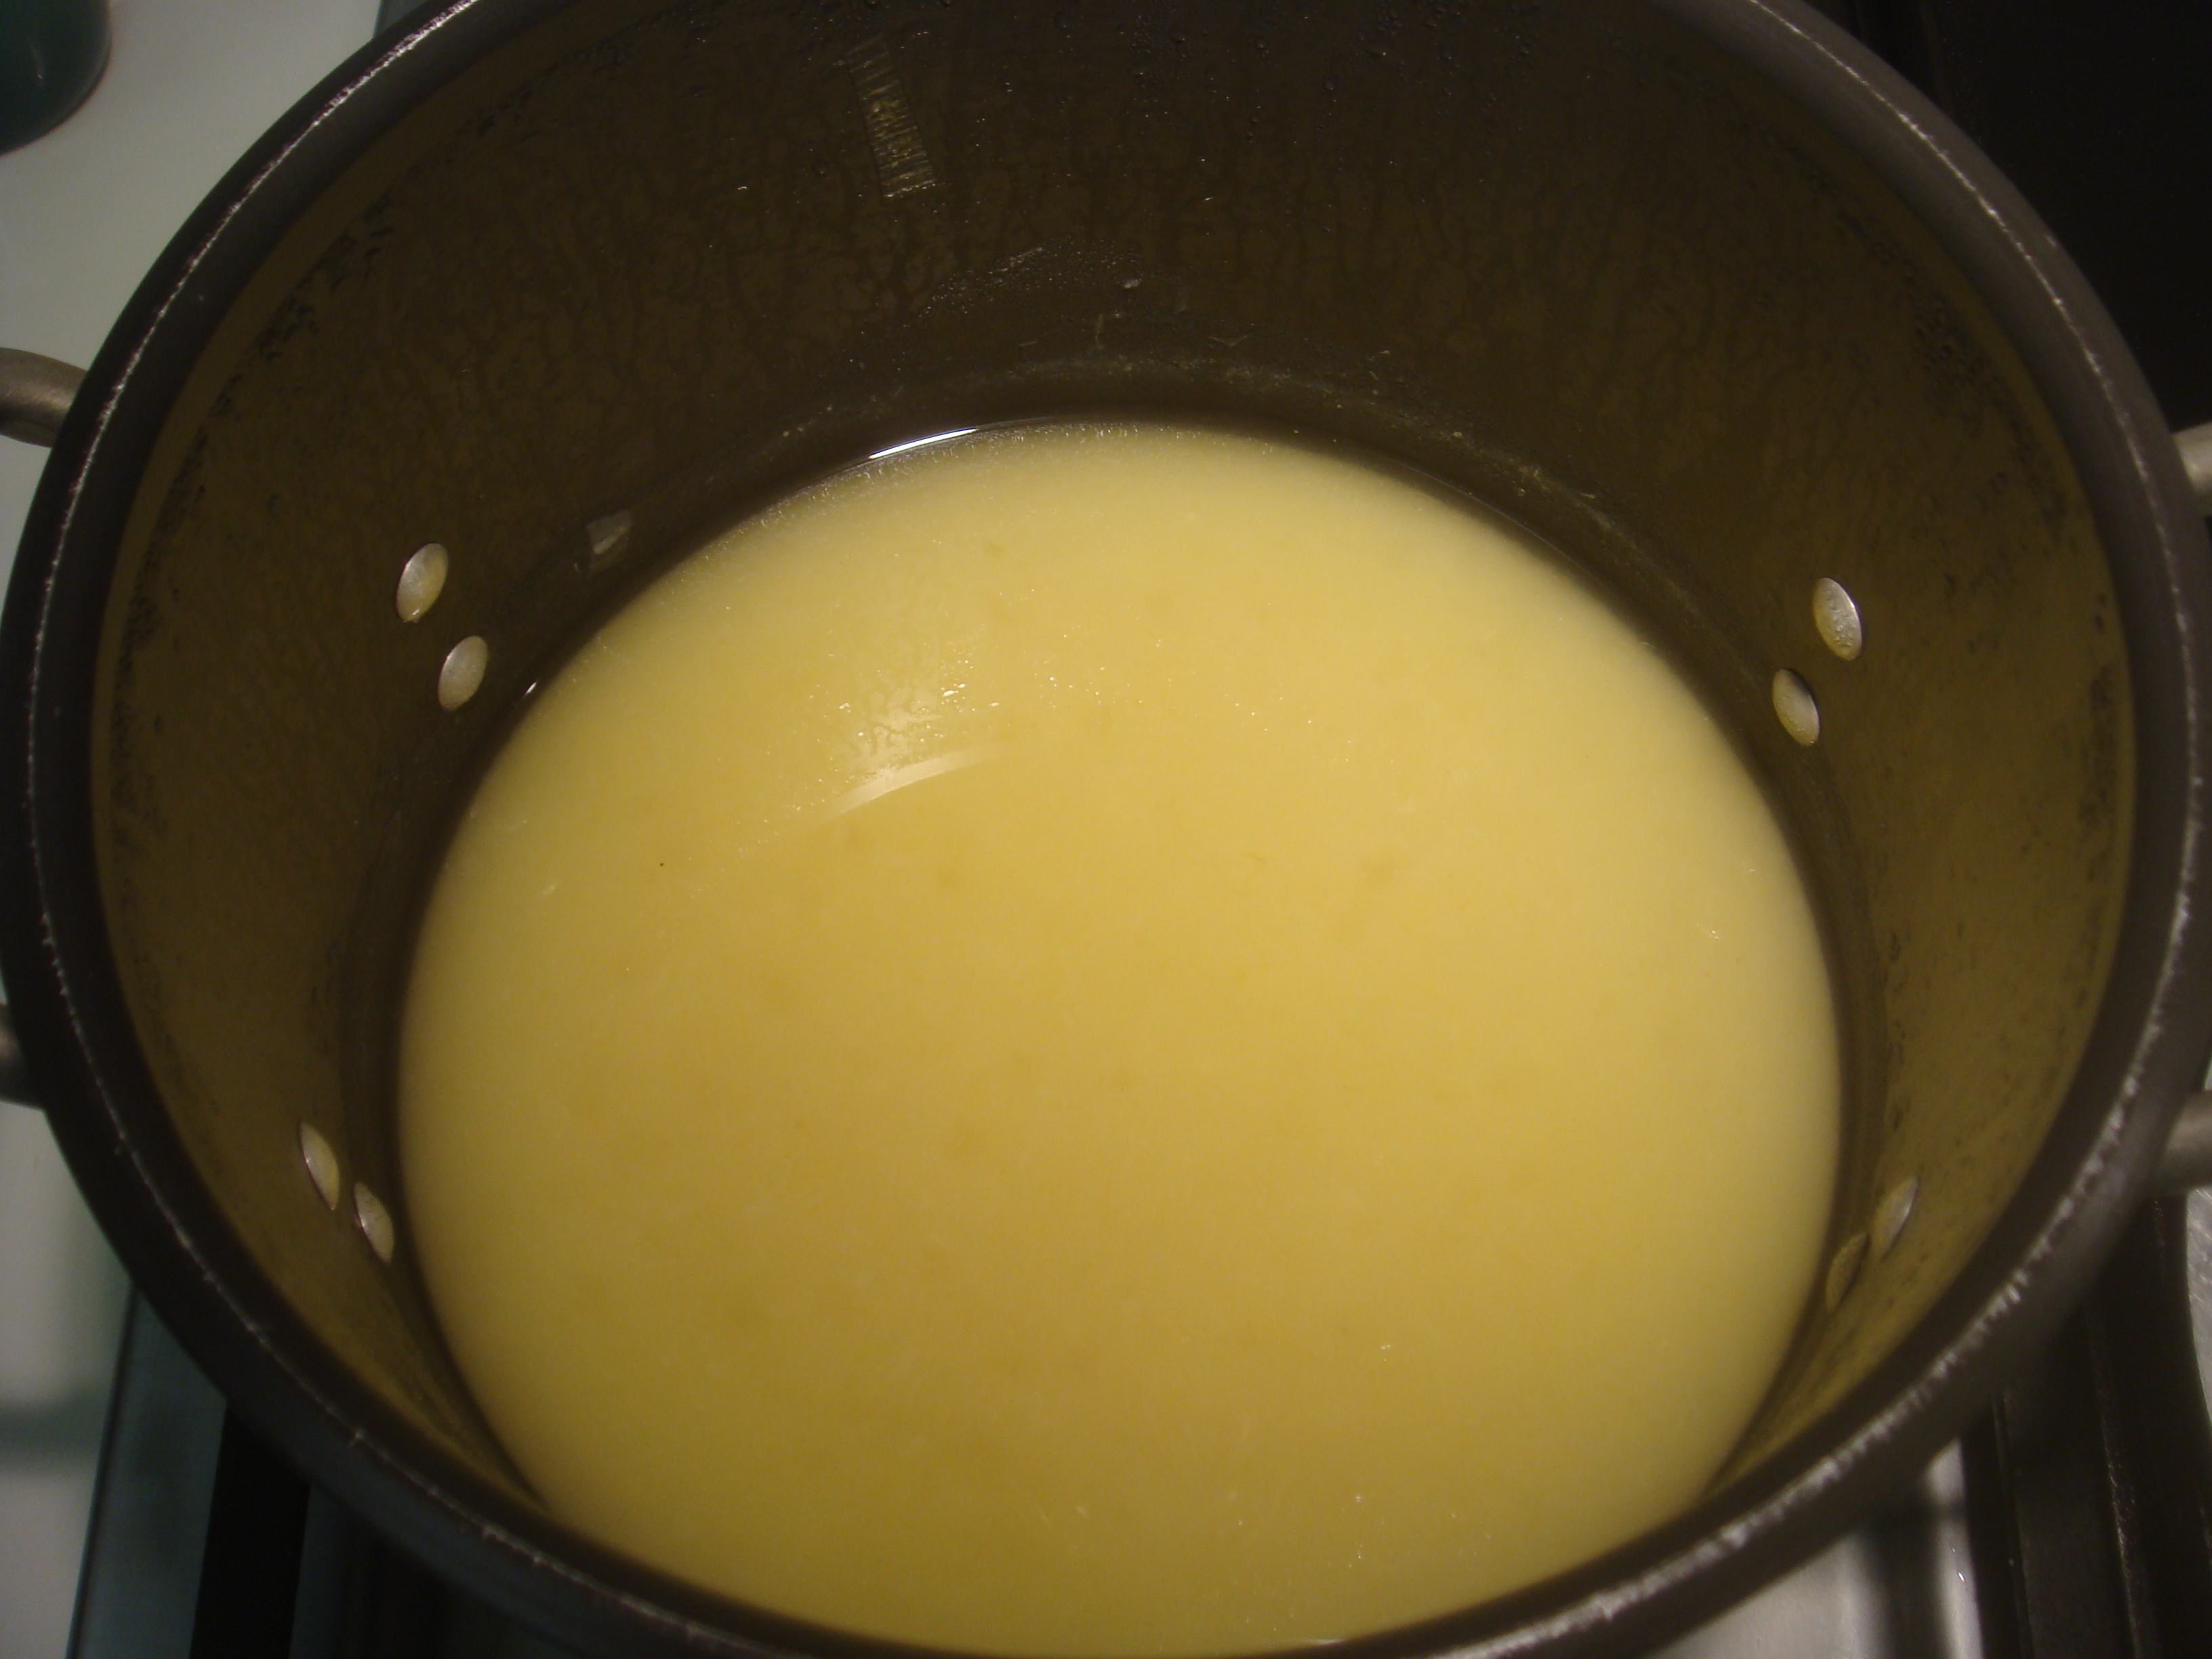
Filling: Stir 1 cup sugar, 5 tablespoons flour, and 1/2 teaspoon baking powder together.
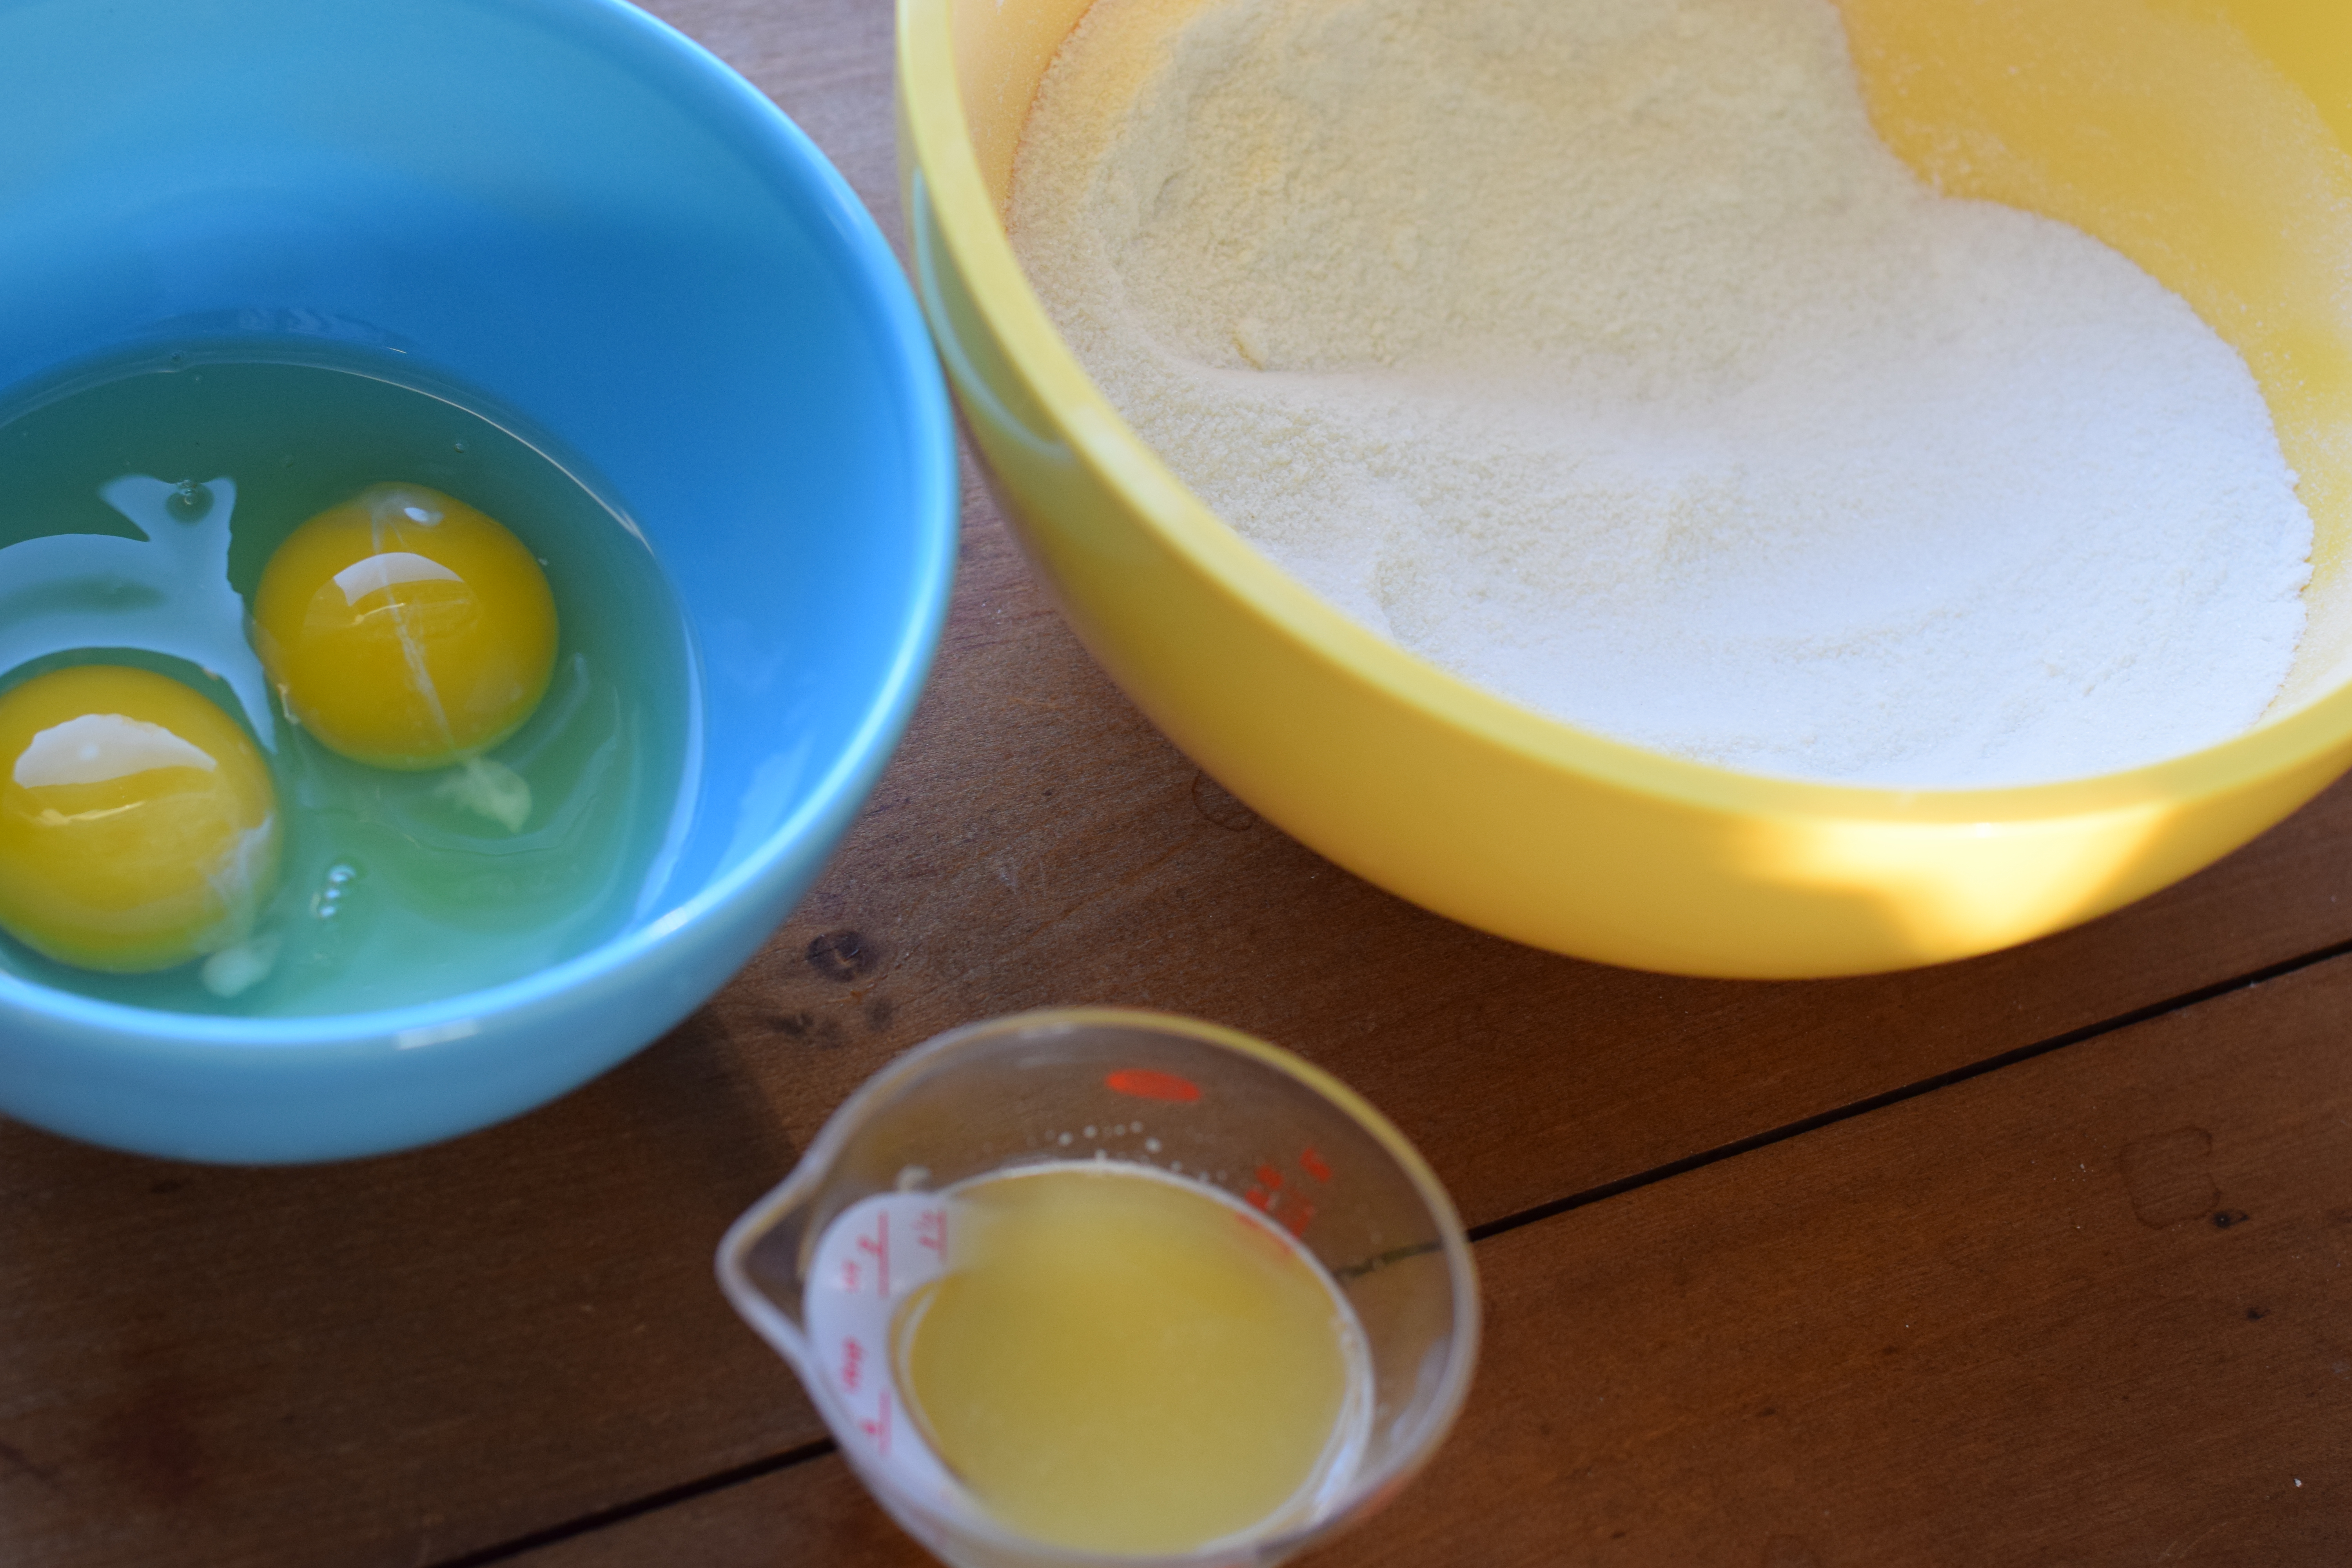
Beat eggs and lemon juice together.


Mix dry ingredients with egg mixture.

Pour over crust. Bake at 350 degrees for about 12-15 minutes (or 325 convection for 12 minutes). They are done when the lemon mixture begins to brown and has bubbles all over the top. The surface will be a little shiny and have formed a bit of a crust. This little crust on top is important so that you can spread your frosting easily.

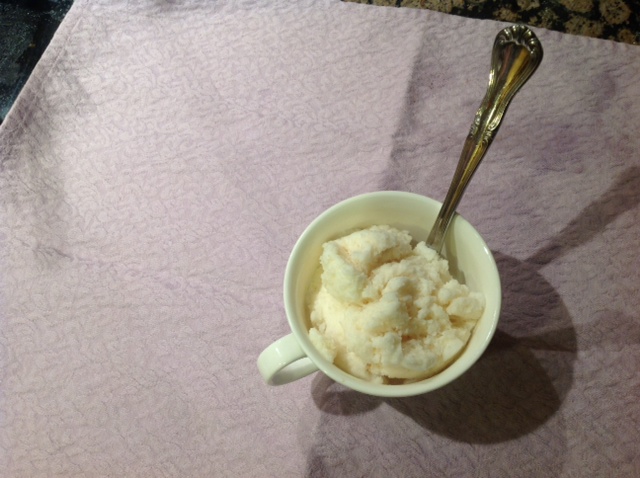
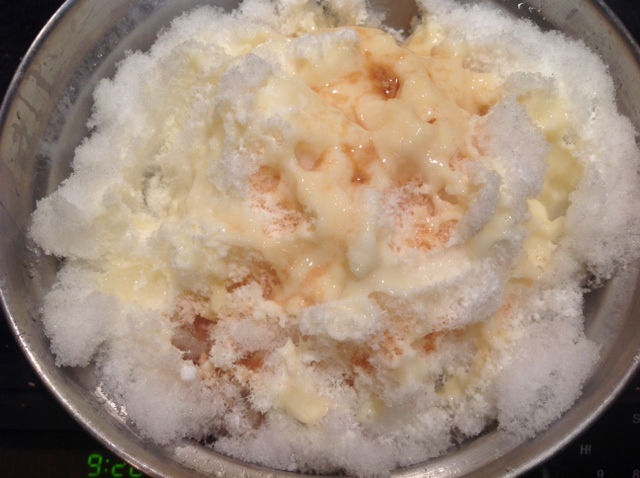
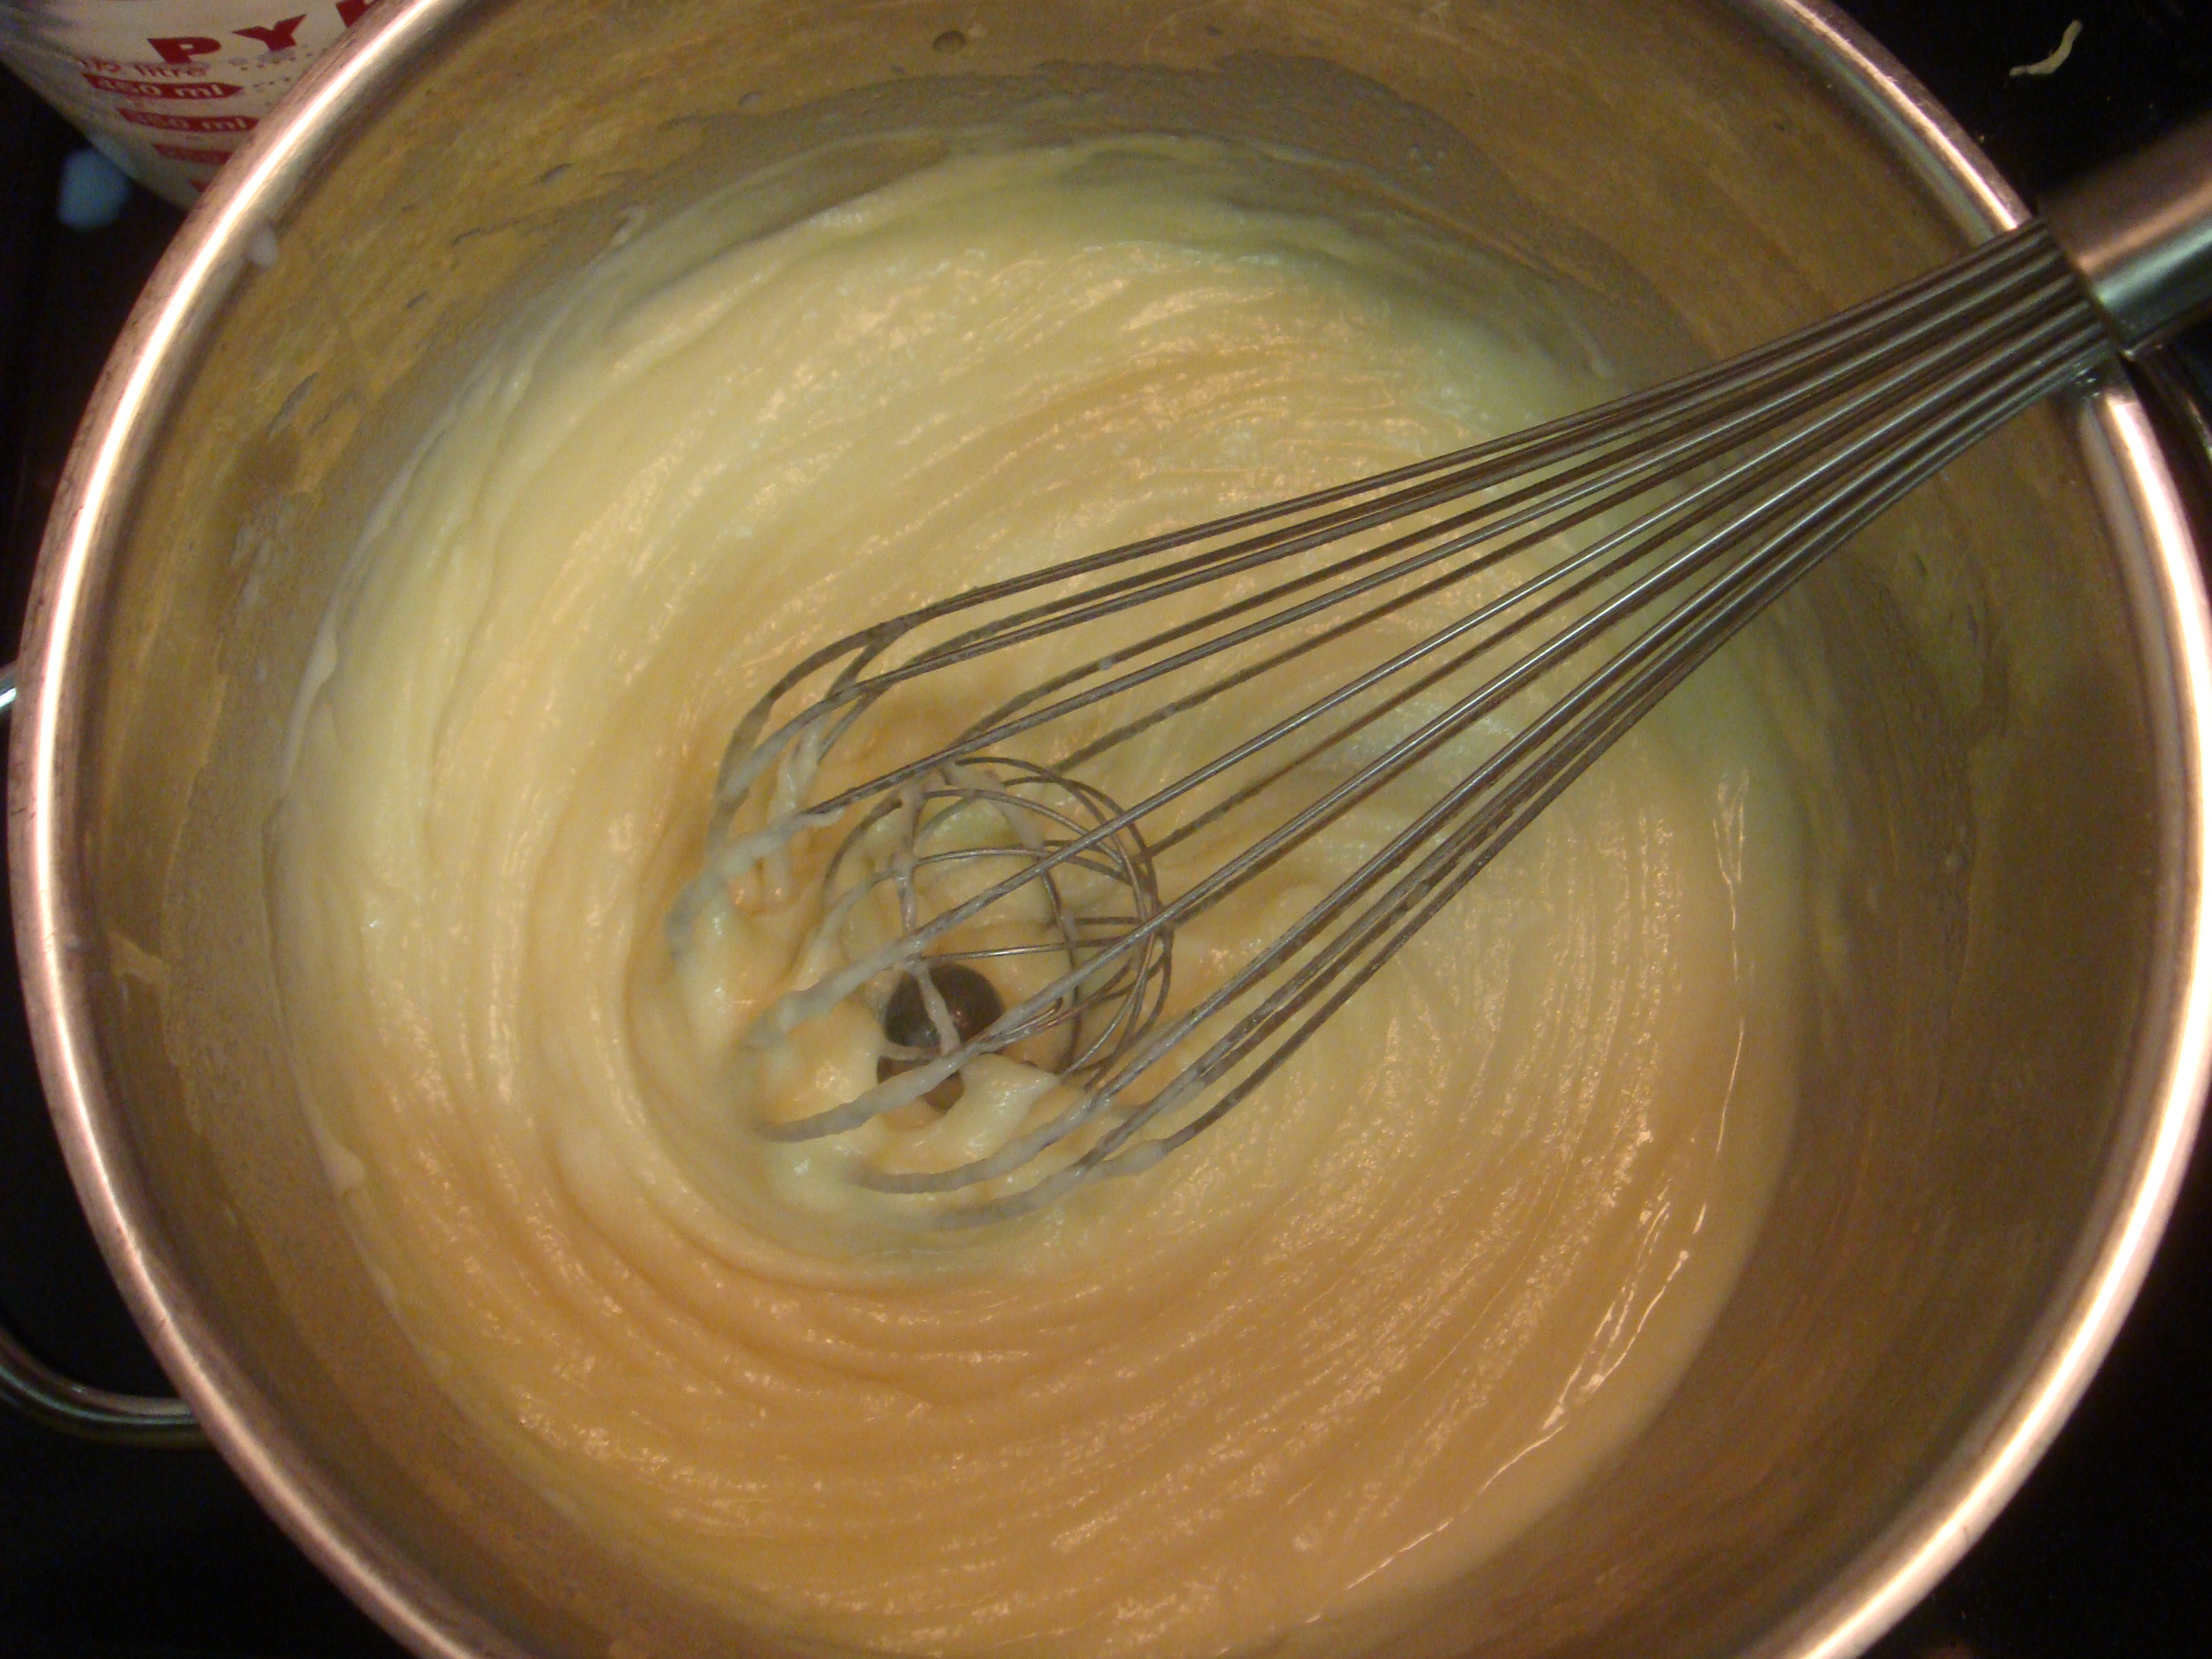
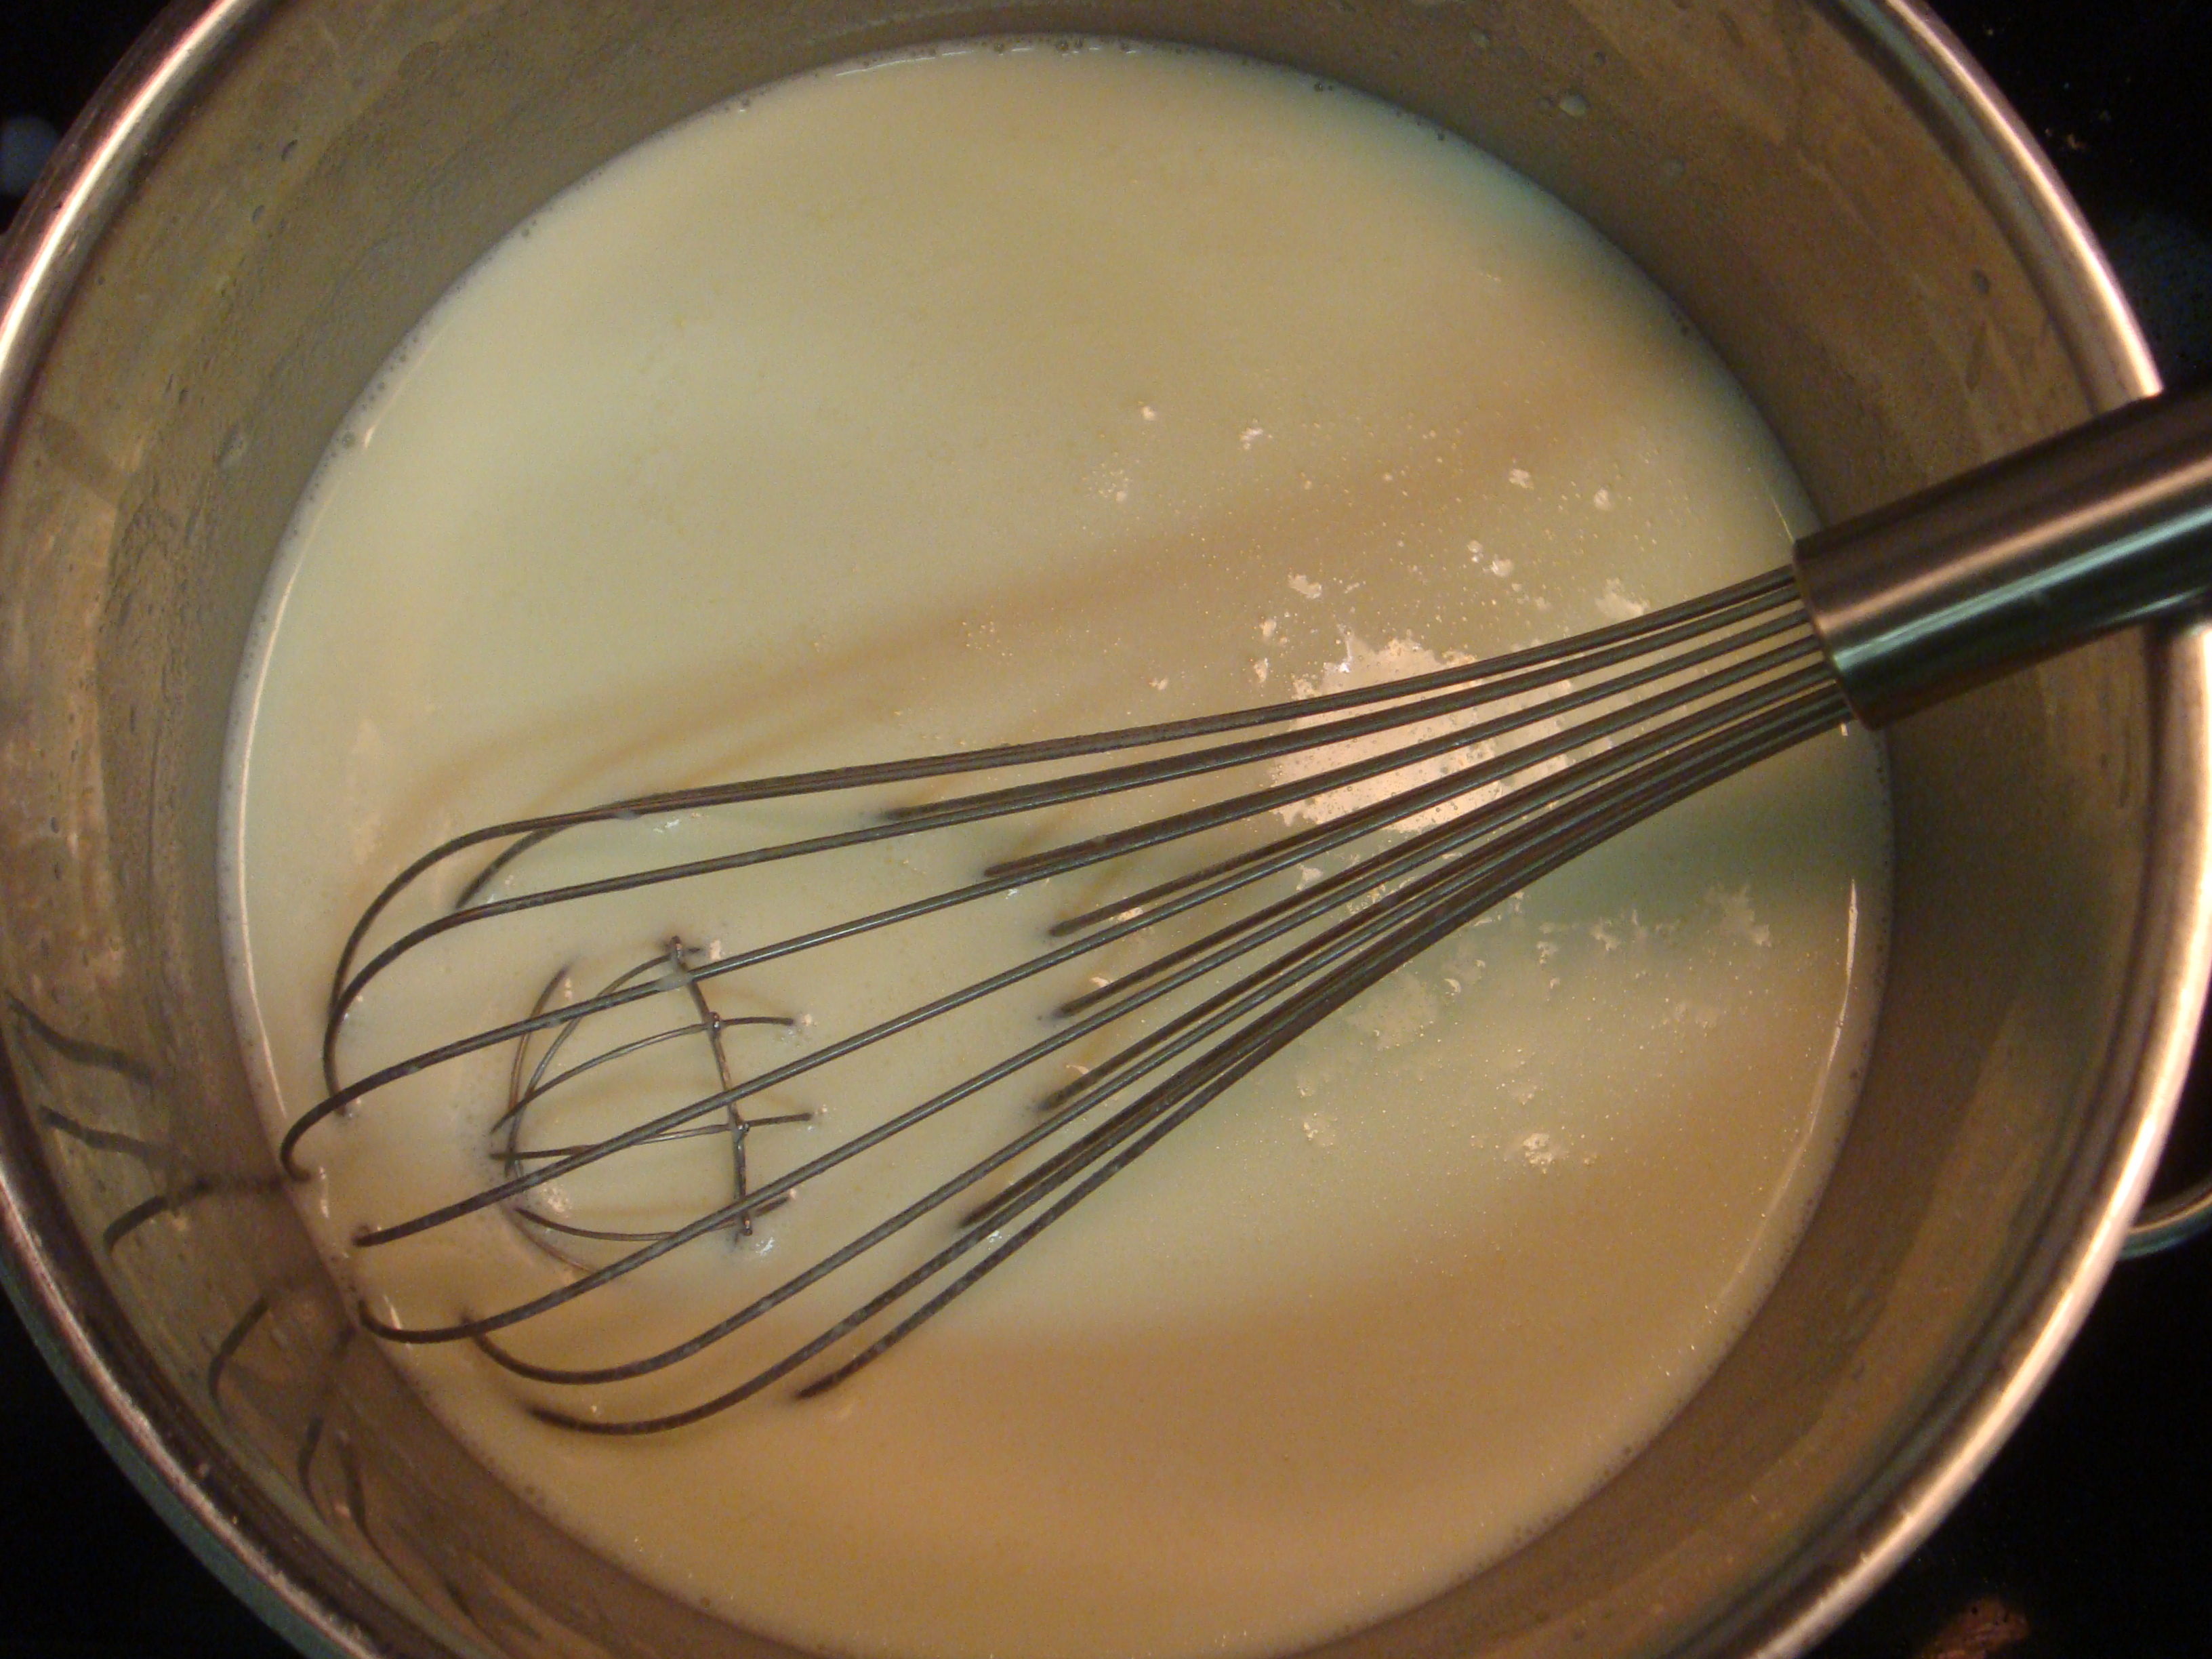
Frosting: Wait until the crust and filling have cooled almost to room temperature before making frosting. Beat powdered sugar with melted butter and lemon juice.


Add more lemon juice to taste. Once the lemon base has cooled enough that it will not melt the frosting, spread frosting on it, covering the entire lemon base.
To Serve: Cut into small (about 1 inch) squares, since these are very rich and sweet. You can make and freeze Lemon Loves several weeks before serving.